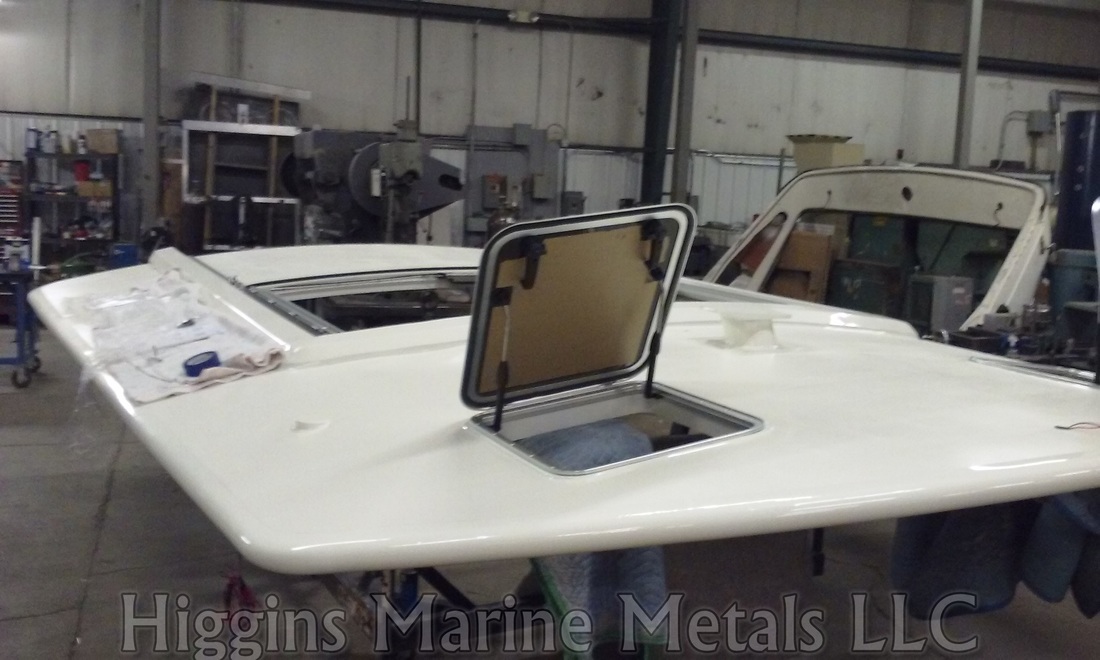
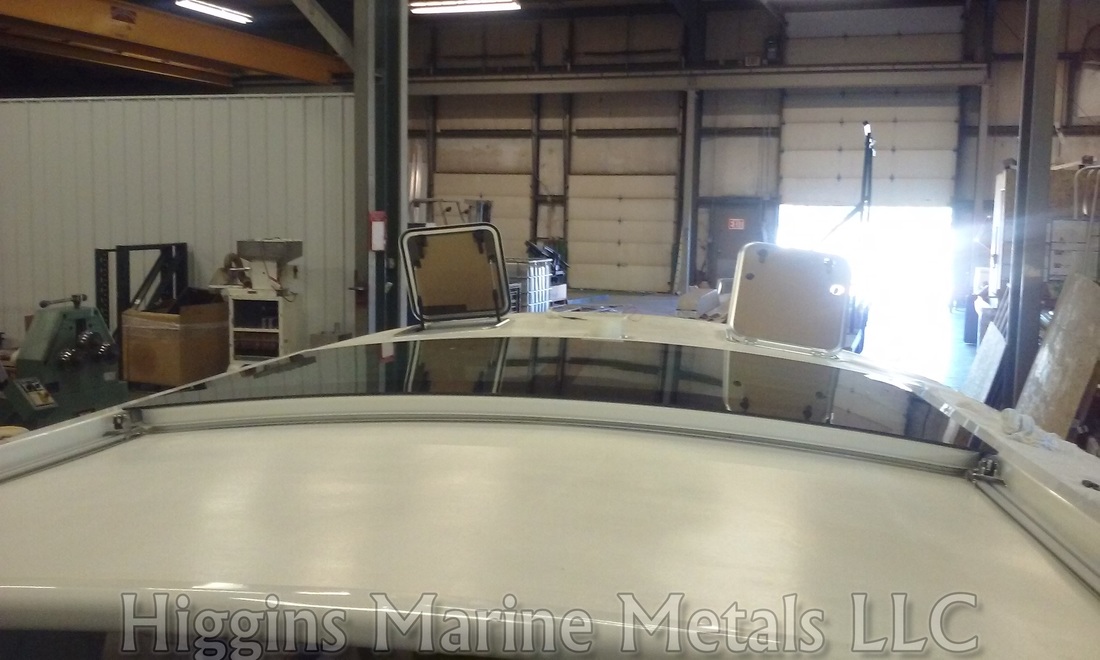
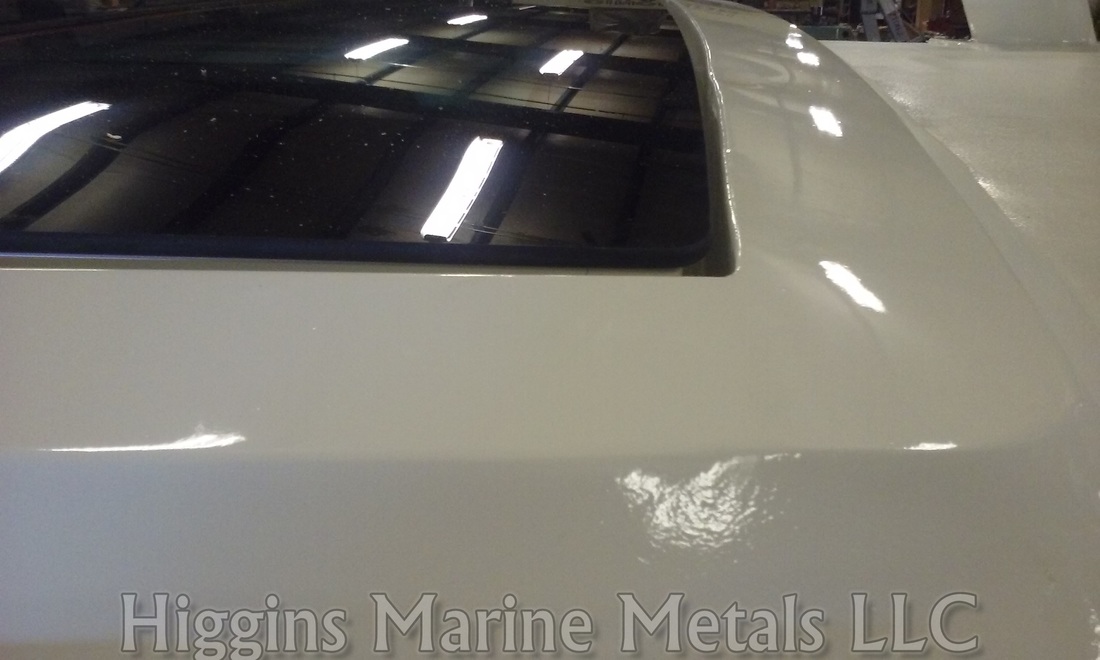
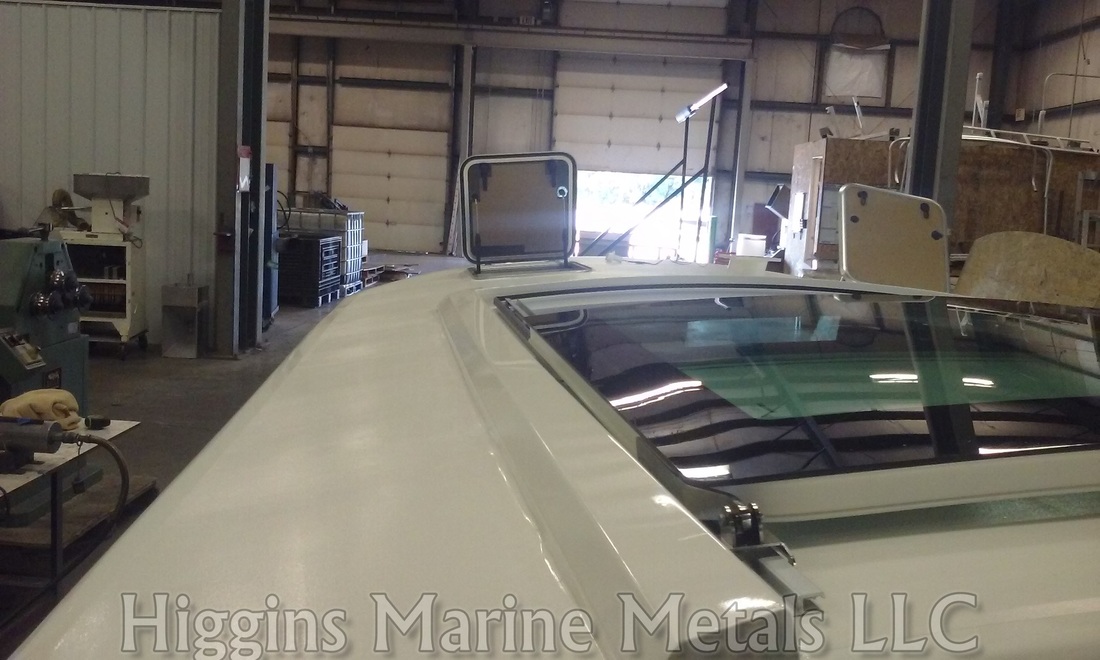
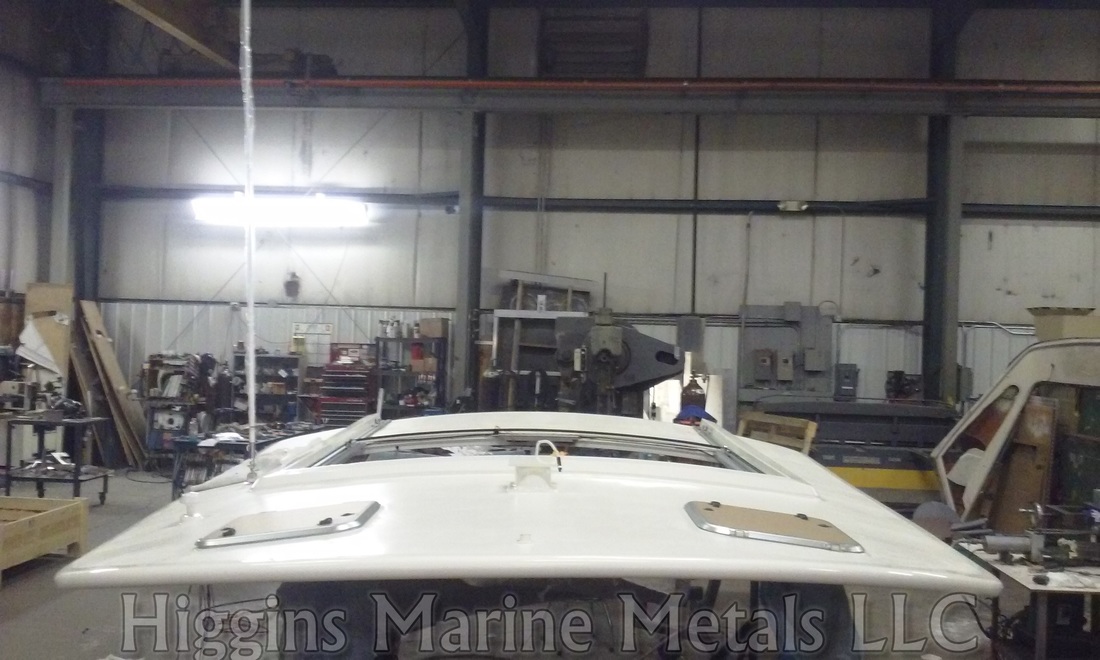
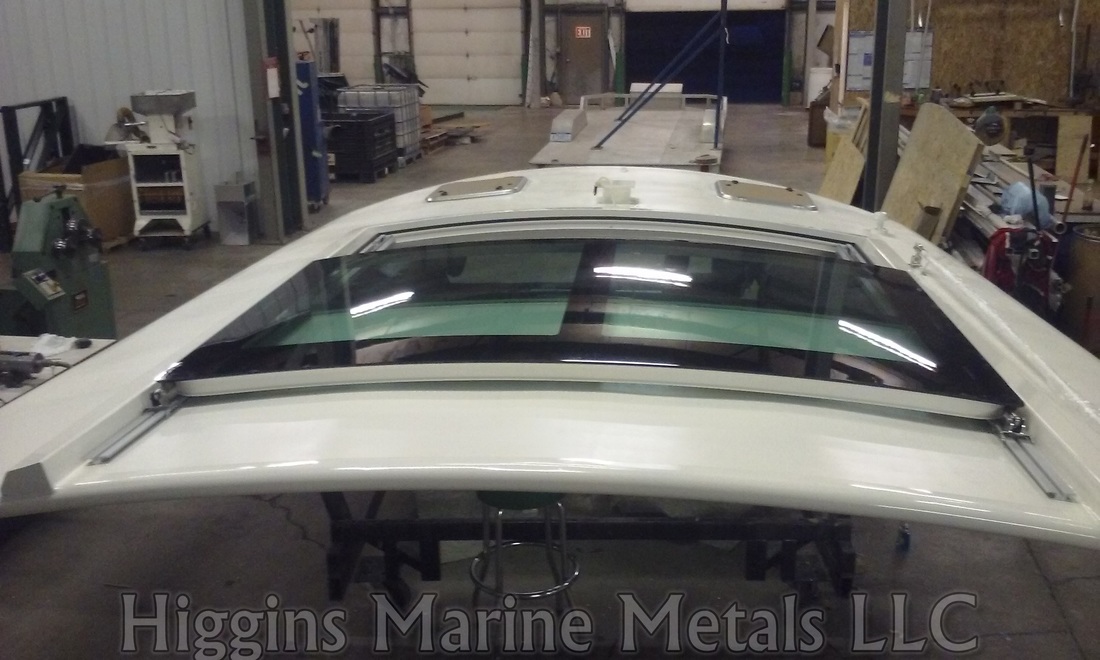
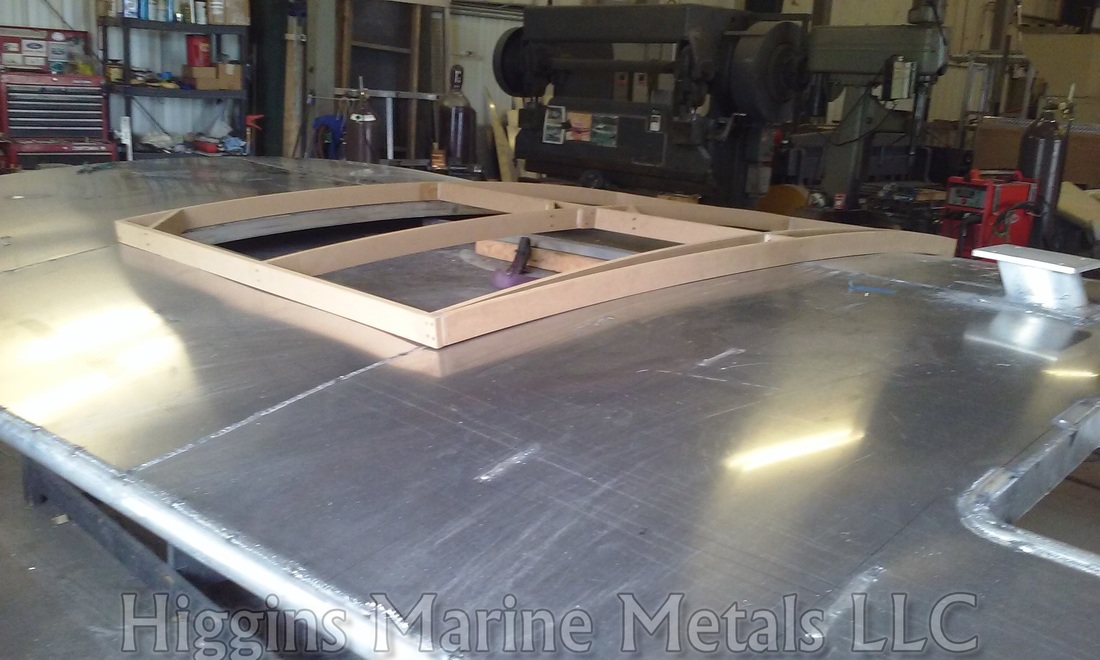
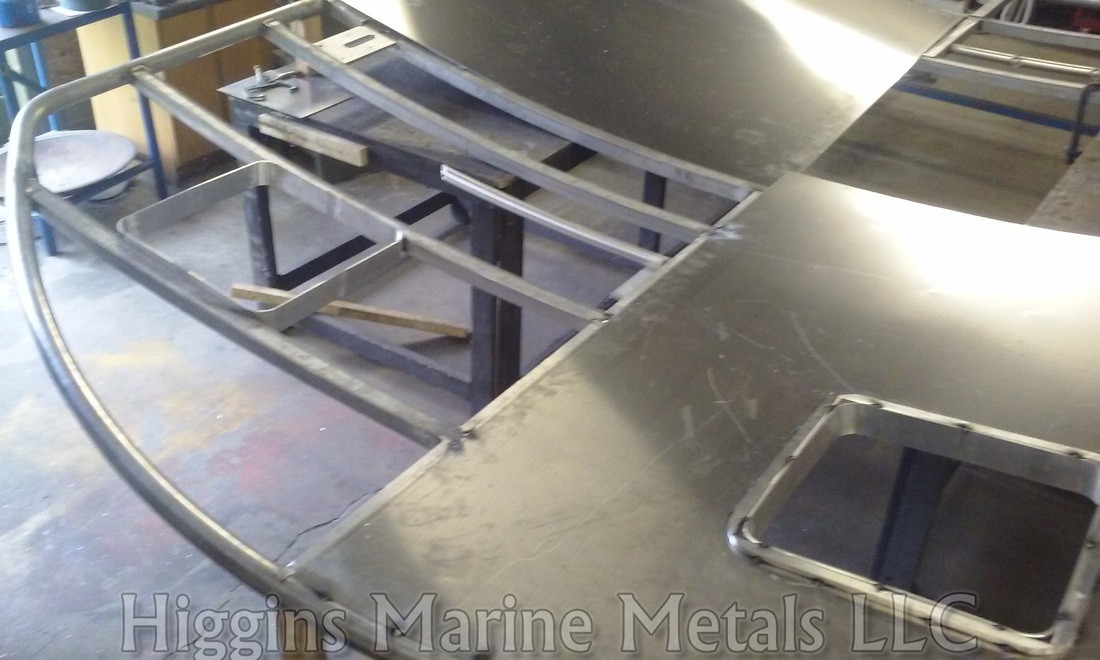
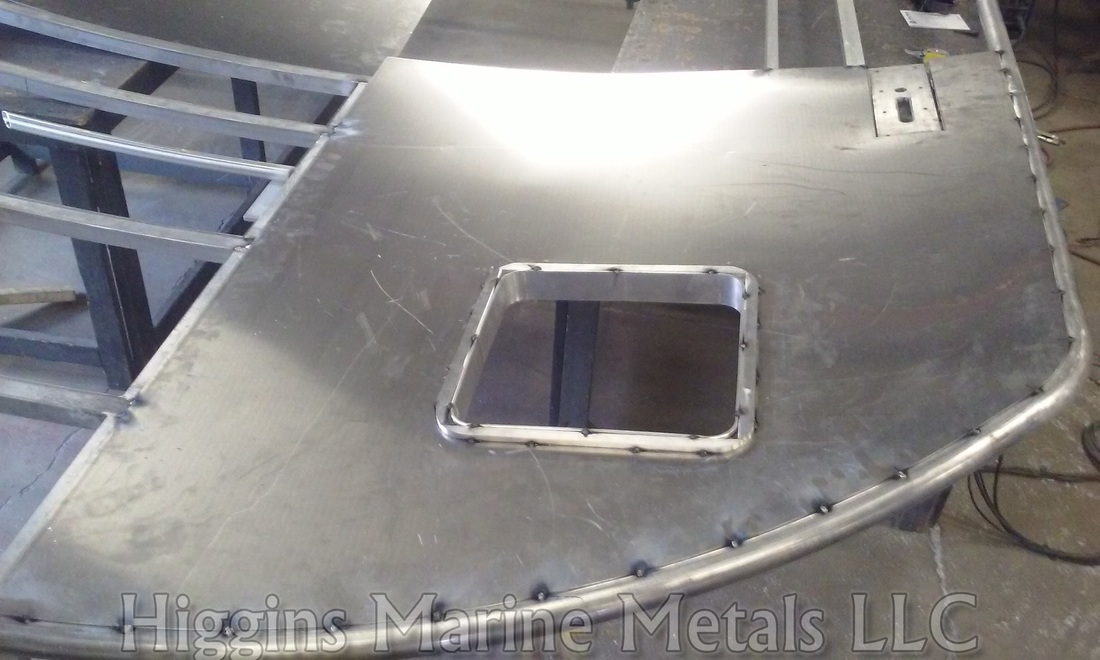
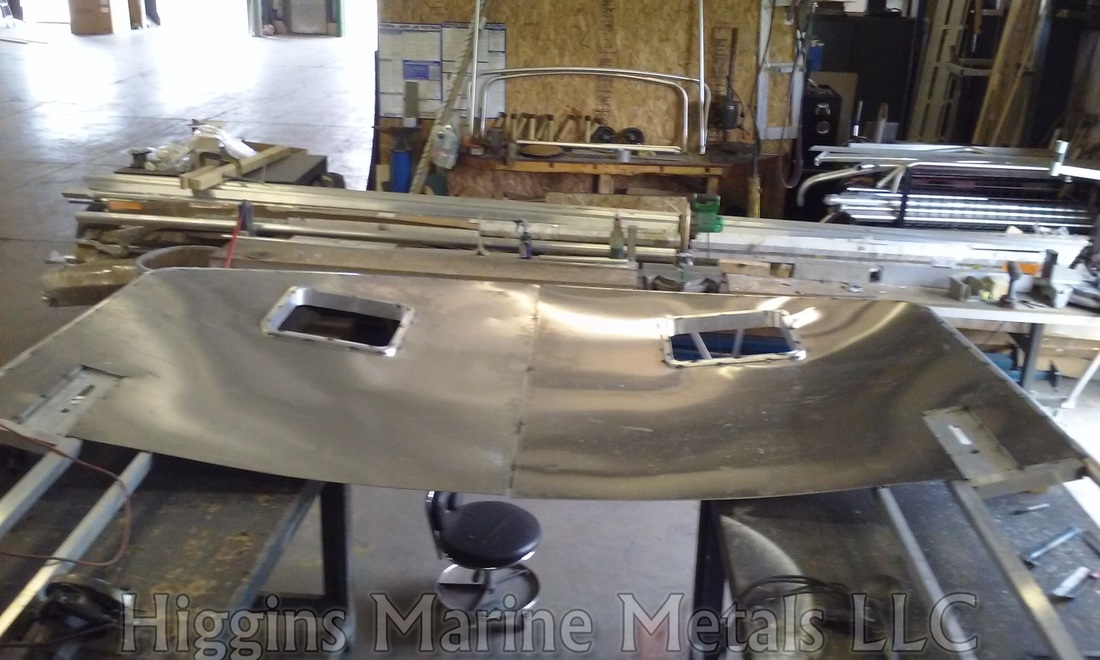
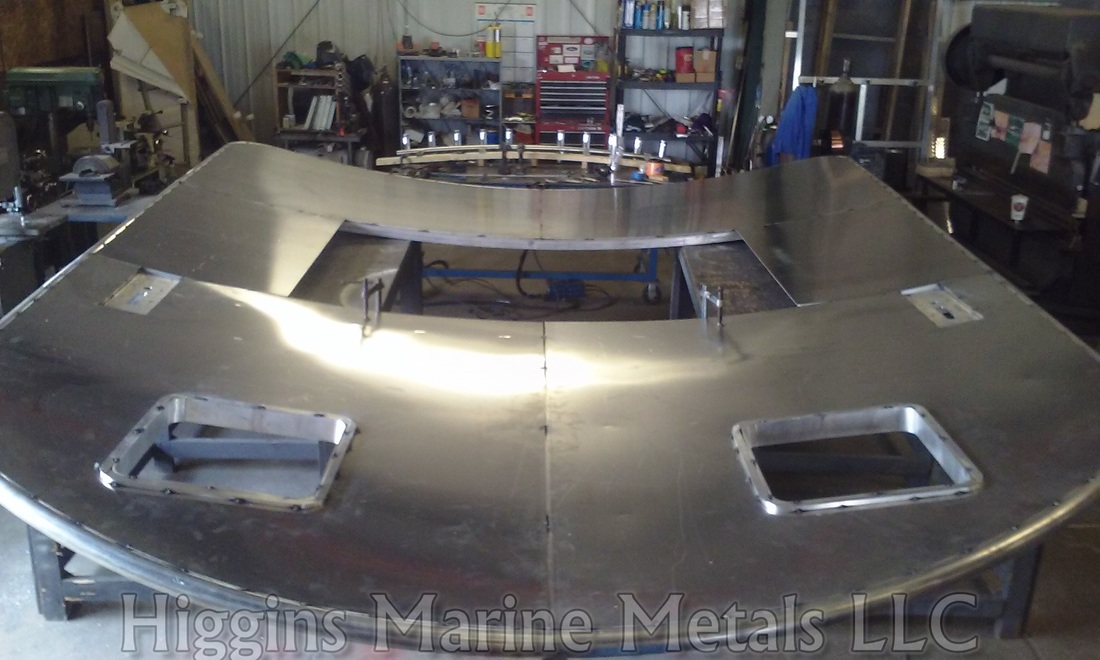
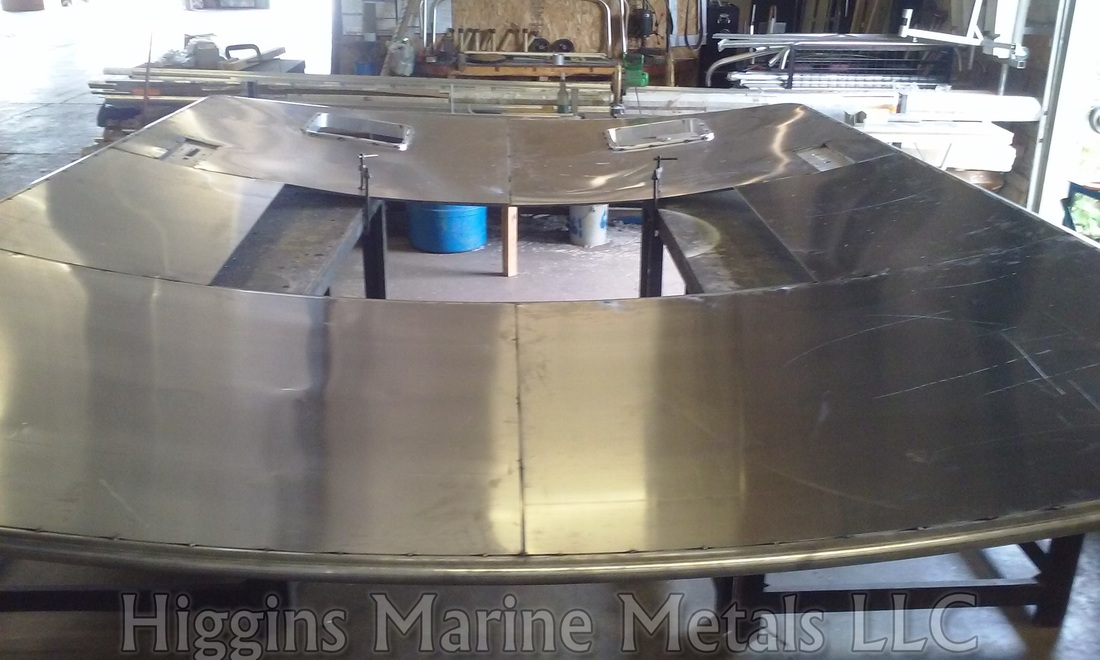
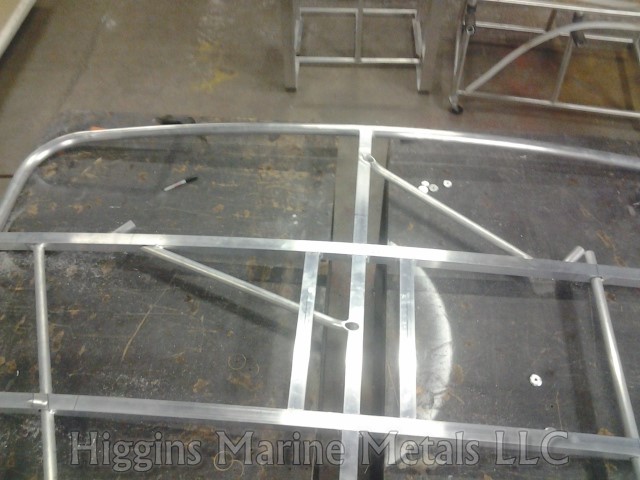
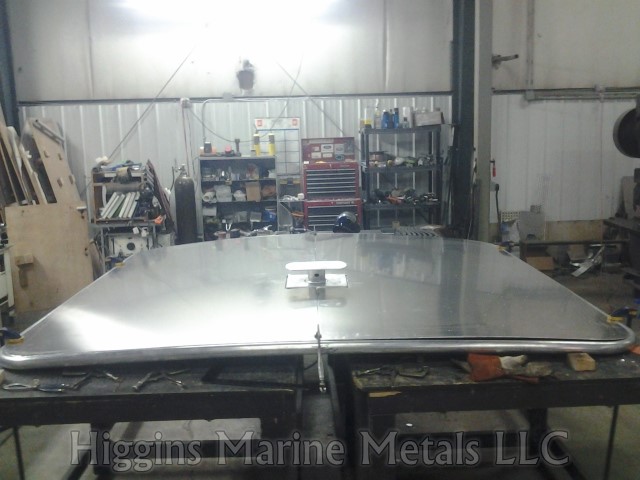
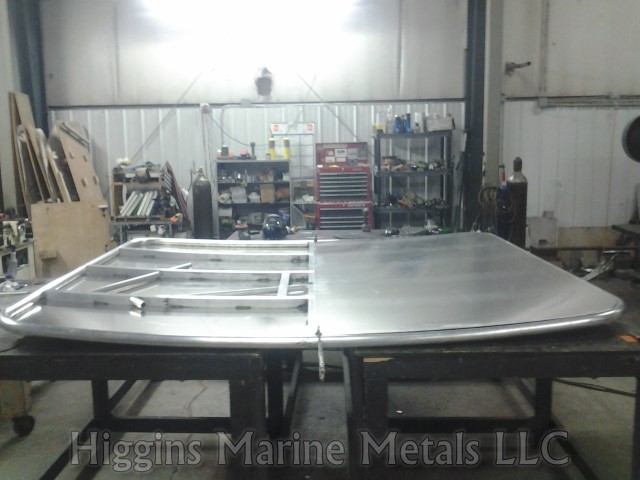
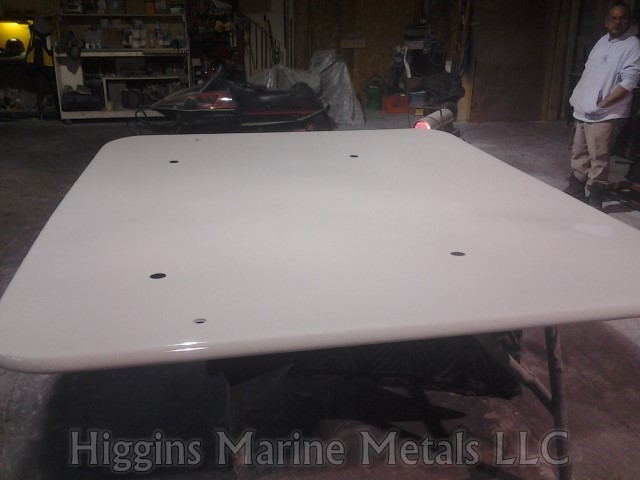
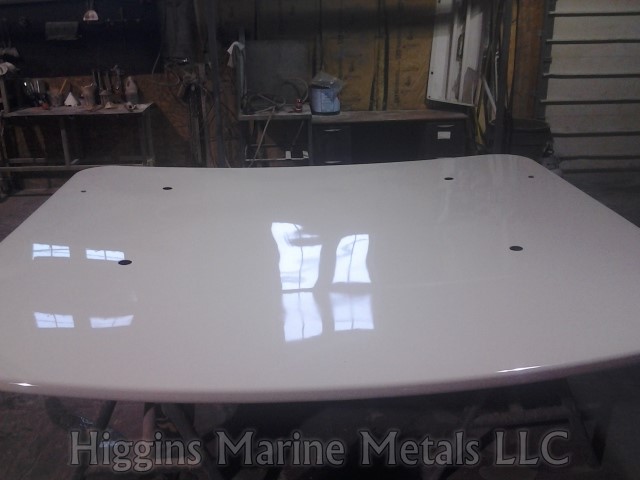
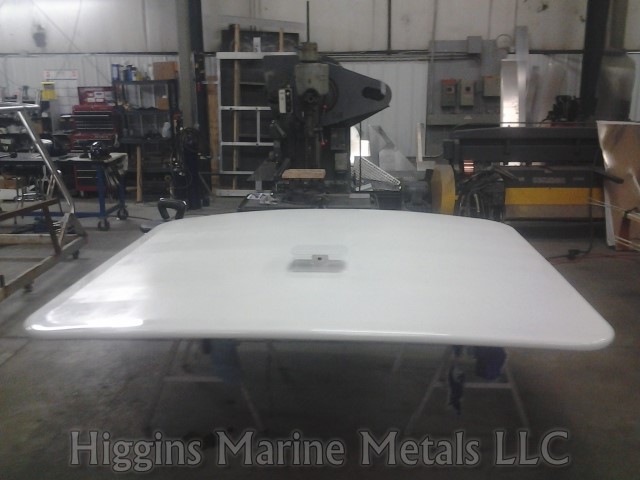
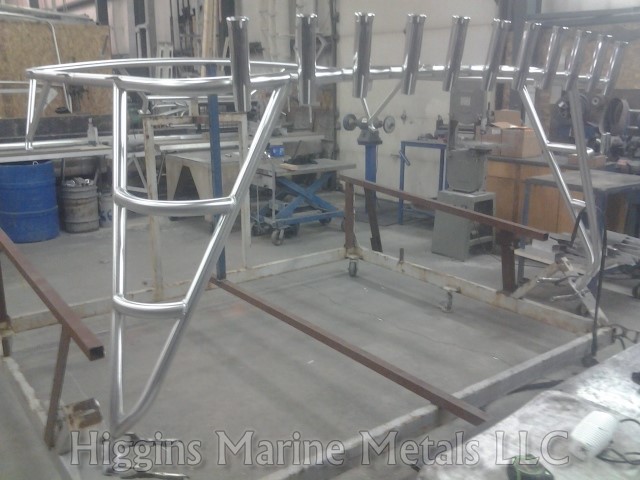
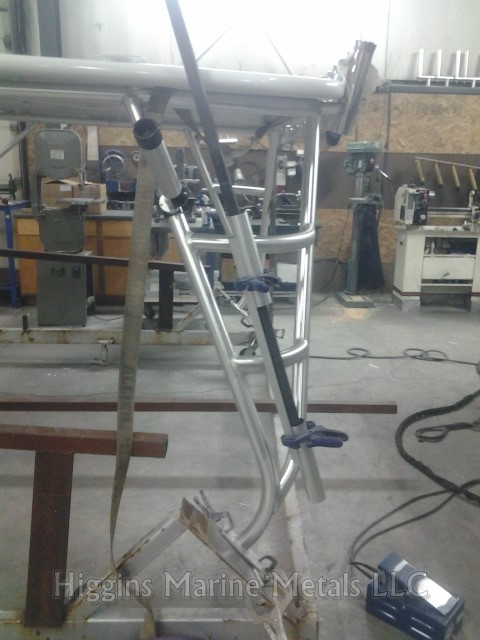
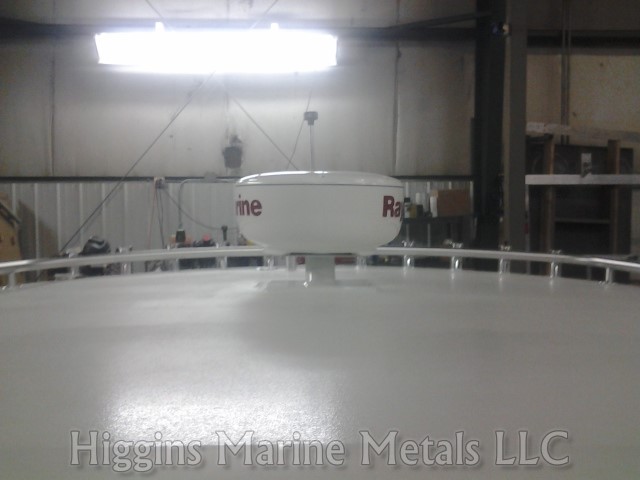
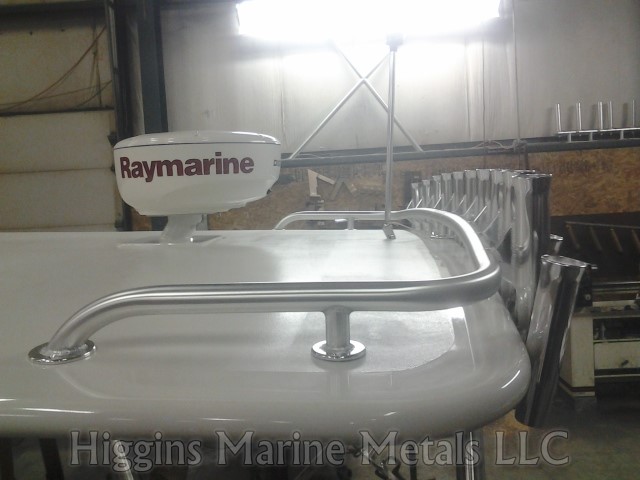
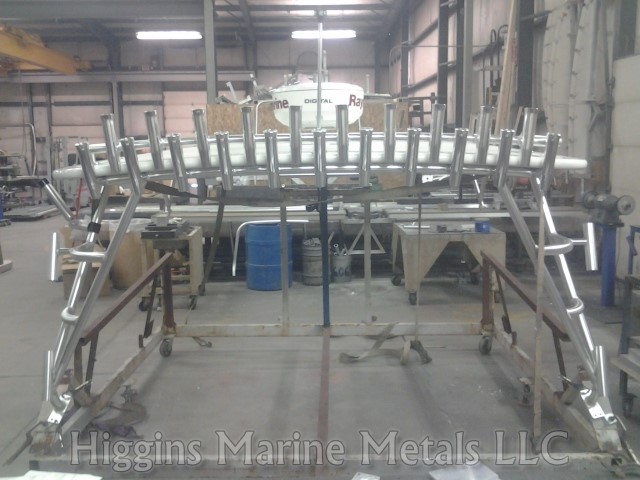
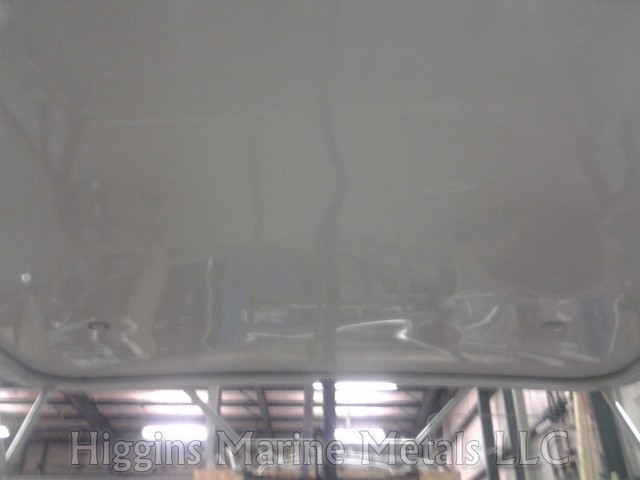
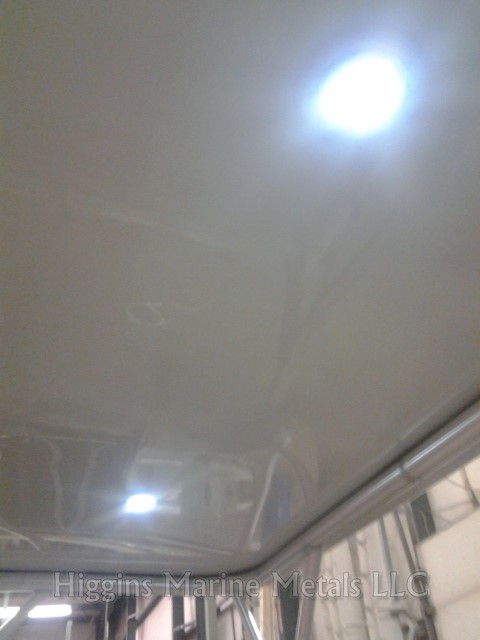
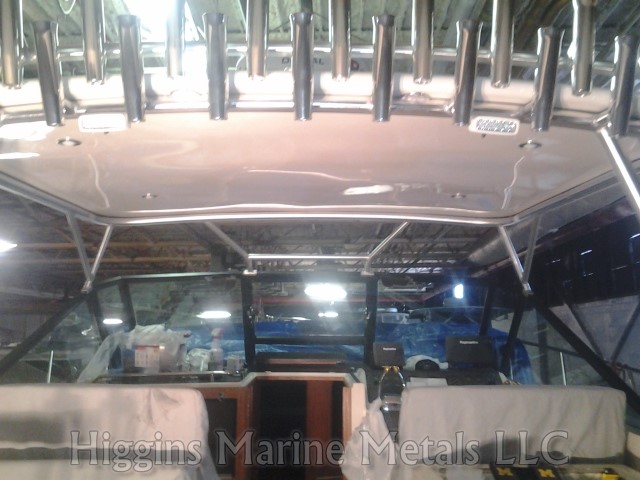
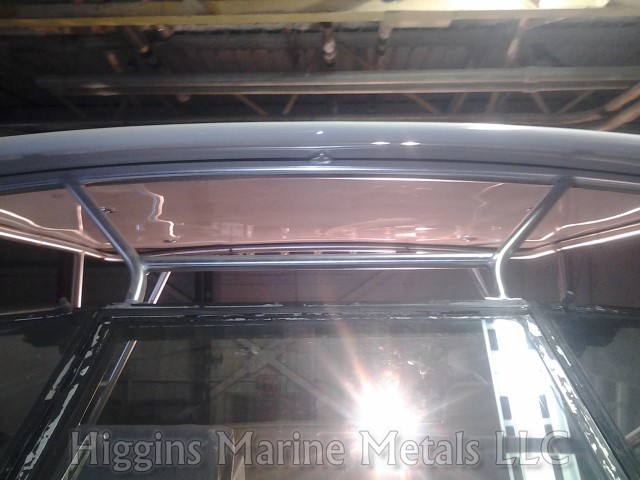
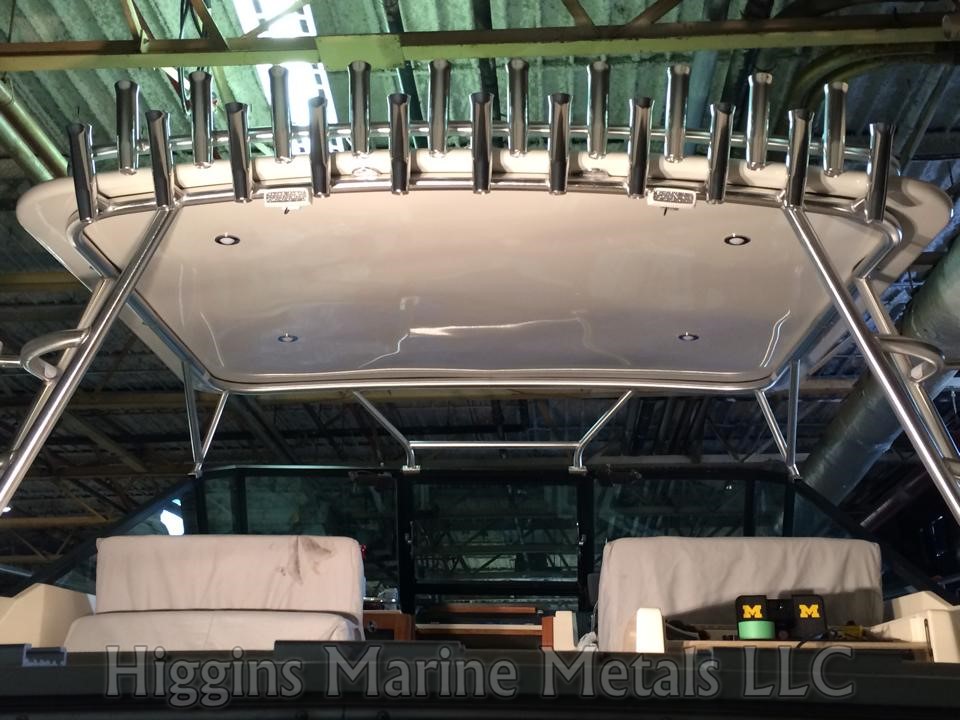
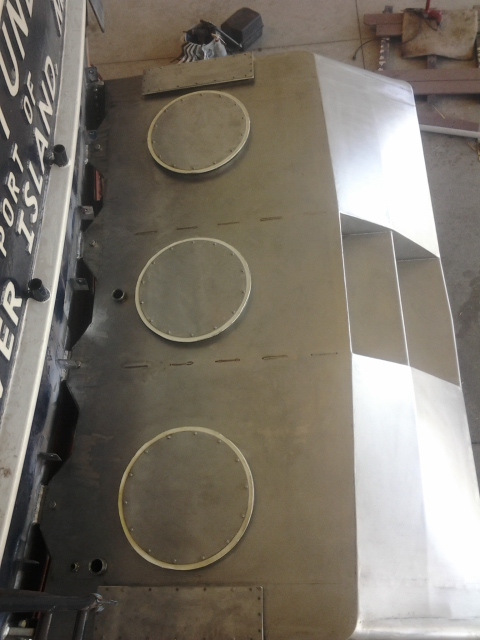
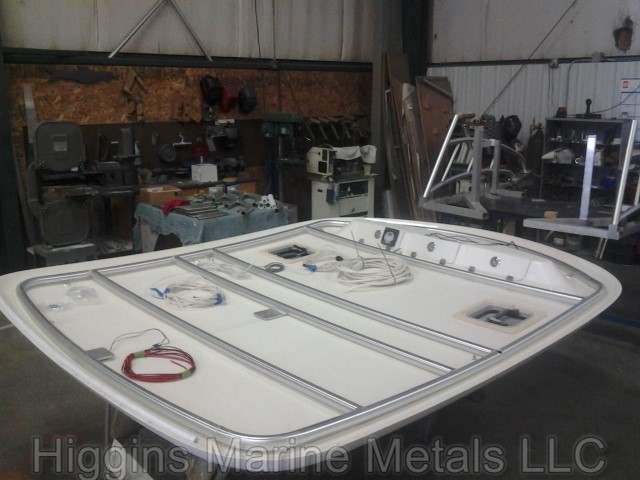
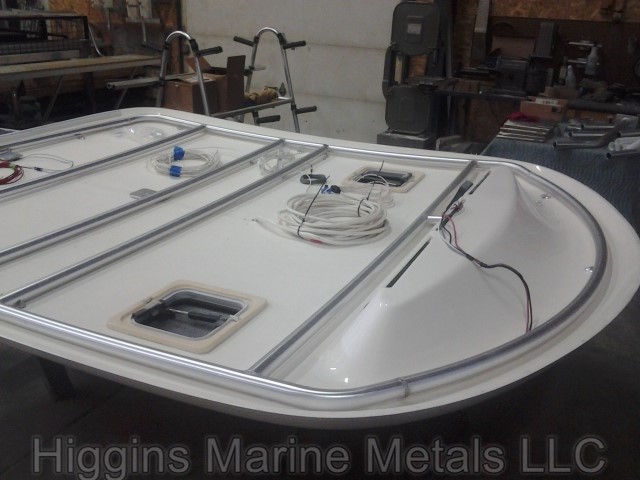
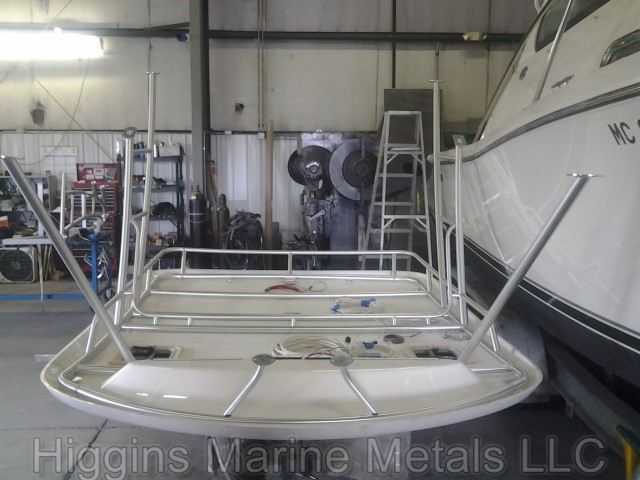
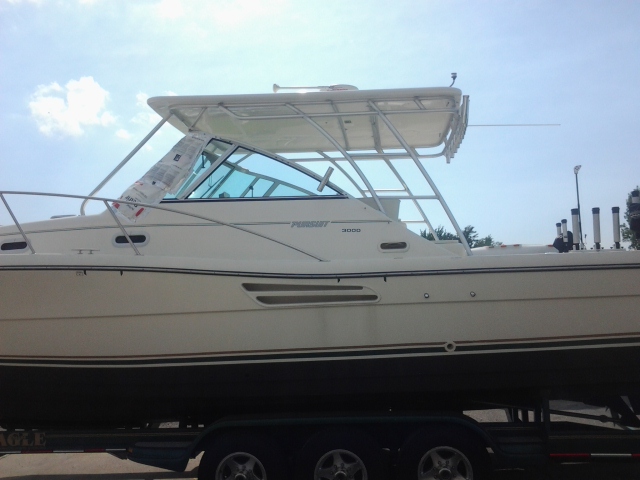
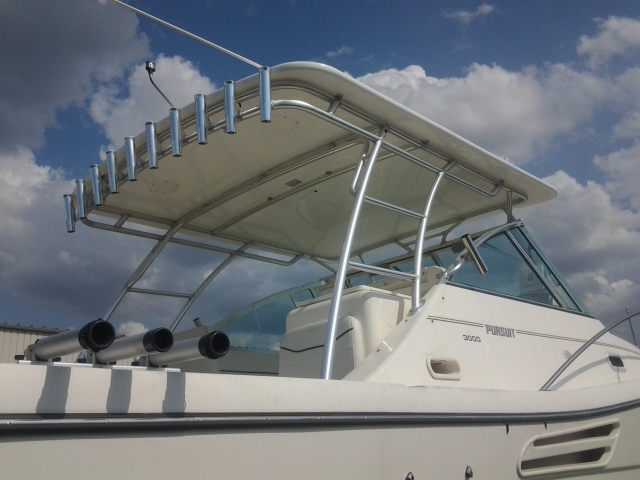
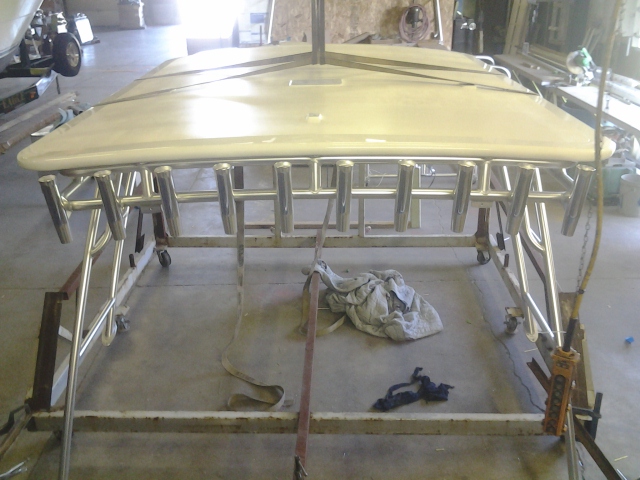
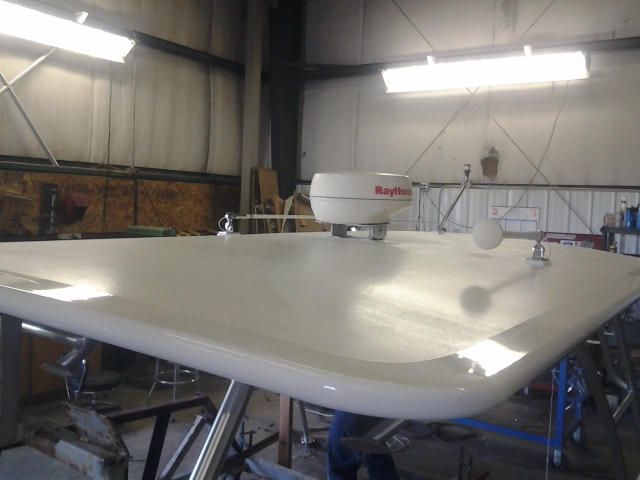
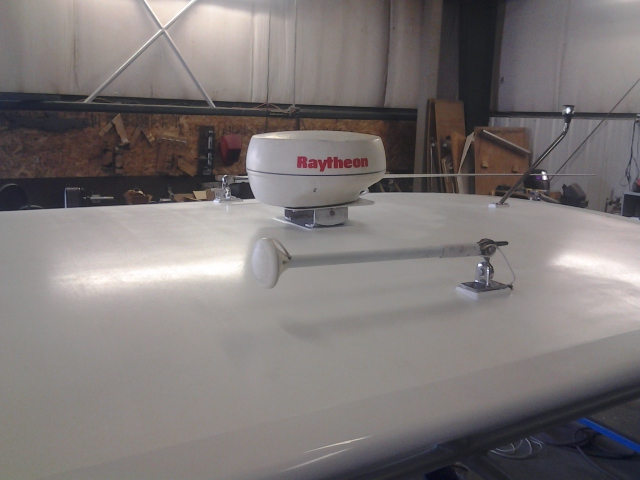
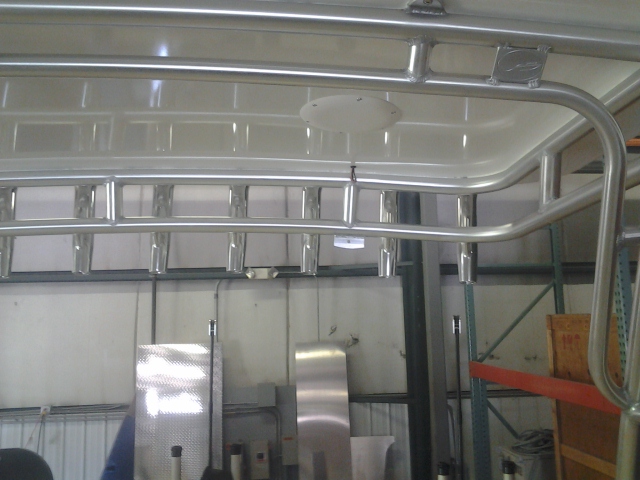
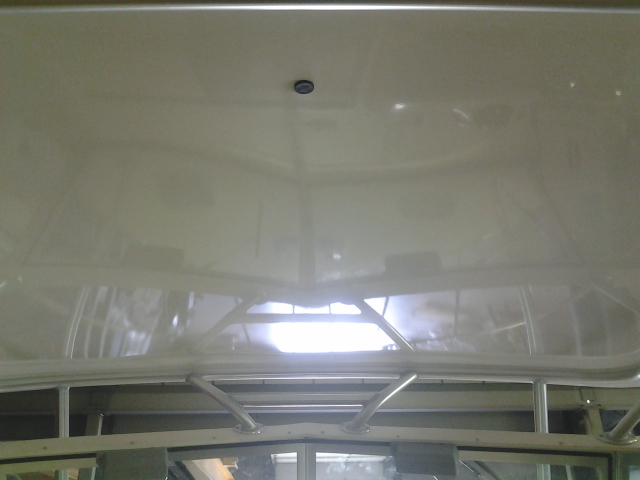
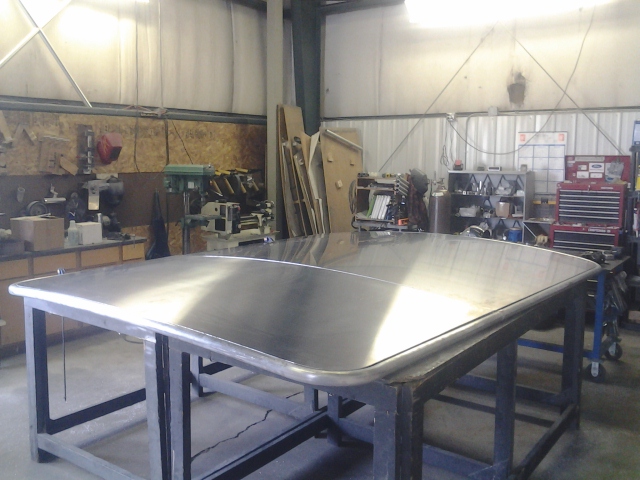
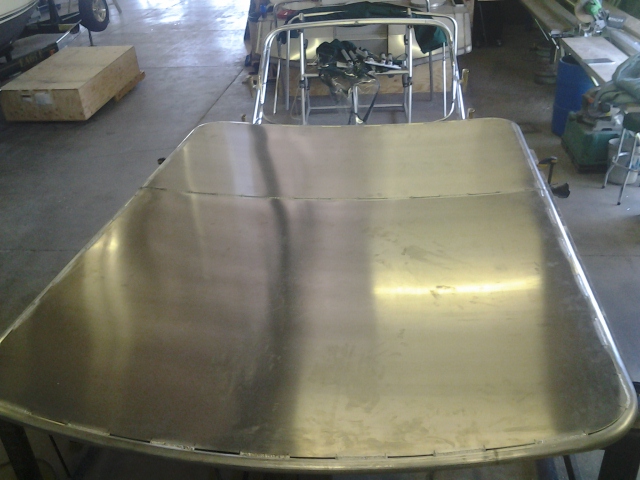
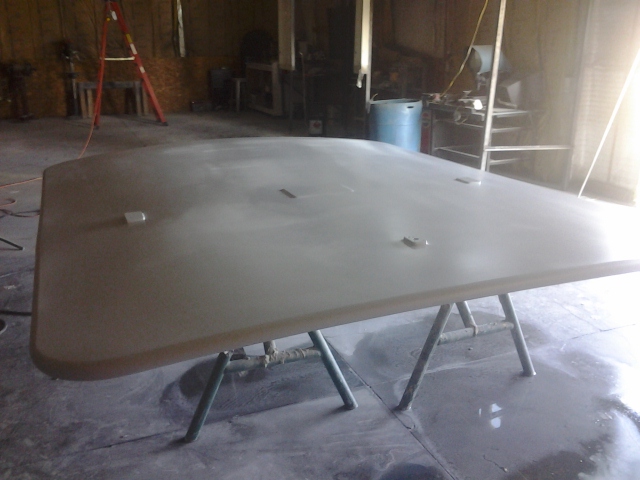
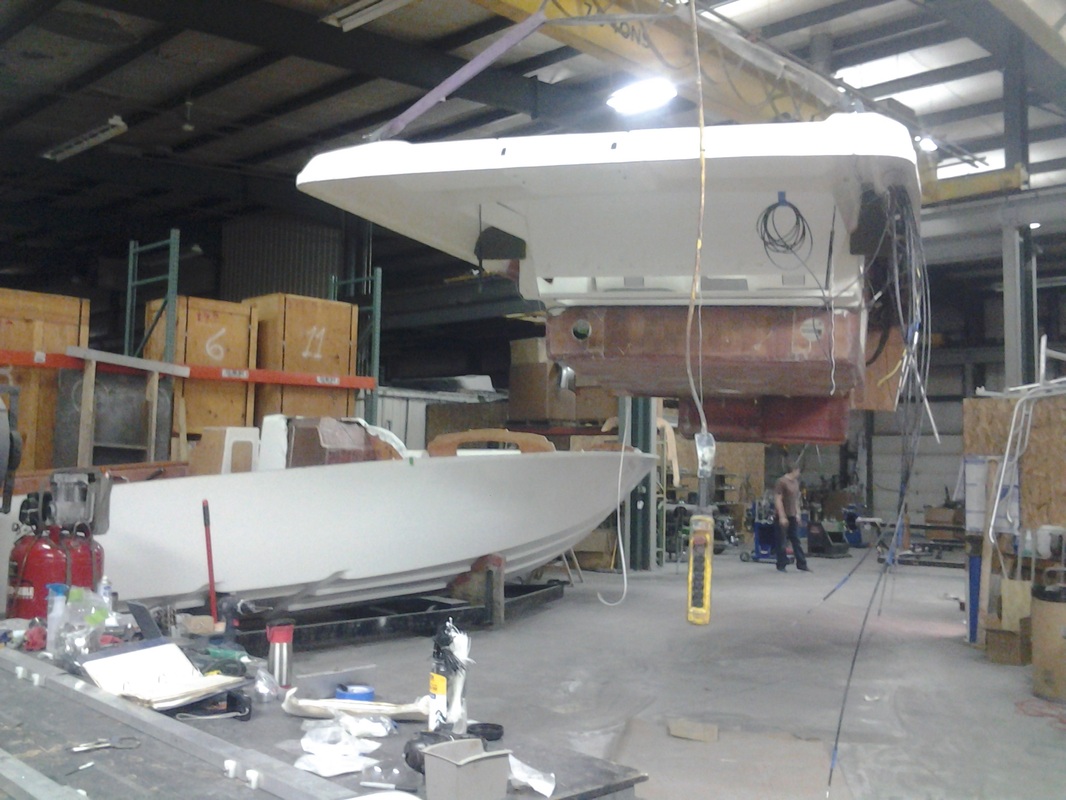
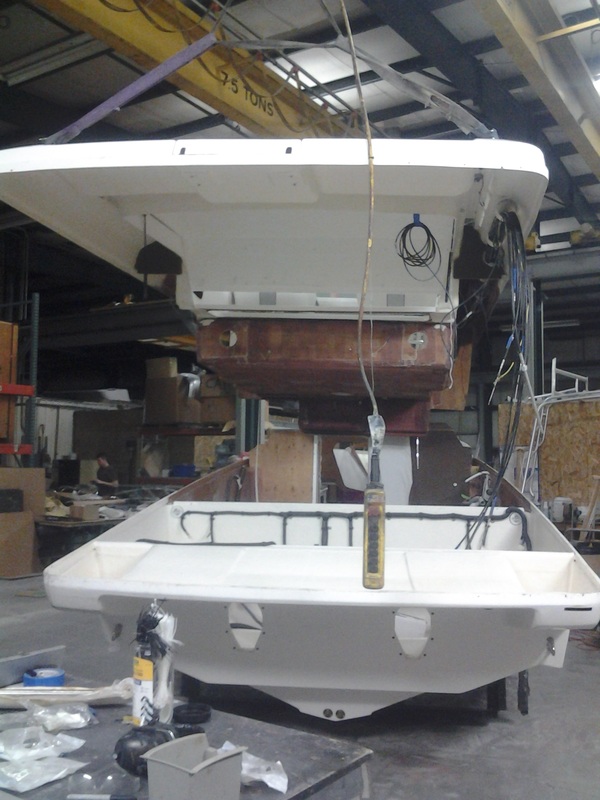
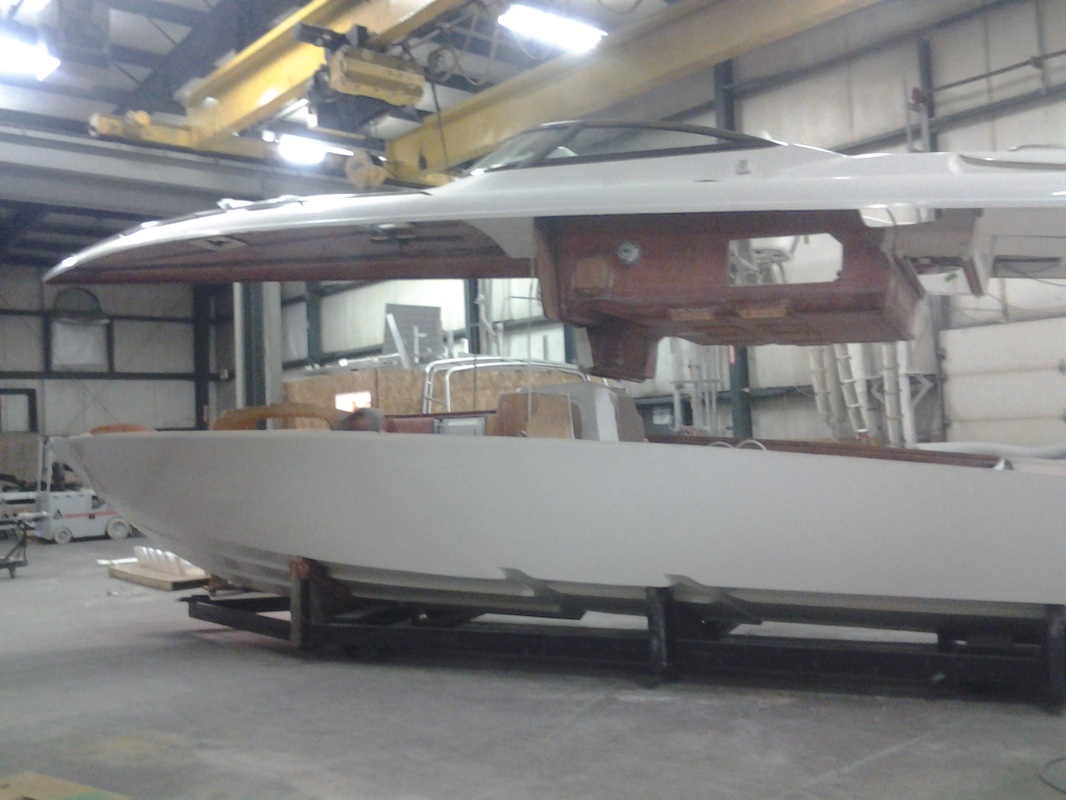
We received the top back from paint and put in some long hours prepping it for install. The hatches go in and the Webaso sunroof is installed. The antennas and all the wiring is installed into the top. 
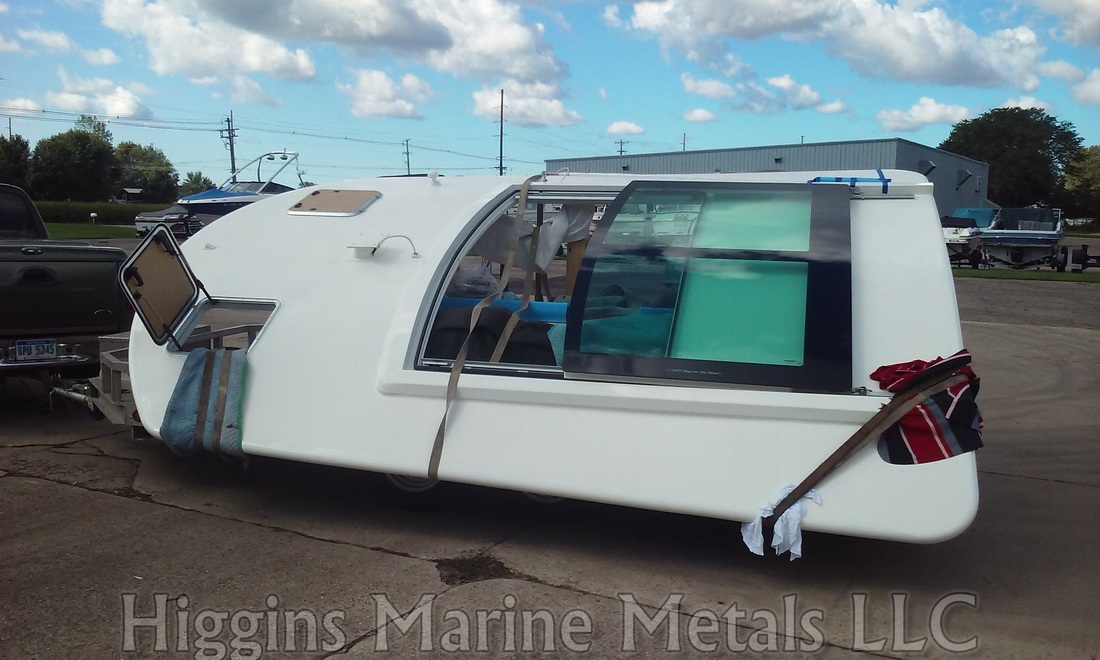
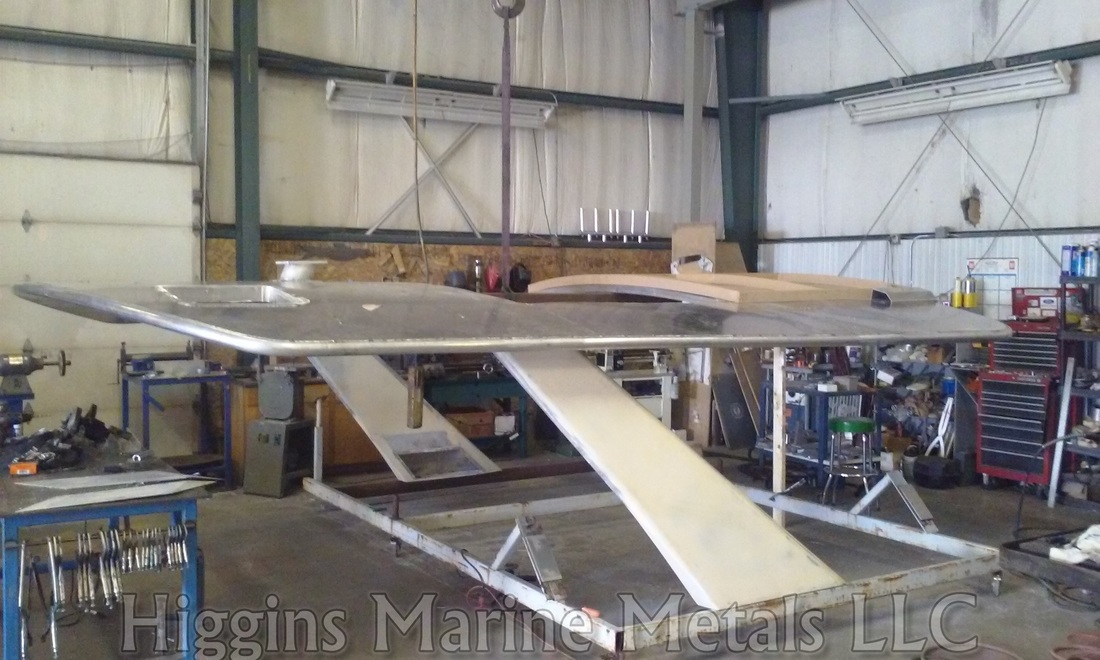
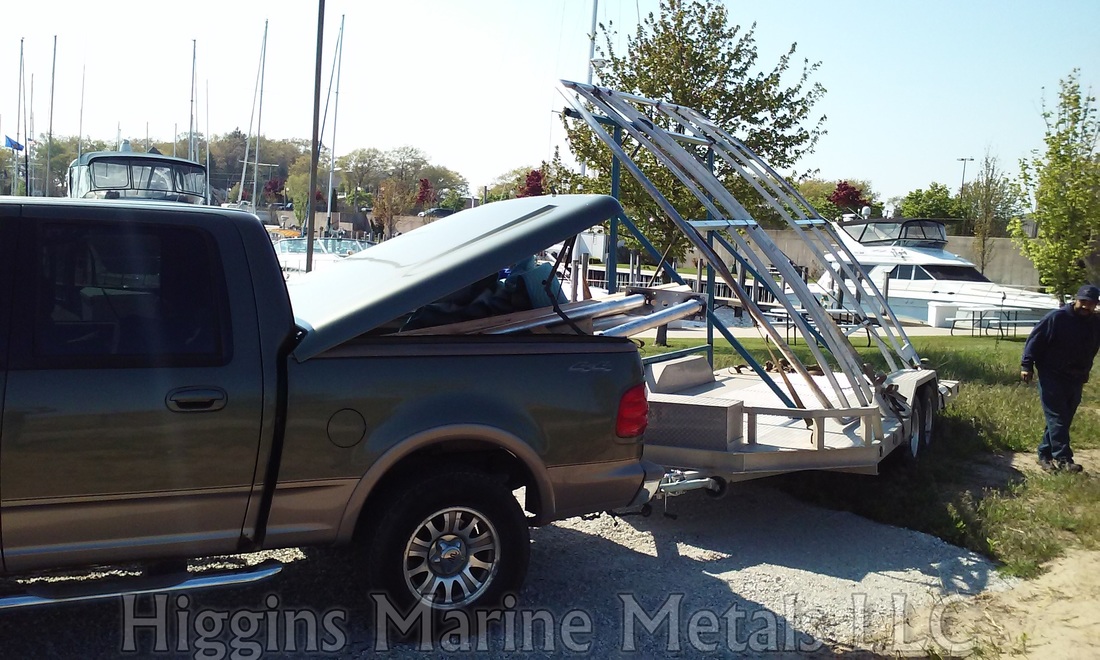
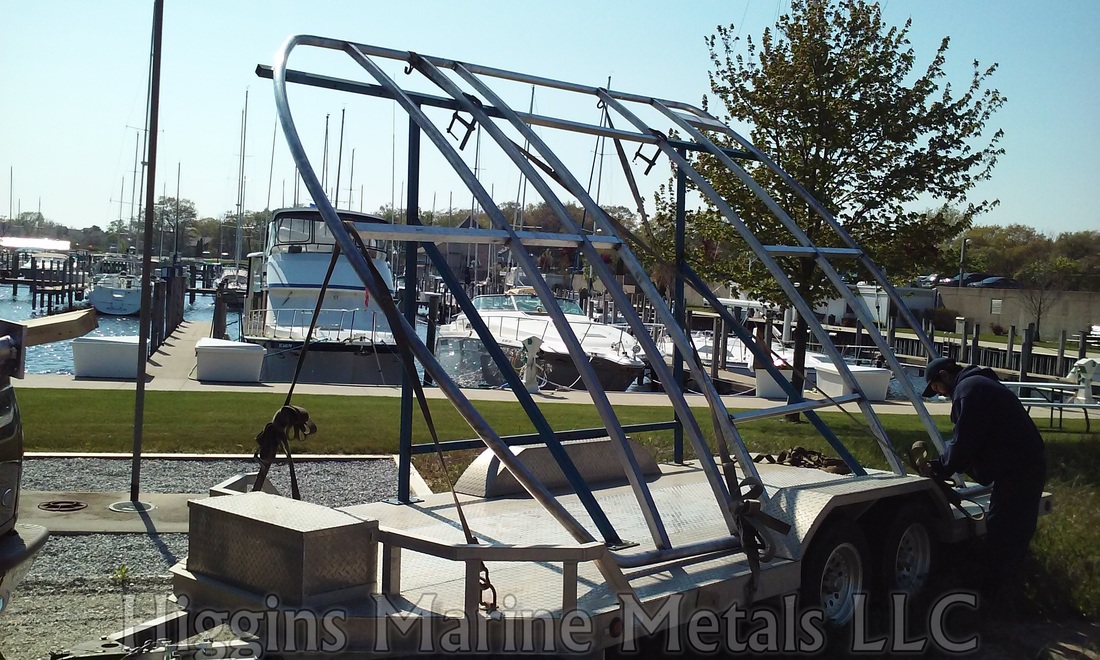
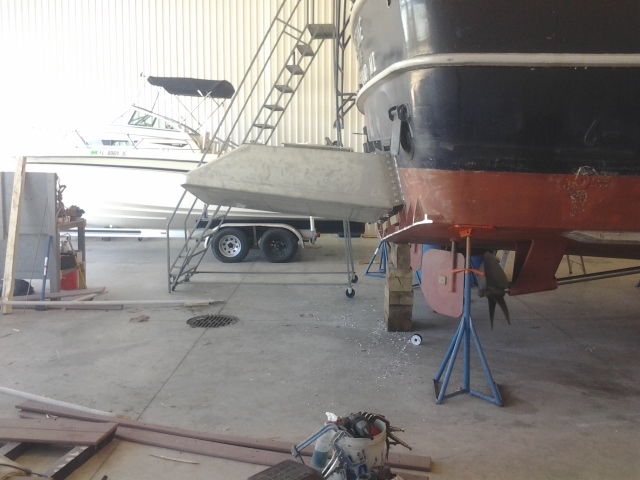
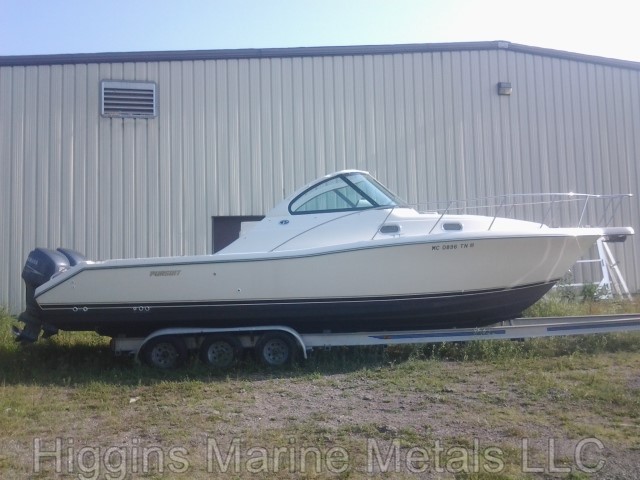
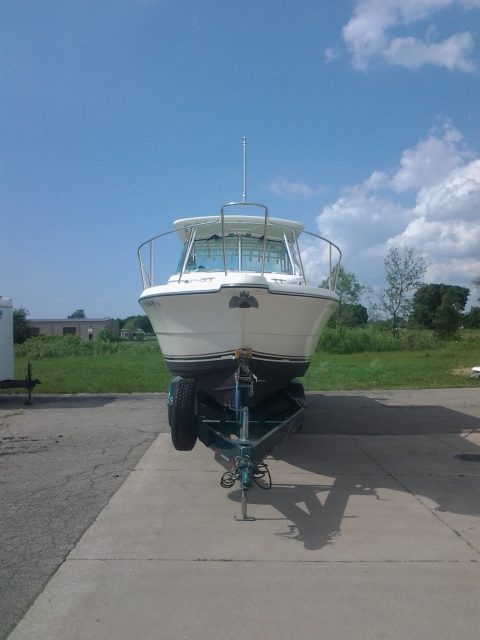
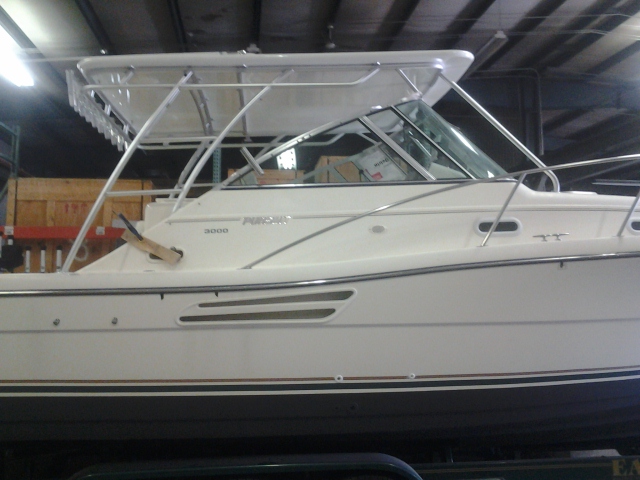
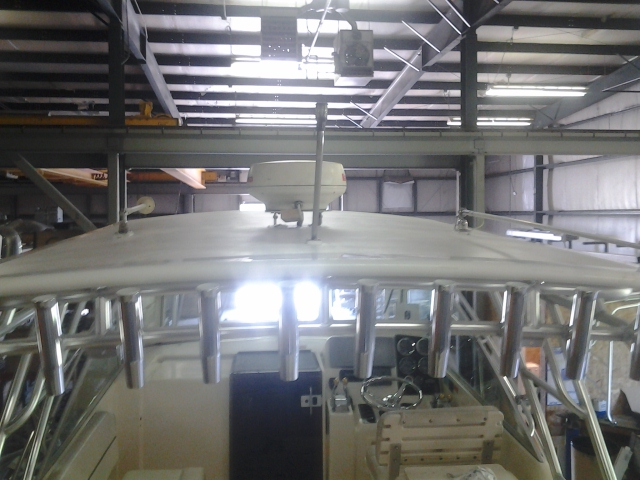
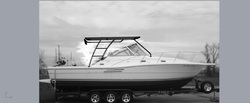
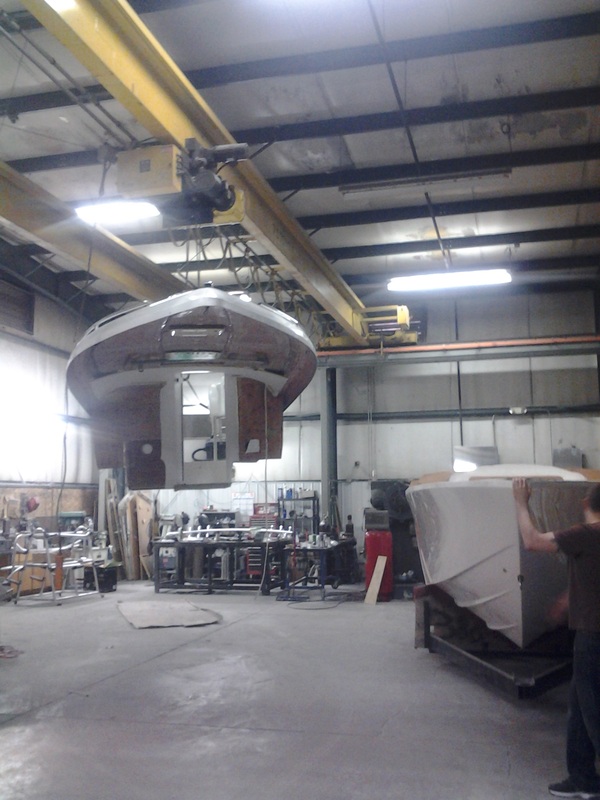
We are ready to transport and load the top onto the trailer. 
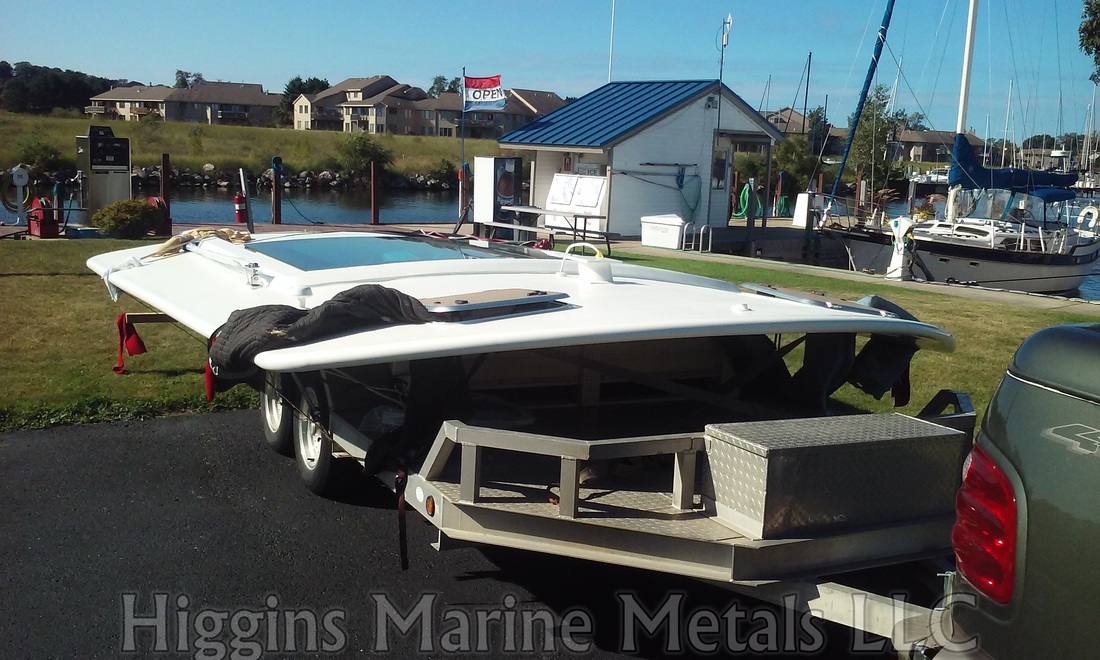
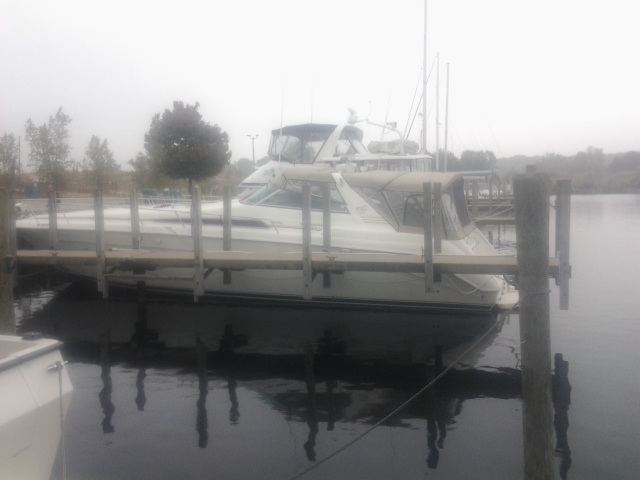
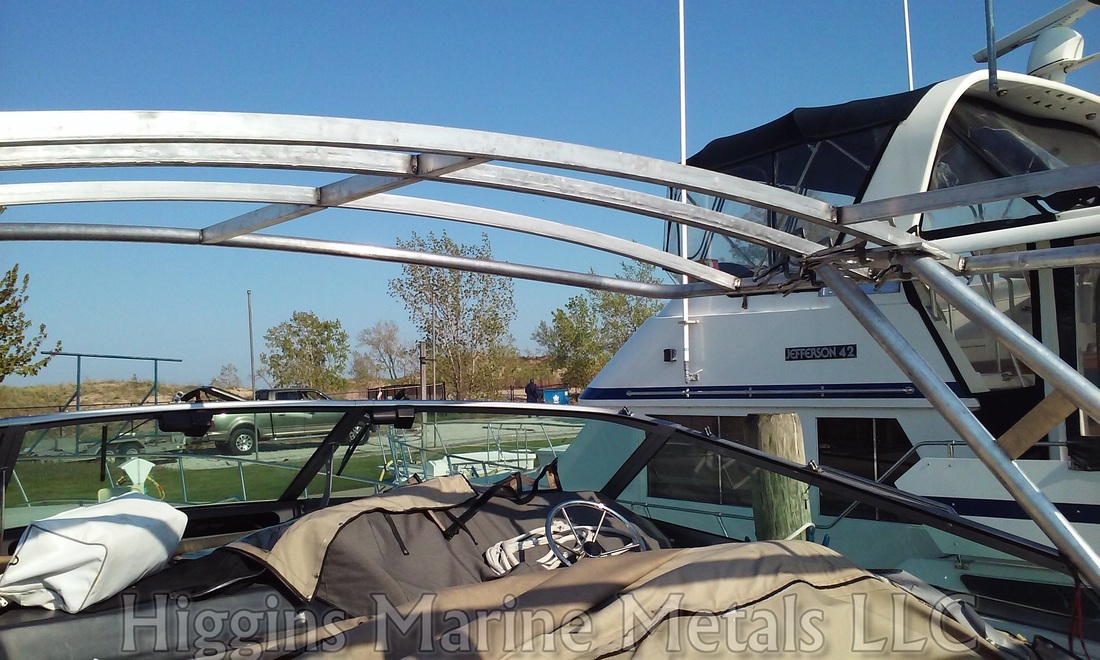
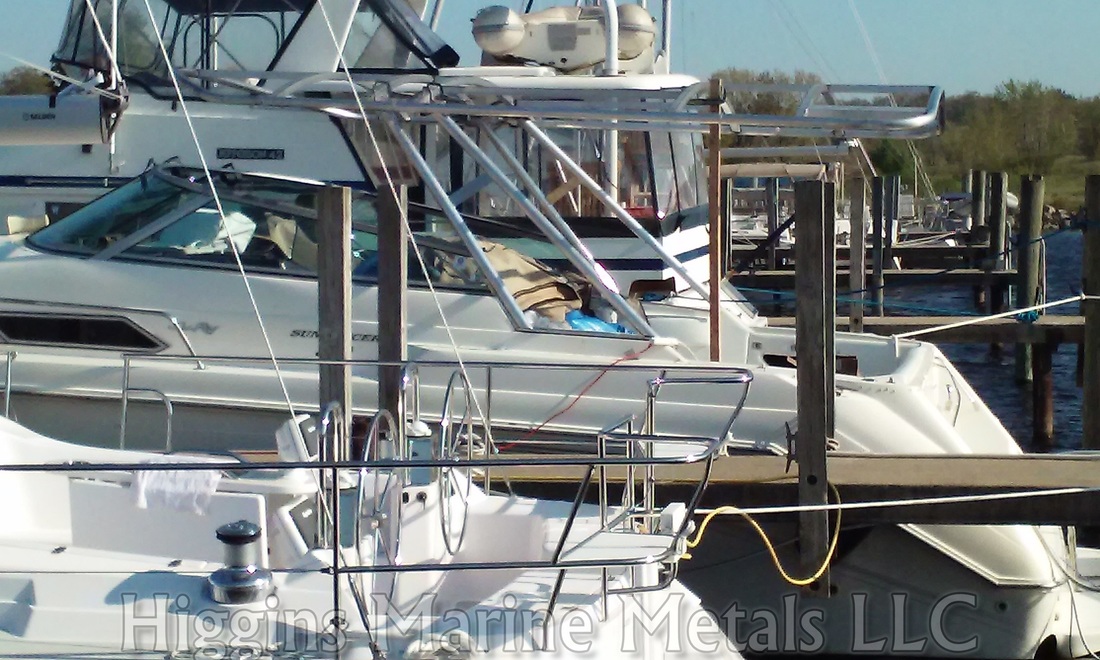
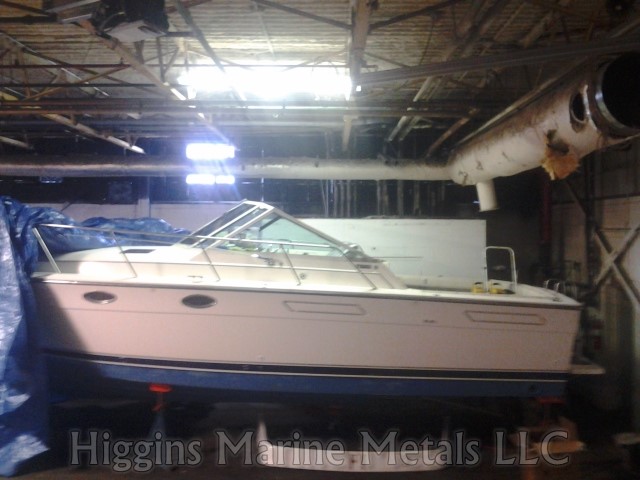
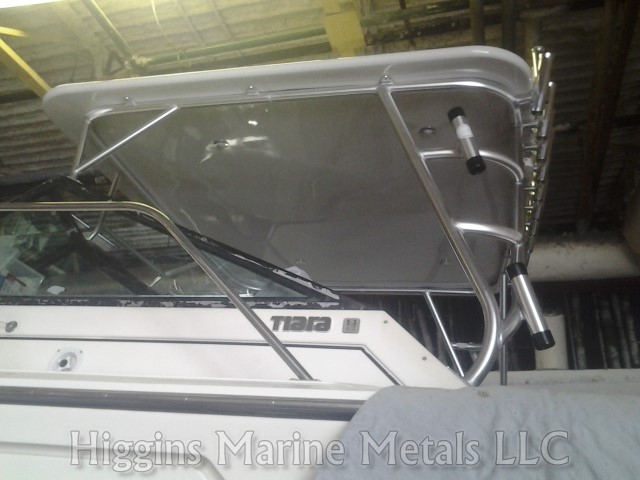
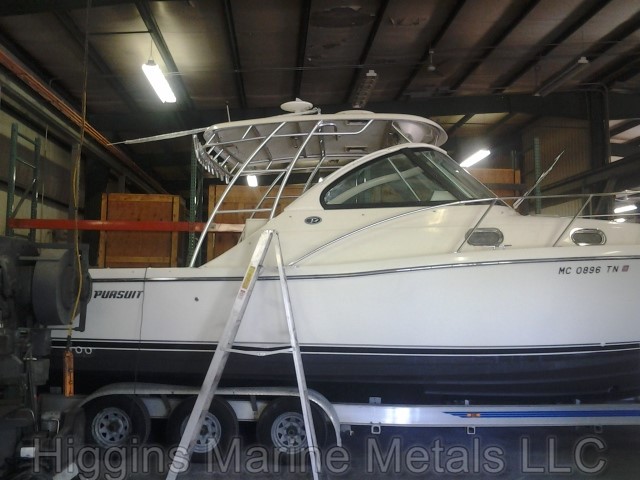
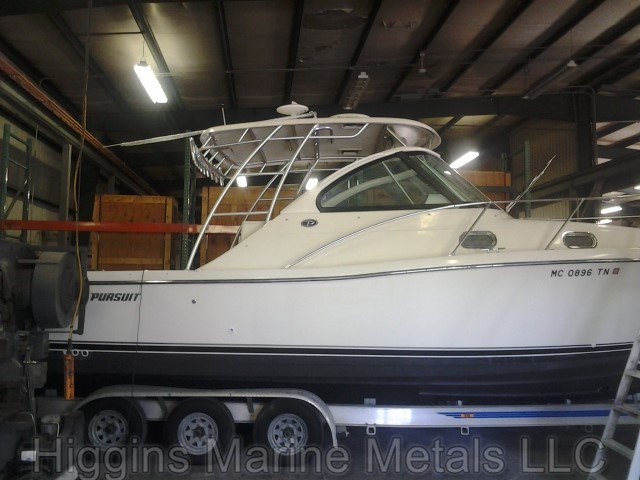
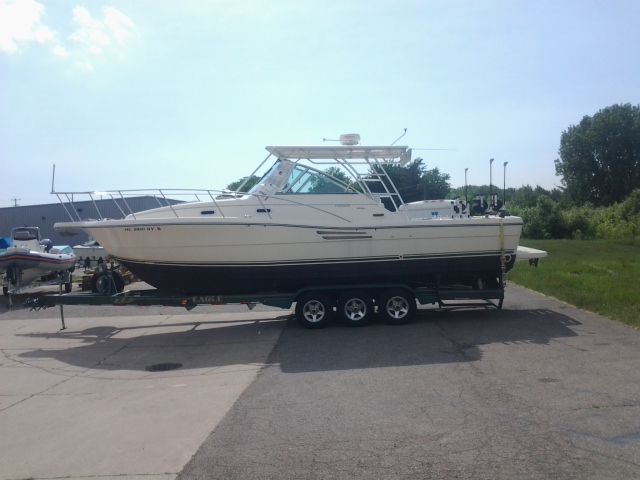
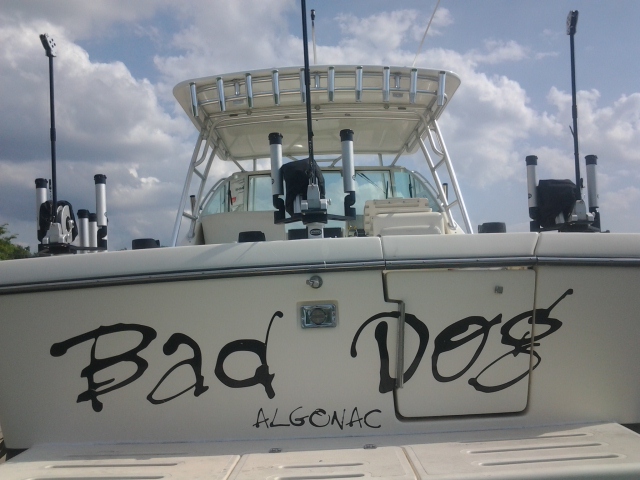
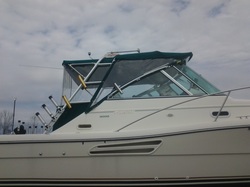
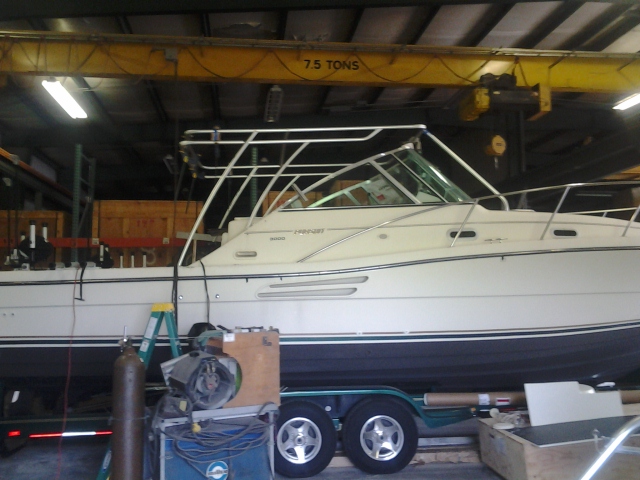
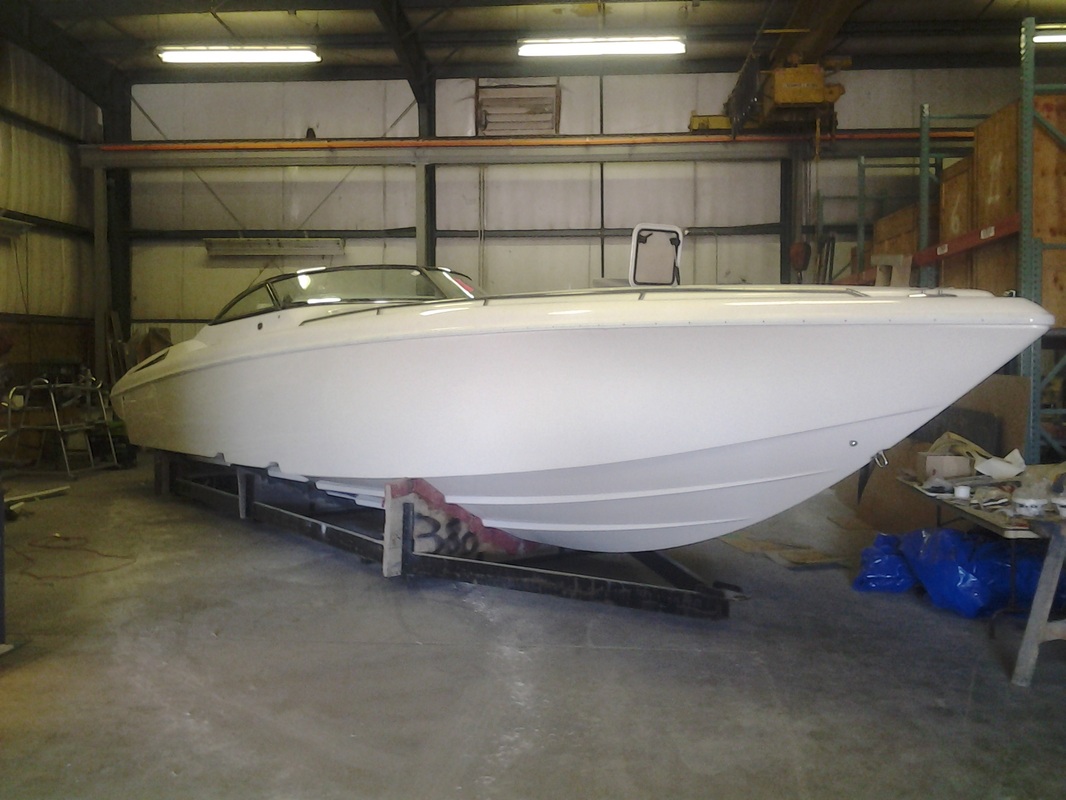
Safely arrived at the marina. Next post will be the installation
1 Comment
Top progress report Top skinning process We needed to create a roof jig to simulate what the profile and shape the actual sunroof will be. The wood was cnc cut to exact dimensions and curvature. Glued and screwed and placed on the top. The I.D. of the jig was used to make the final cut out of the opening. We are now able to accurately build the coming that surround the sunroof
We are going above and beyond with this project. This will be a full hardtop that will go from the windshield all the way to the transom and feature a Webasto sliding sun roof. We are also placing 2 hatches in the cockpit area for additional light and ventilation. The original arch will be removed and new aluminum side supports will be built to replace it. Follow along as we raise the bar at HMM. This is before. Entire upper deck was enclosed in canvas. We will be providing a solid top and the canvas will only be around the sides. These types of projects start on the drawing board and we work through many concepts and brainstorms to figure out what the customer desires. This top will be getting a Webasto series 80 sliding sunroof with green tinted glass. The unit is approx. 91" wide x 75" long. There will be a ton of fab work put into the area of this opening to allow the window to drop in and function correctly. Let the Work begin Side Supports are first. They will pretty much follow the same profile as the arch, so the windshield intersects in the same manner. We will be raising the height of the top by 9" for more head room in the cockpit. The arch was never designed to support the weight we will be adding and was already showing signs of failure from the weight of the radar unit. The pipe for the upper ring frame is now laid out and formed up. The size begins to show up now and it is overwhelmingly big. 16' - 6" long and 13' wide is quite the foot print in my little shop. Those are 4' x 8' tables it it sitting on 2" square frame work is rolled and placed into the frame. A steel fixture is used to hold the side supports in place and the top is fit for initial testing. We will be taking the open frame work up to the boat to do our initial fit up, so all my reference points are located on the fixture and any necessary changes can be made back at the shop. Test fit has been done and all went well. Back to the shop to begin sheet metal work and the rest of the construction. The Bottom has now been skinned. The hatch openings are sleeved 3" wide and trimmed with 1" wide flat stock. The side support pockets are recessed to accept the support and be flush when installed. The opening for the roof panel can now be seen. Next step is to flip it over and run all pull cables for chasing wires later on. Then begin skinning the top side.
Higgins Marine Metals was given another Hardtop project this winter. This Tiara will be the Flycatcher fishing teams new vessel for 2015. This project will be a painted top with fully integrated rod and net holders. Radar pod and interior cockpit lighting will be part of the top. Ring frame for the top begins All wiring is chased in 1" aluminum pipe within the top Top skin cut to fit. Bottom skin half fit. Top has now been body worked and painted. Back to my shop for final assembly Custom offset Rod holders created specifically for this build Support frame constructed and ready for top installation Top is set and Net holders are mocked up Radar dome installed Upper rod holder rack is fabricated and test fit 21 storage rod holders along the back edge. Clean underside with 4 lights that can be white, blue or red. Installed on the boat No more Canvas! Finished project. Pictures to follow when the weather breaks.
Our next project is to recreate the aluminum structure that held up the fiberglass hard top. This boat was capsized in a storm and destroyed the original structure. Being 10 years older now we decided to go with a modern styling. Cleaner lines and more side curvature. Here is the project The fiberglass top was salvaged and repaired. The ring frame is then made to fit exactly where the original sat so the repaired holes can be reused. At this point the ring frame is hung with the crane in position and the support is fabricated and tack welded together. This will end up with 10 rod holders across the back. Entire frame is removed for welding and test fit in the hardtop again for good measure. Complete!
This is the original arch and bimini soft top. It leaks and is in need of replacement. Fortunately this customer would like to drastically improve this with a Higgins Marine Metals Hardtop After many concept variations the owner has decided on this profile for the support structure. Now the work begins Top will be finished and painted then attached to a brushed anodized pipe structure. I utilized the same exact mounting points that the arch was on. Rod holders will be on the drop ring for access from the aft deck. top is prepped with epoxy primer. Bottom side will get Urethane enamel and the top will be urethane enamel with non skid added. Structure is removed and placed in a welding fixture and welded out completely
Just another fun day at Higgins Marine Metals! Deck set day. We are assembling a 38' powerquest that was never finished before the factory closed. The boat will be finished out but not powered. It will be up to the purchaser to decide what engine package they want. Together at last. Permanently joined at the seam.
|
Archives
October 2015
Categories
All
|