|
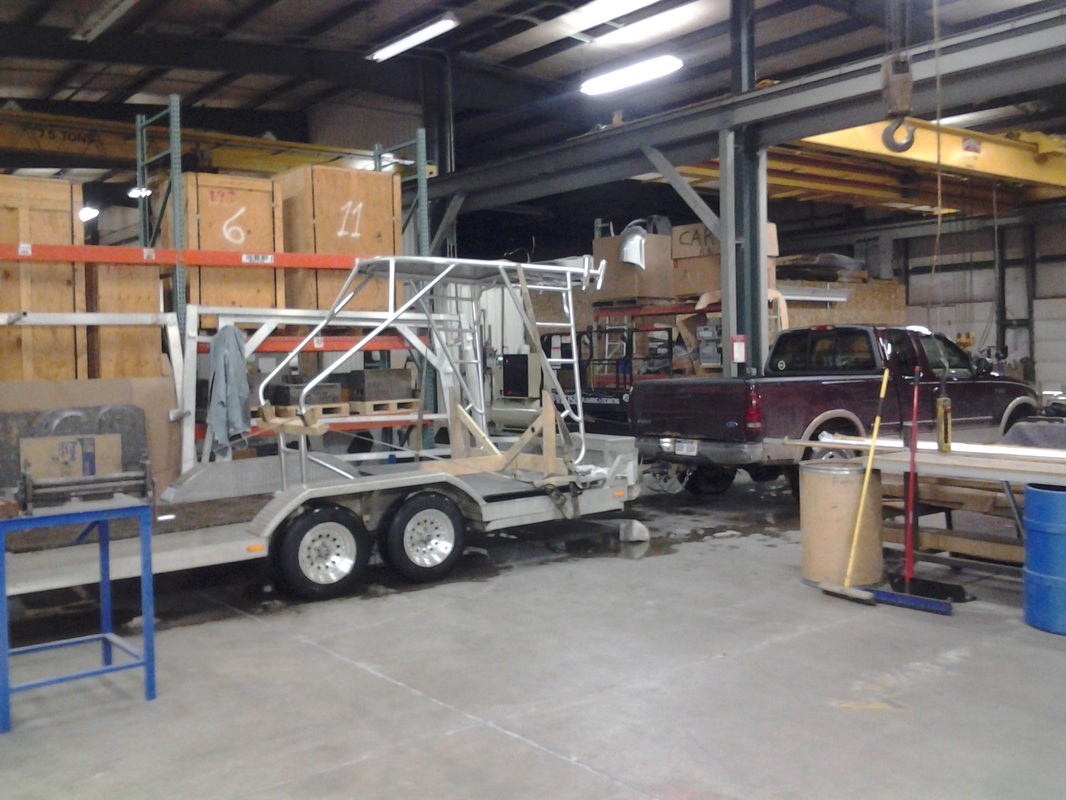
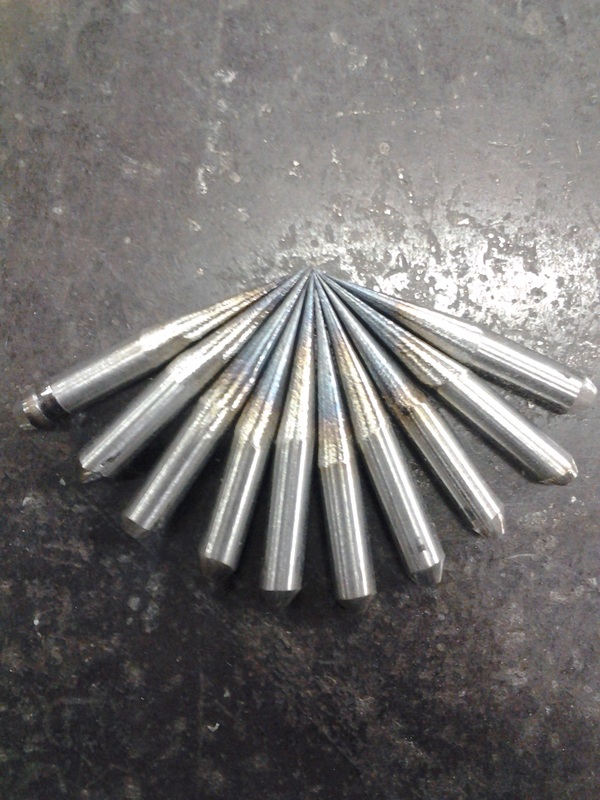
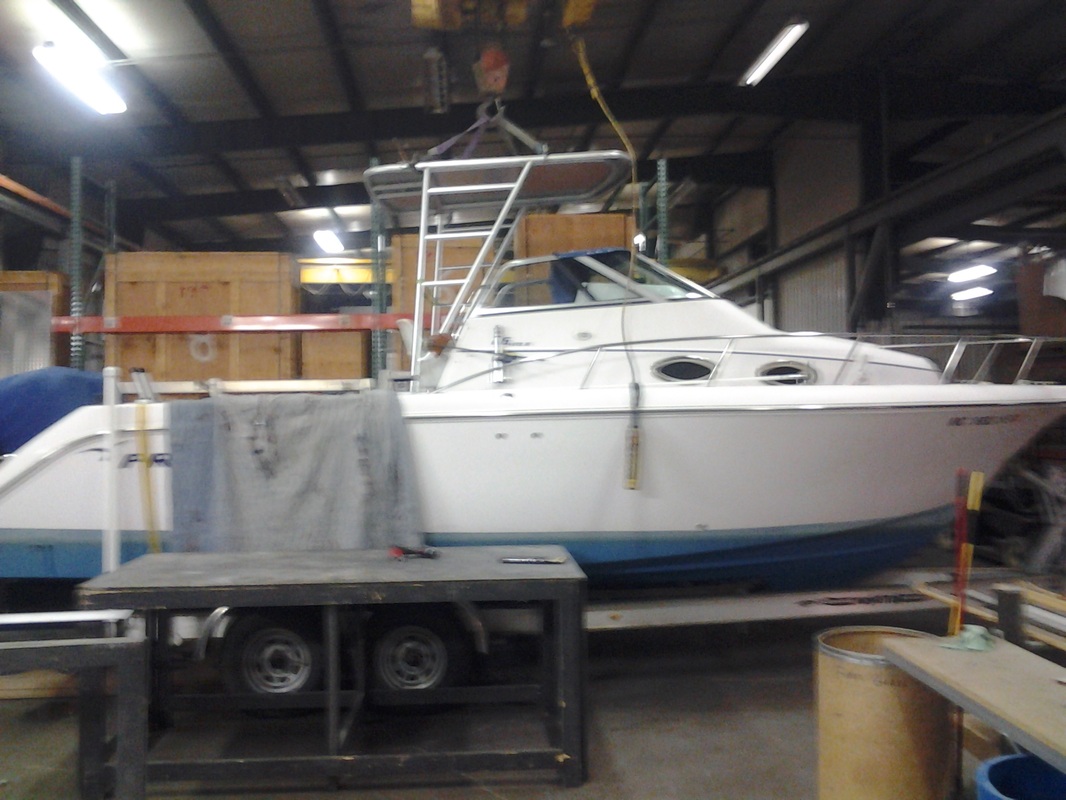
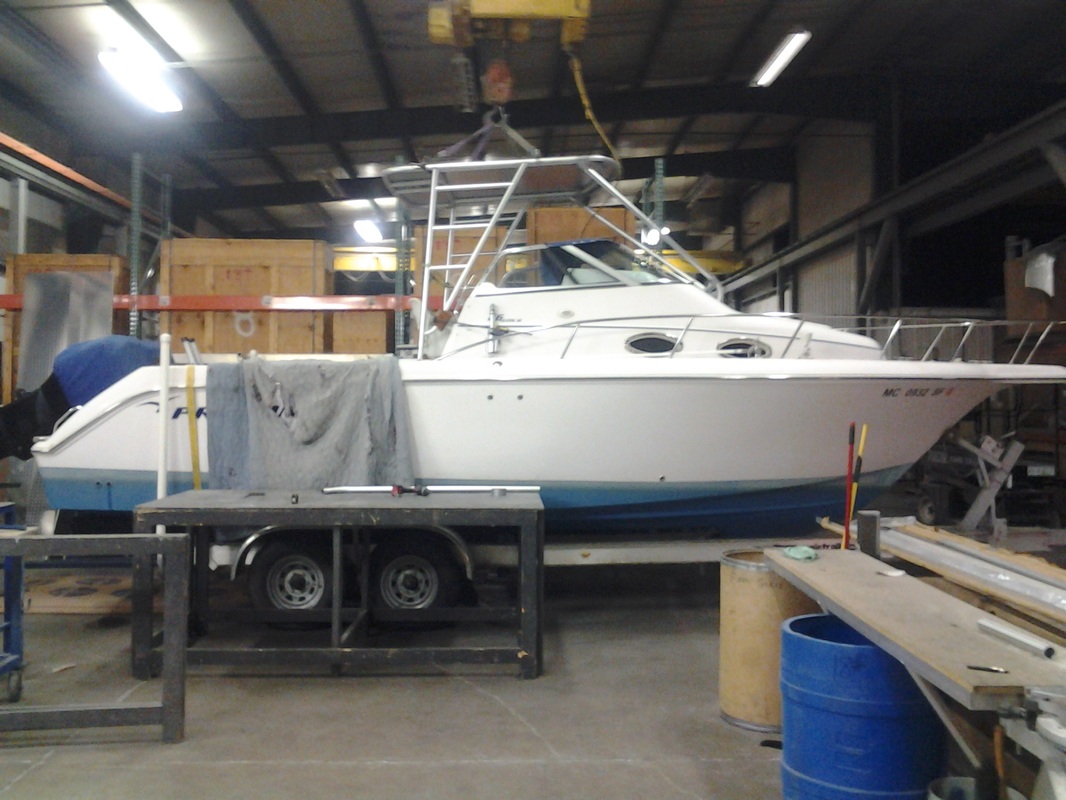
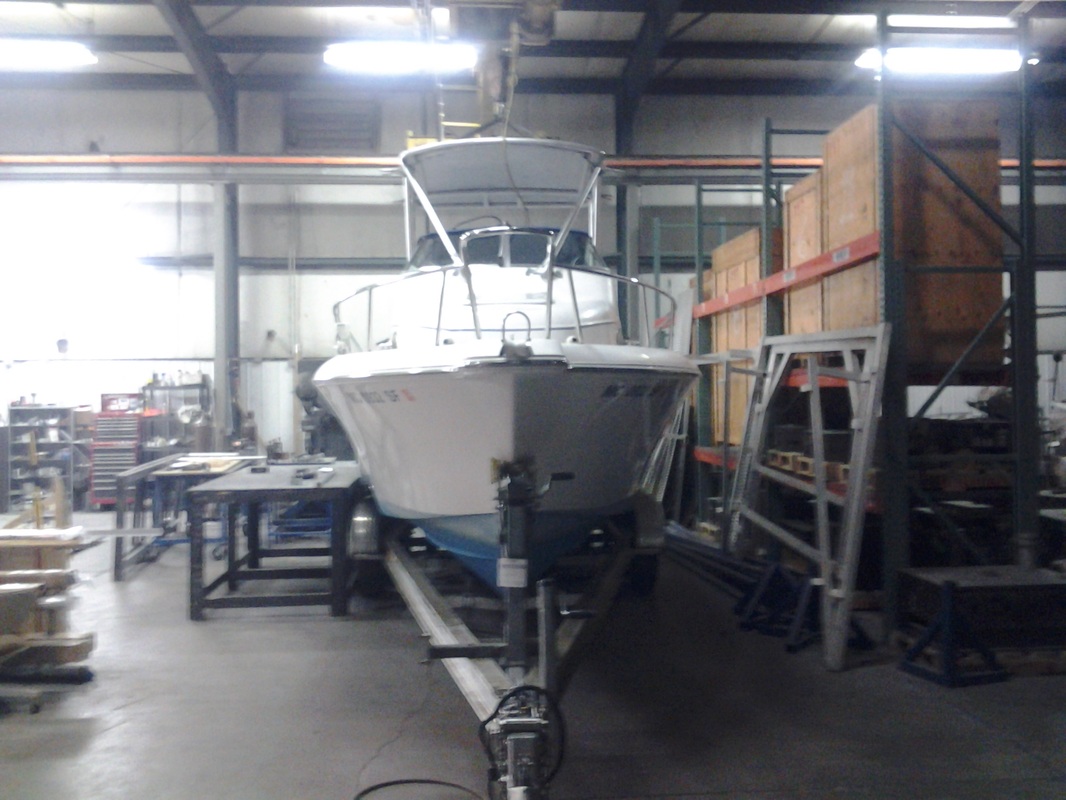
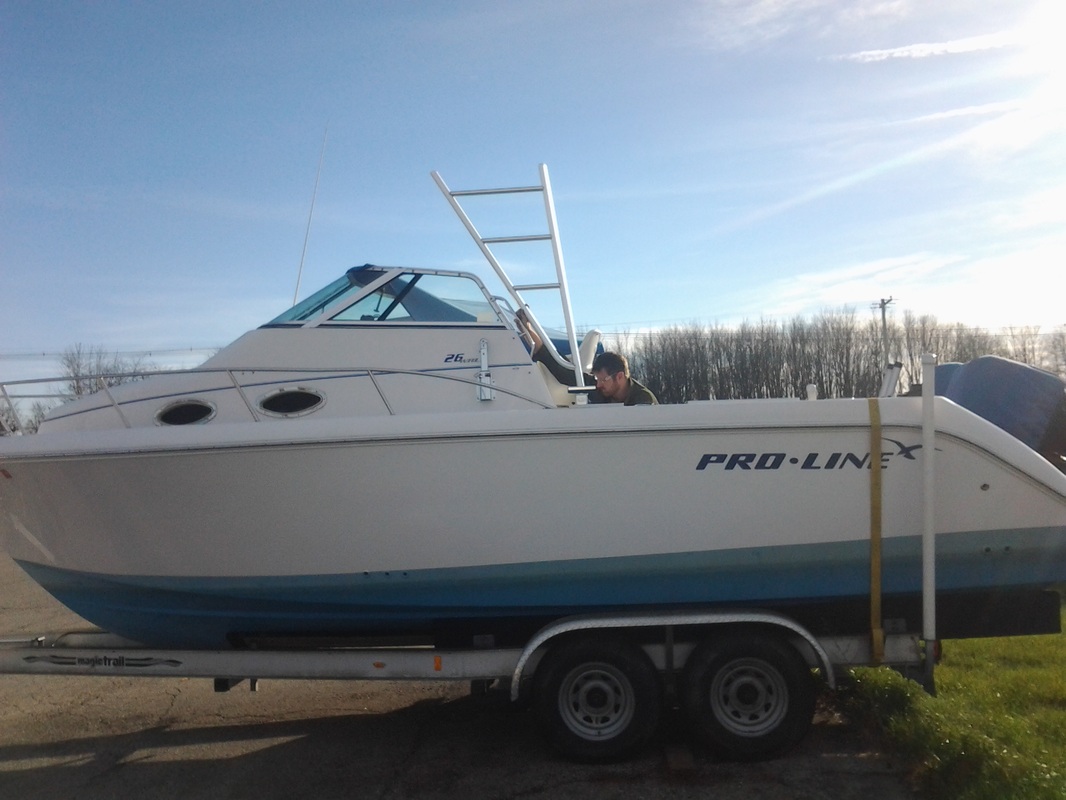
Loaded up and hauled it to the painter today. Will be a week or so before we get it back. Time to get a few spear orders out!
1 Comment
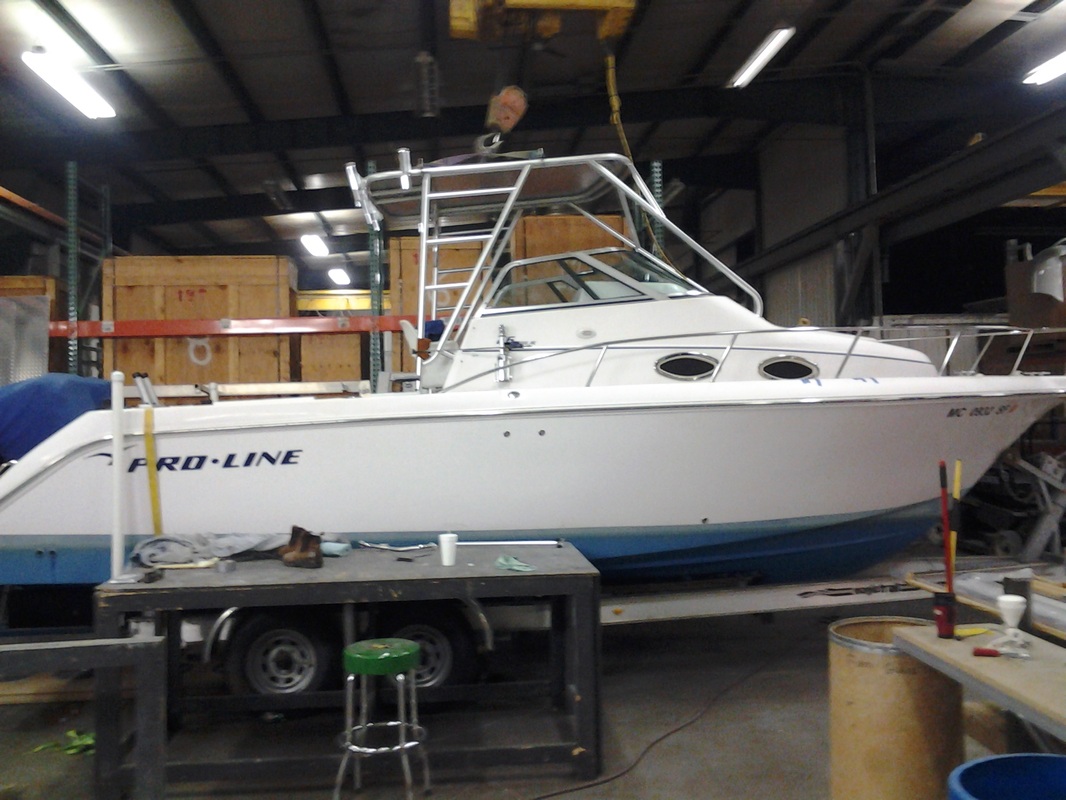
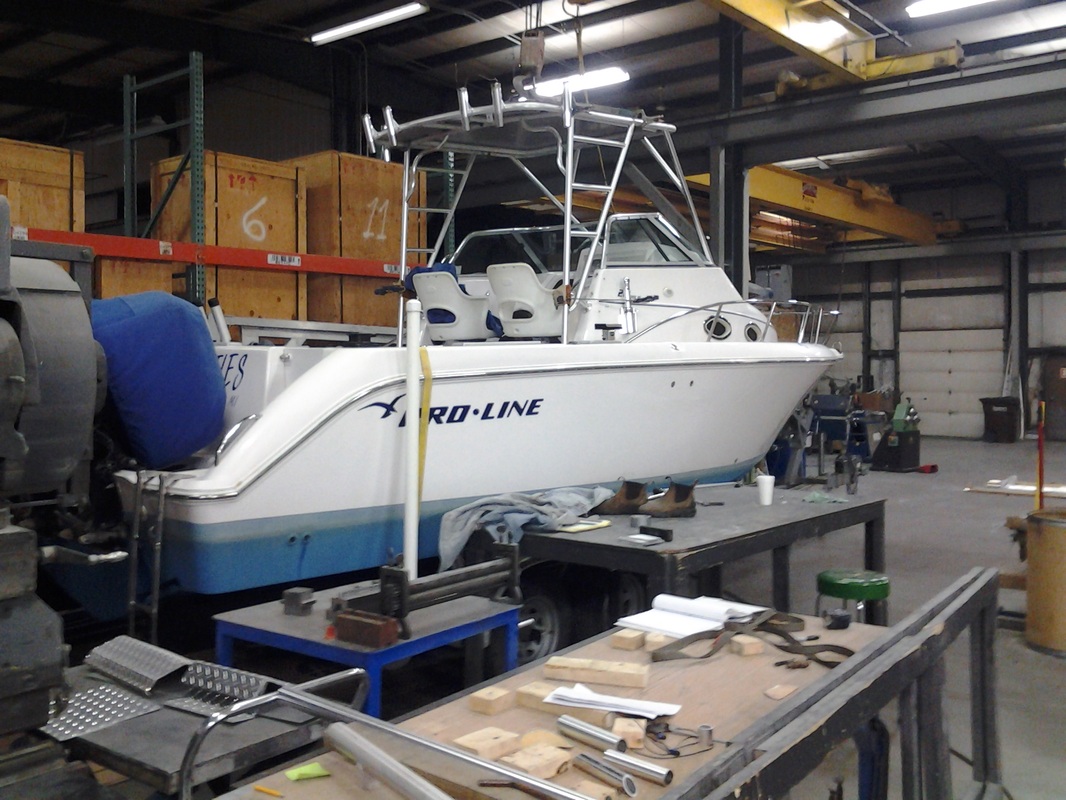
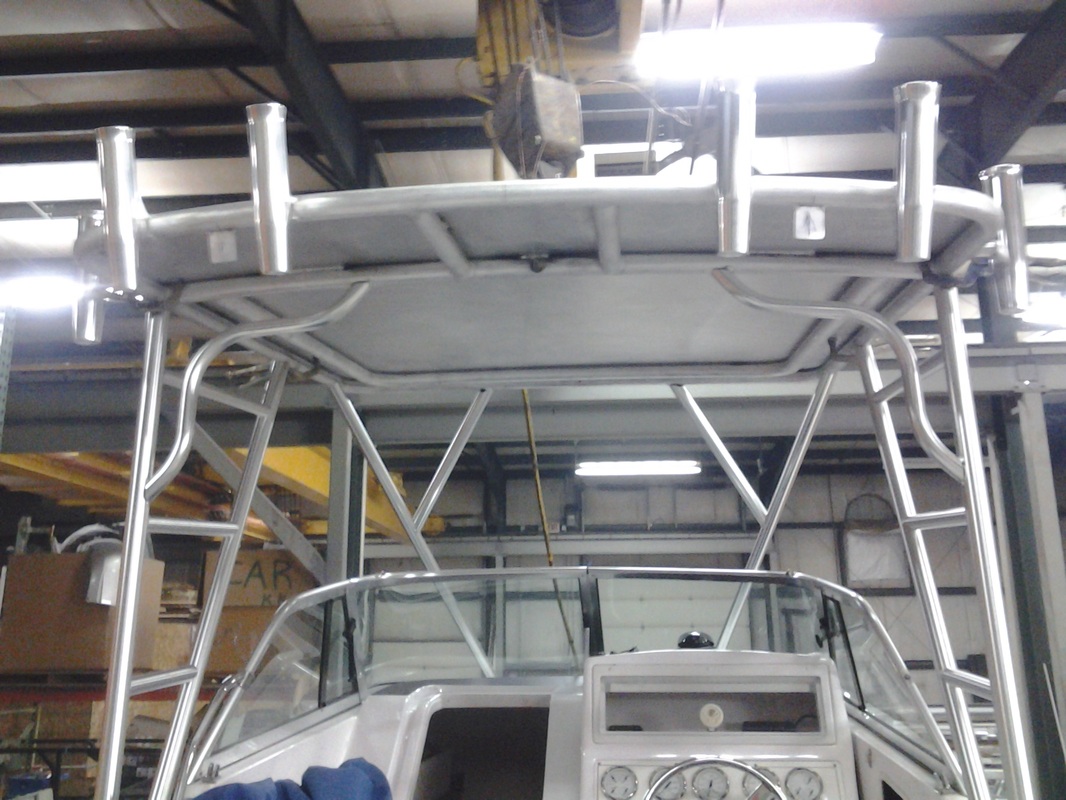
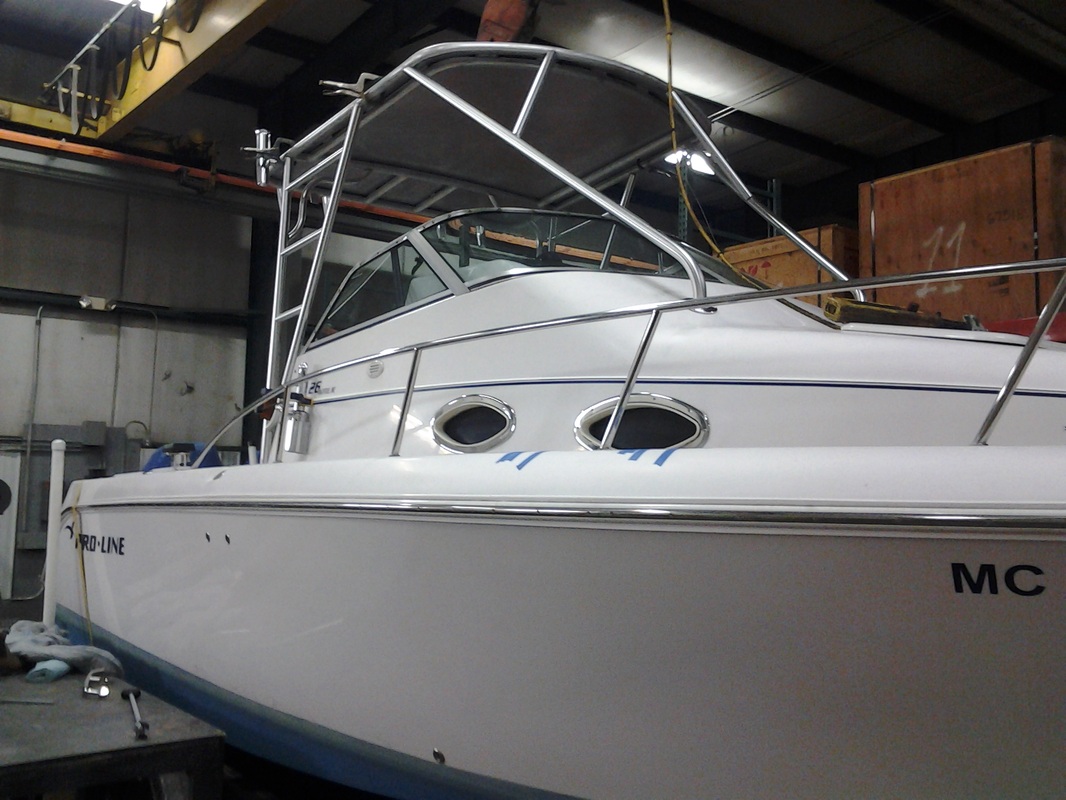
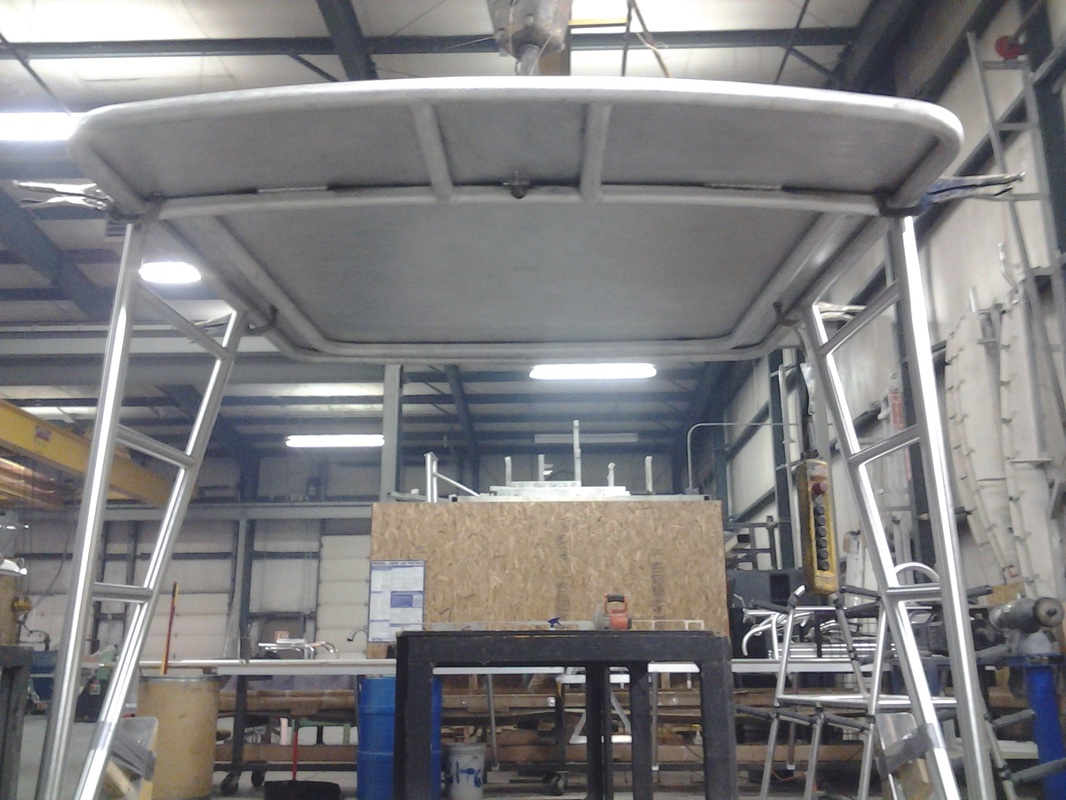
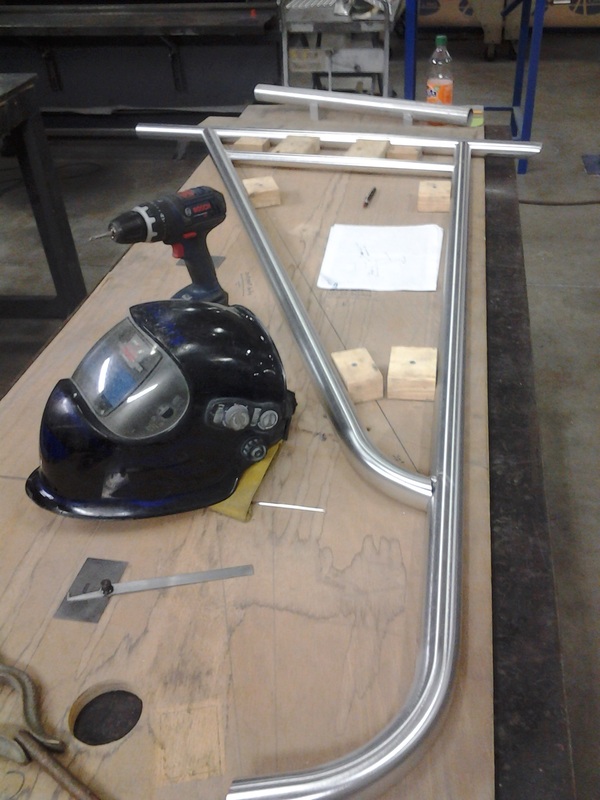
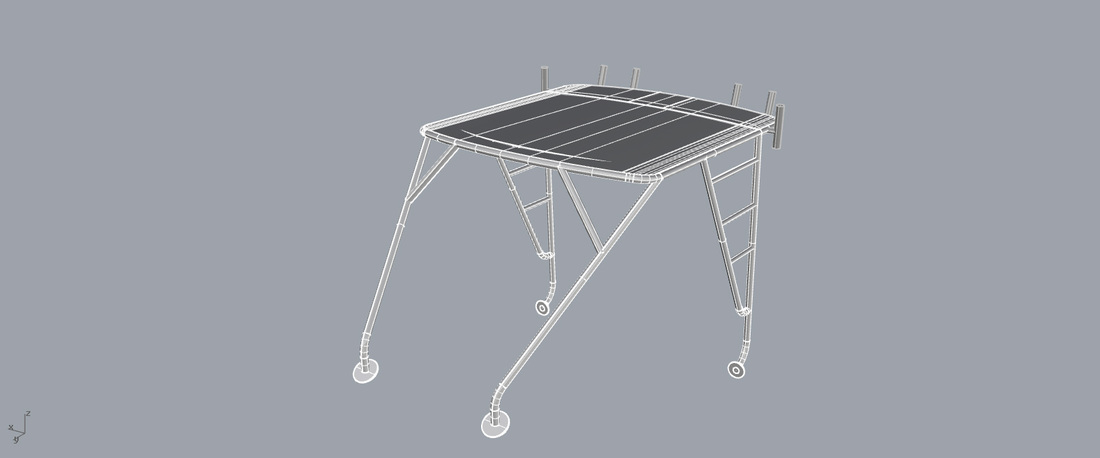
Rod holders went on today as well as the fwd stiffeners and a side leg gusset. Structure is complete and will be fully welded tomorrow. The next step will be paint. The legs and rod holders will stay shiny and the top will be white like the hull. Spreader lights will be mounted in between the rod holders.
Started the day by Joining the top to the side legs. Installed pull wires for later use when we install the electronics. Then added upper support pads to the lower leg. We got our first look at it and proved the attachment points. Checked Height and angle of top and sides. Very happy with it so far. Finished out the day by making the fwd legs and duct taping them to the top for analysis. Side looks good but front view needs a little adjustment down and out. They are slightly in the line of vision and there is room to move them. Easy move with the duct tape connection.
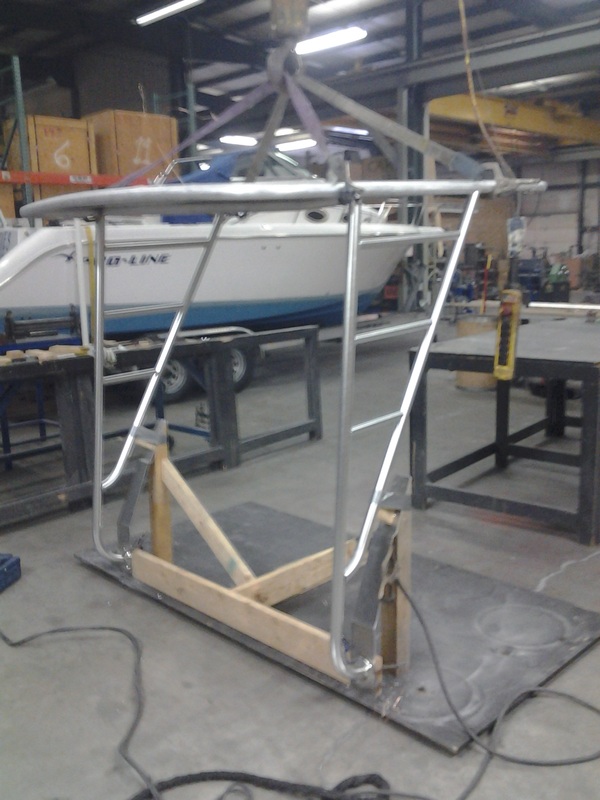
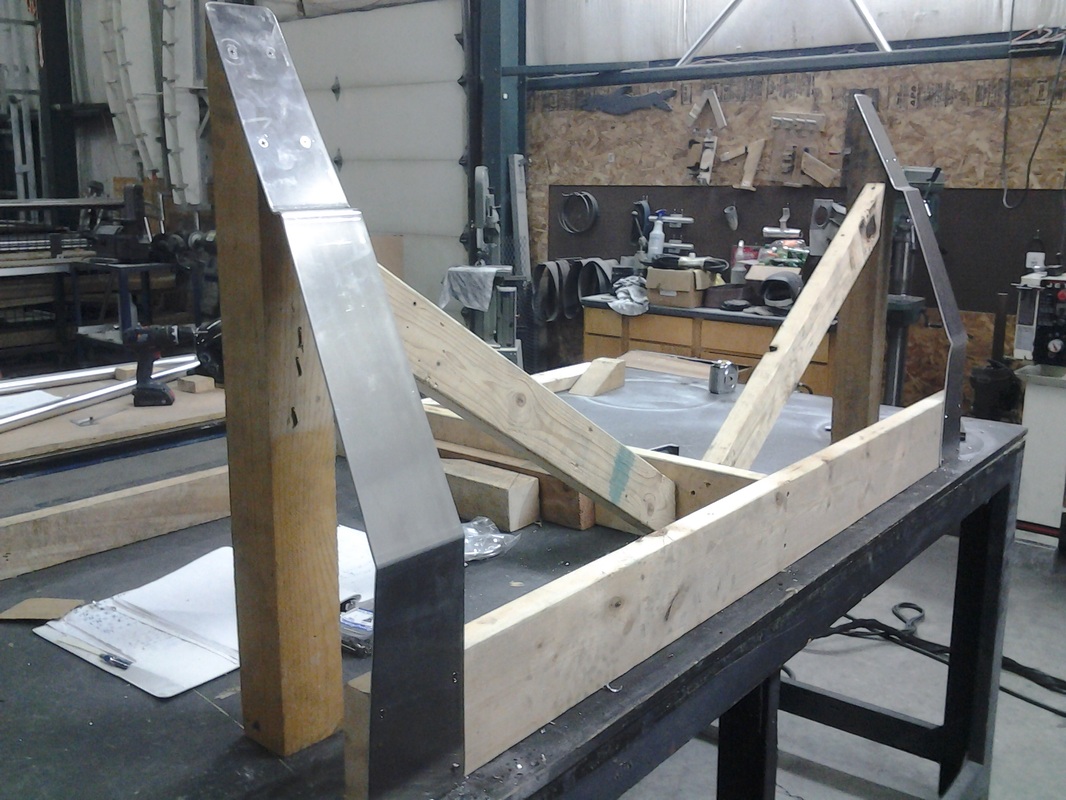
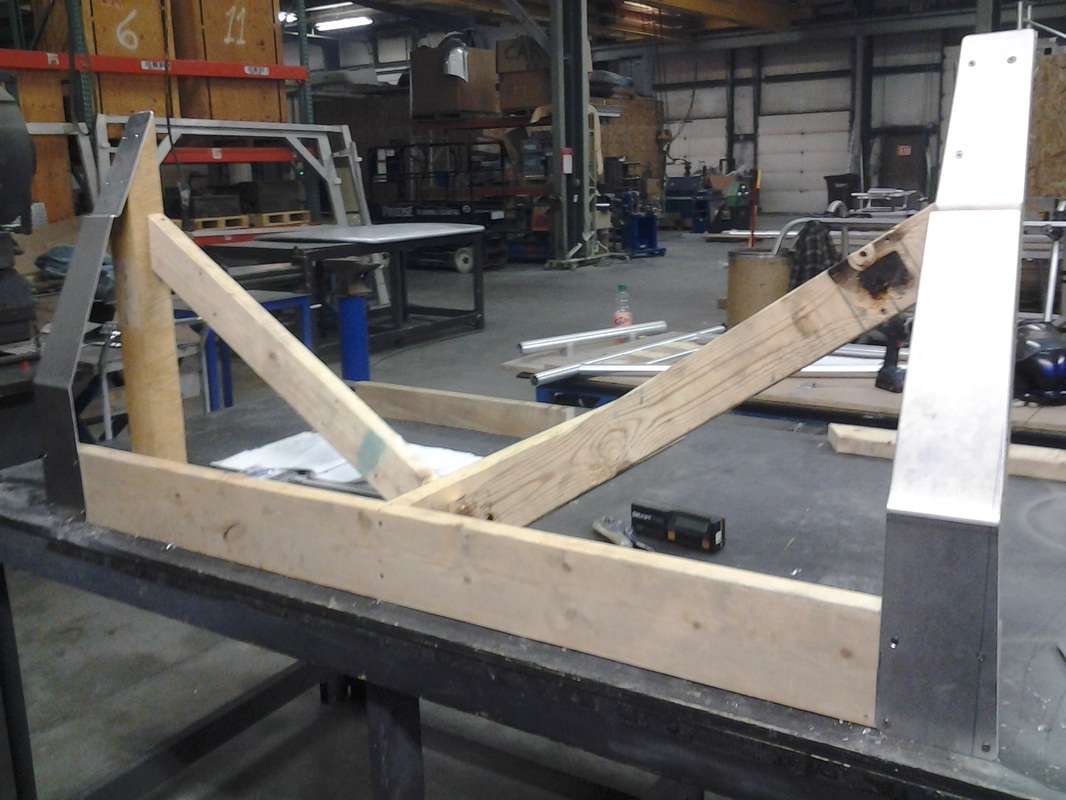
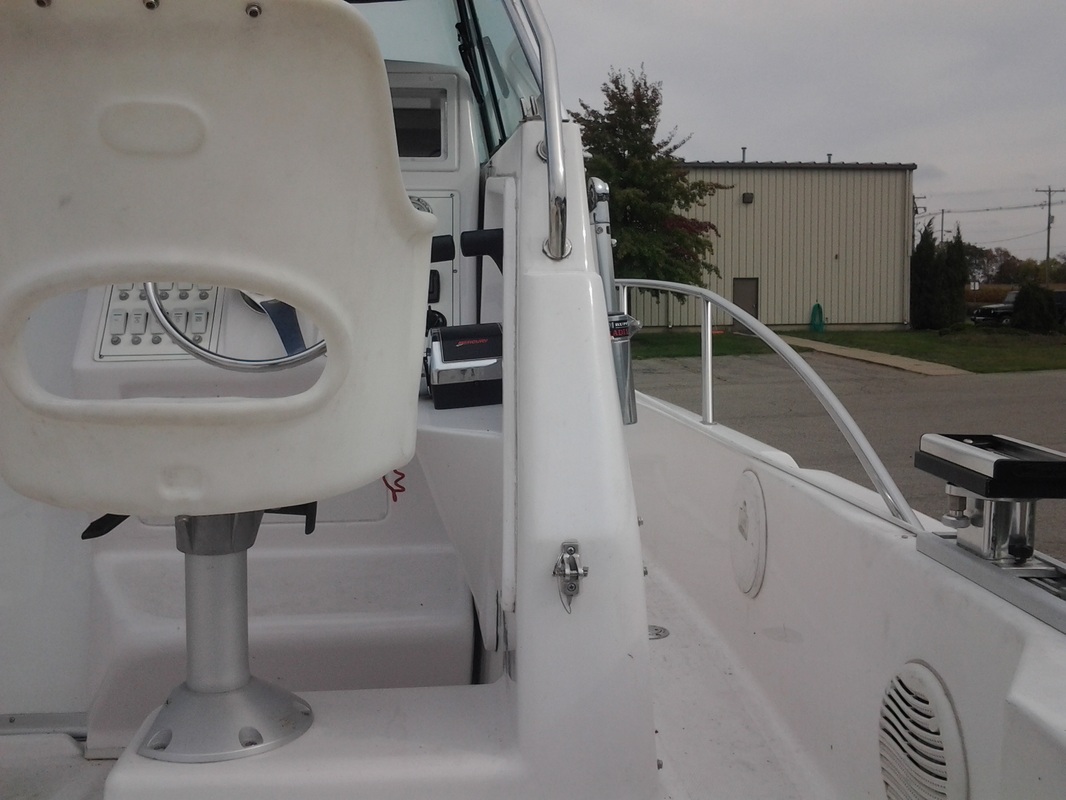
Today begins with a fixture to be able to weld the components together and eventually transport to the paint shop. Then I started on the aft side legs and even got a look at them on the boat for a test fit. This is the actual surface the side legs will attach to. Side leg beginning to take shape Needs a little adjustment but really close.
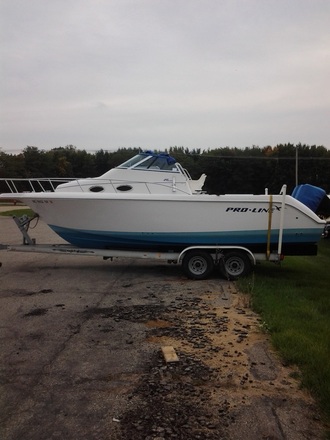
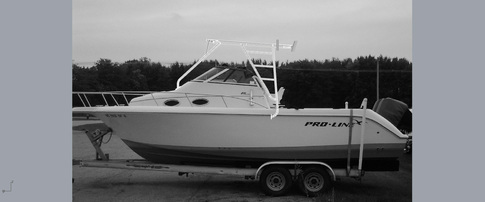
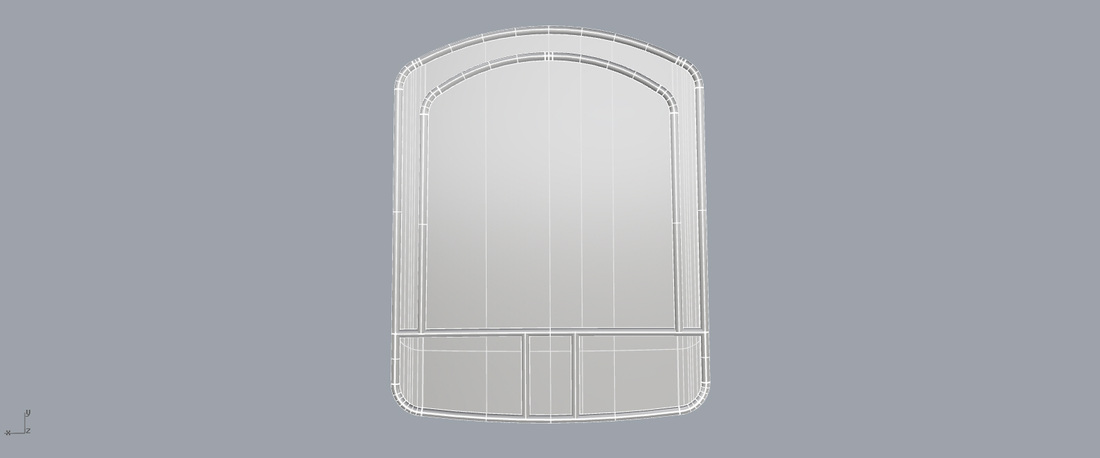
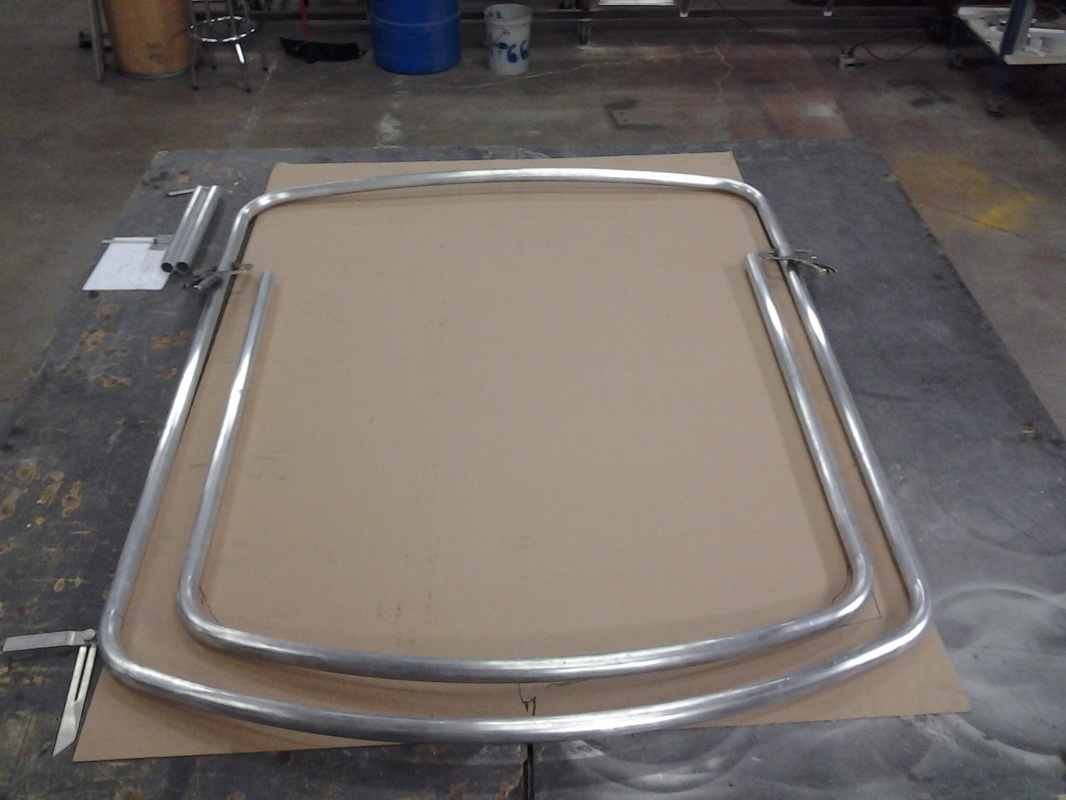
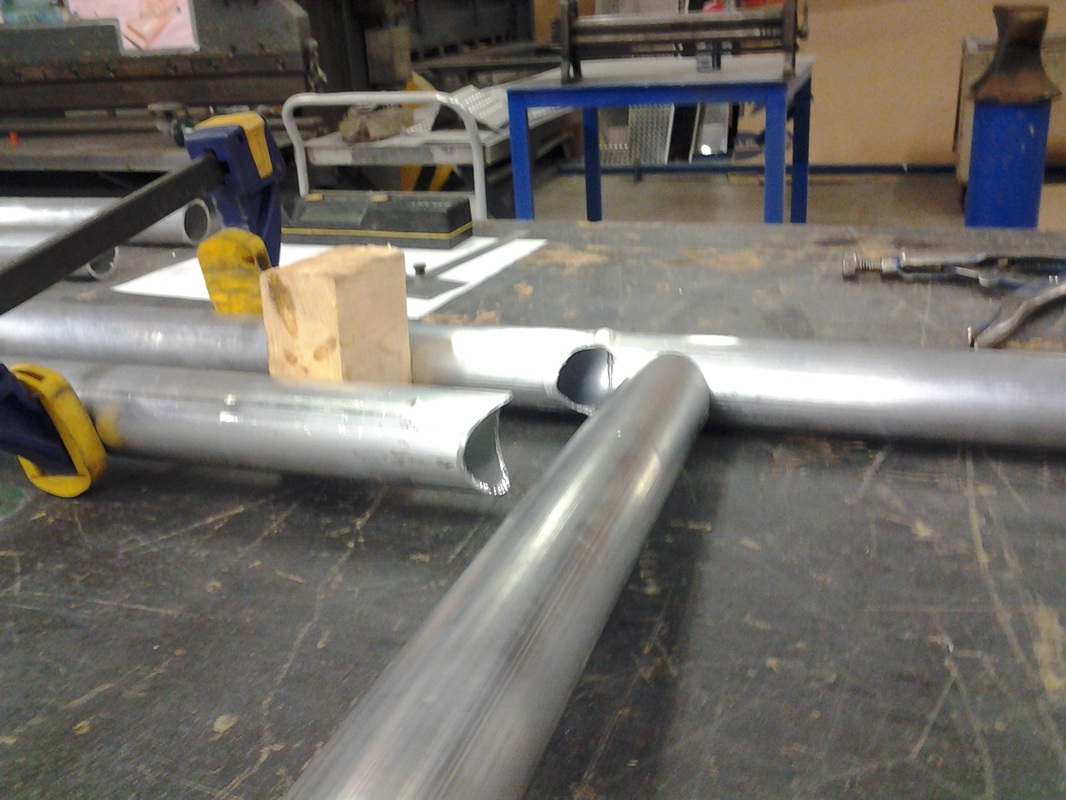
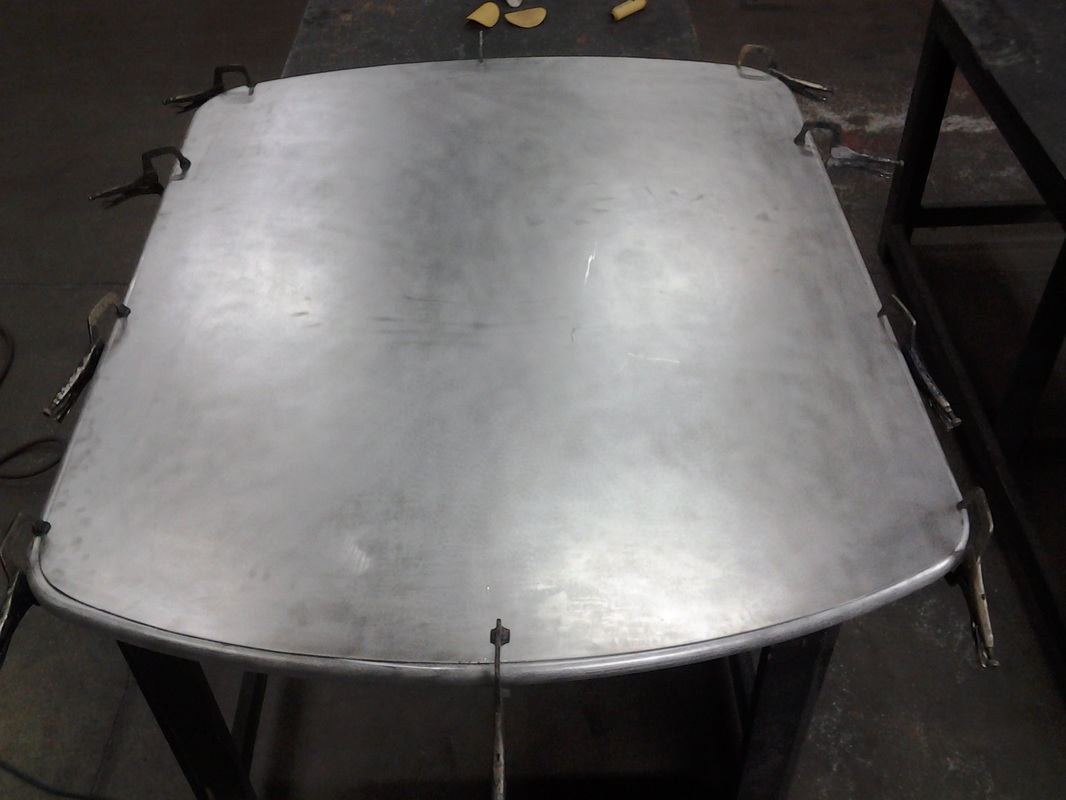
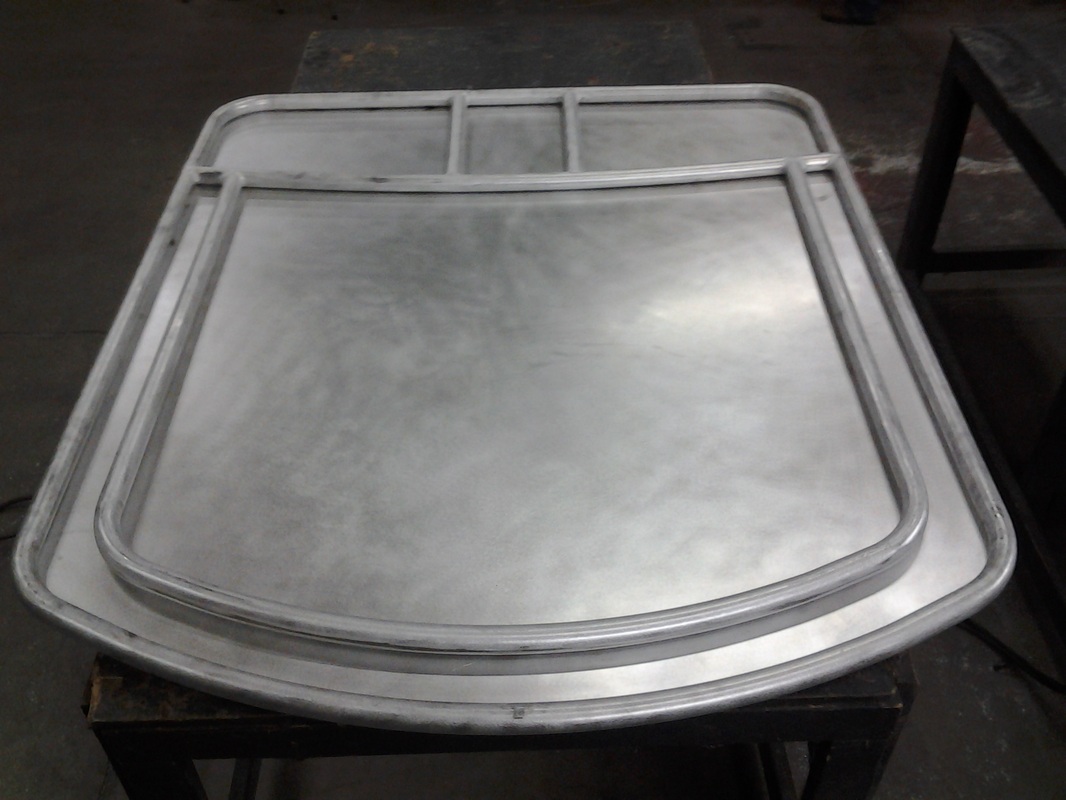
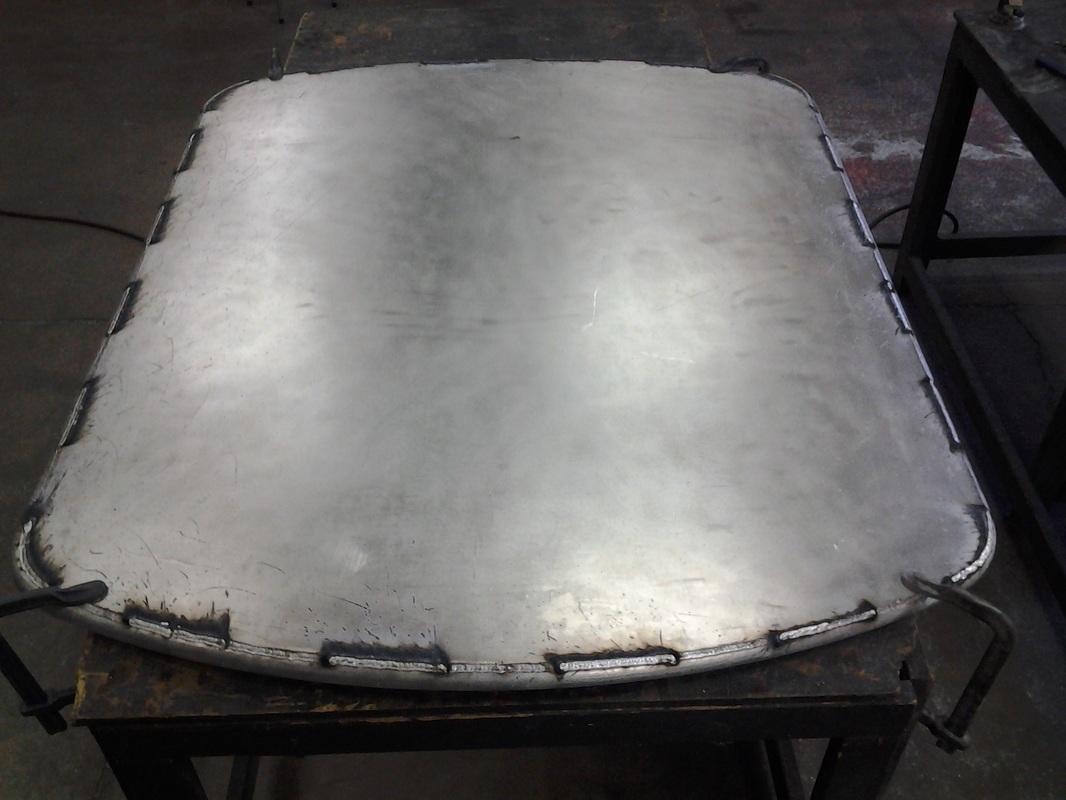
Follow along as we design and build an aluminum top and support structure for a 26' Pro line walkaround. The purpose of this blog is to provide boat owners an alternative to fiberglass and canvas coverings widely used today. For this project the customer has decided to remove the 1" stainless Bimini top and canvas enclosure and upgrade to an aluminum skinned hard top. The top will provide a long term solution to keeping the cockpit dry and out of the sun. See-through curtains will attach between the windshield and the underside of the top. The purpose of this blog is to provide boat owners an alternative to fiberglass and canvas coverings. The benefits of this type of construction are light weight (compared to fiberglass) ease of construction, hidden wire chase routing and longevity. The first step is to create a rendering of what the finished structure will look like. This insures that the customer and I are exactly on the same page with what is expected. We are able to see how the top will look if we put it up too high or at the wrong pitch. Here we have settled on our design and will now be able to plan rod holder placement as well as electronic locations. The fabrication process begins. The upper profile of the wind screen is traced onto the cardboard for reference. The inner ring will follow this for the enclosure to be fastened to. The outer ring will be 5" overhang all the way around. Holes for internal wire routing Frame is complete. It has about an 1" crown in the middle for runoff. The square section at the rear will be an access panel for the mounting and wiring of electronics. 1/8" 5052 aluminum sheet metal is cut to fit the frame. Frame will get stitched from the underside. Top is then completely welded.
|
Archives
October 2015
Categories
All
|

 RSS Feed
