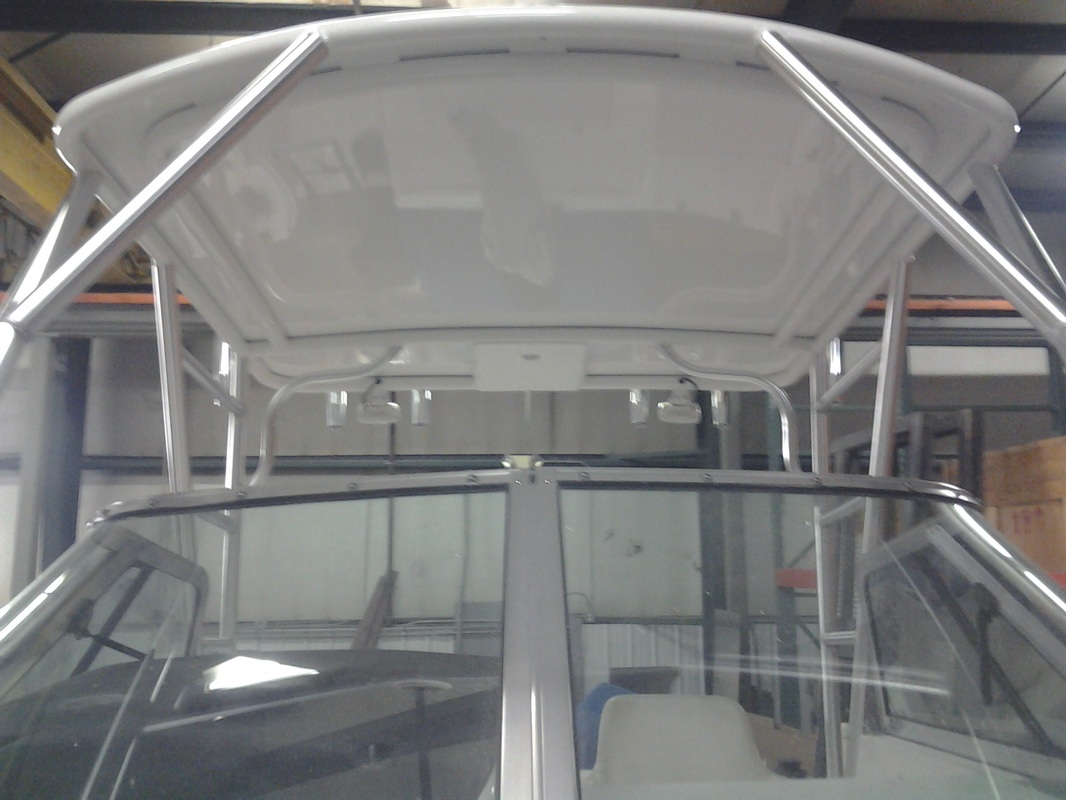
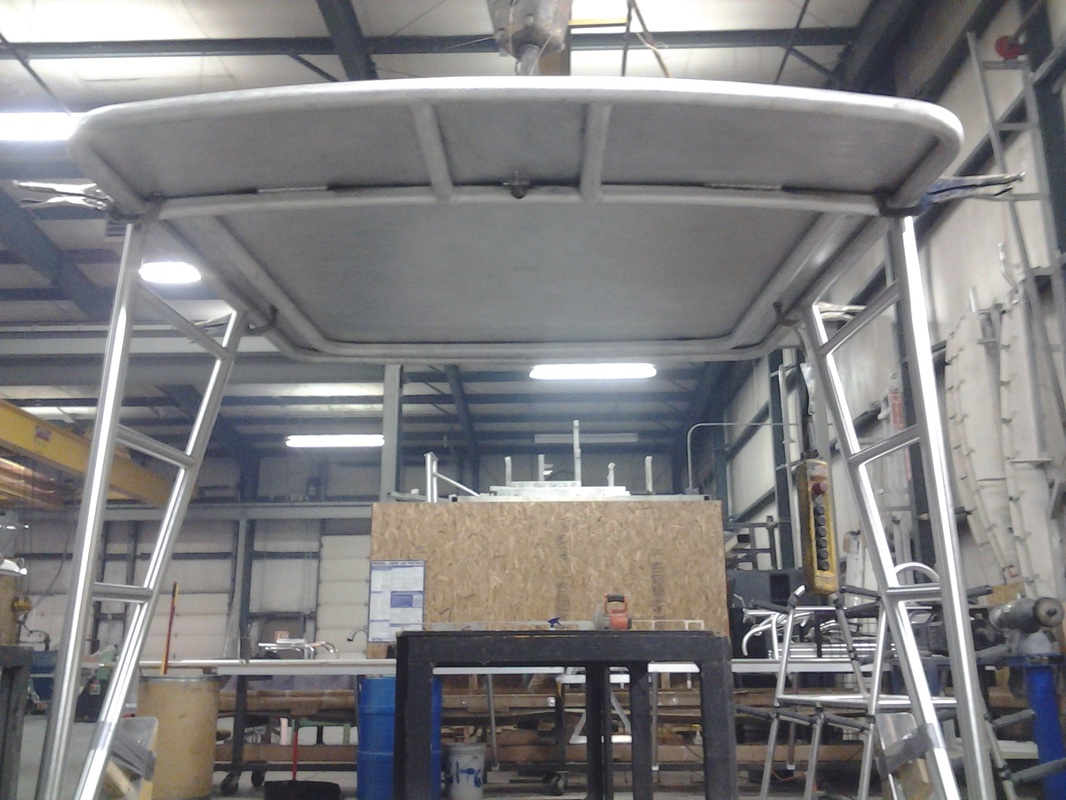
Electronics and final mounting to the hull is now complete. Boat will now go to get canvas enclosure installed and electronics will be wired into the helm.
| HIGGINS MARINE METALS LLC |
|
|
Electronics and final mounting to the hull is now complete. Boat will now go to get canvas enclosure installed and electronics will be wired into the helm.
1 Comment
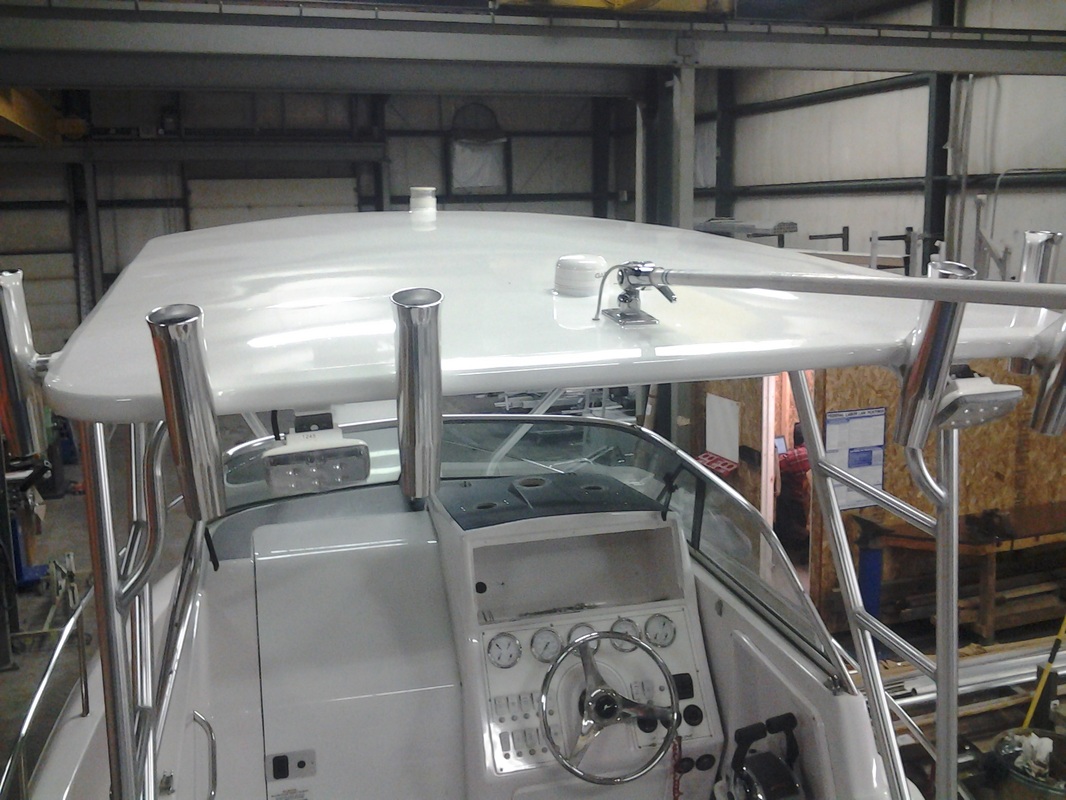
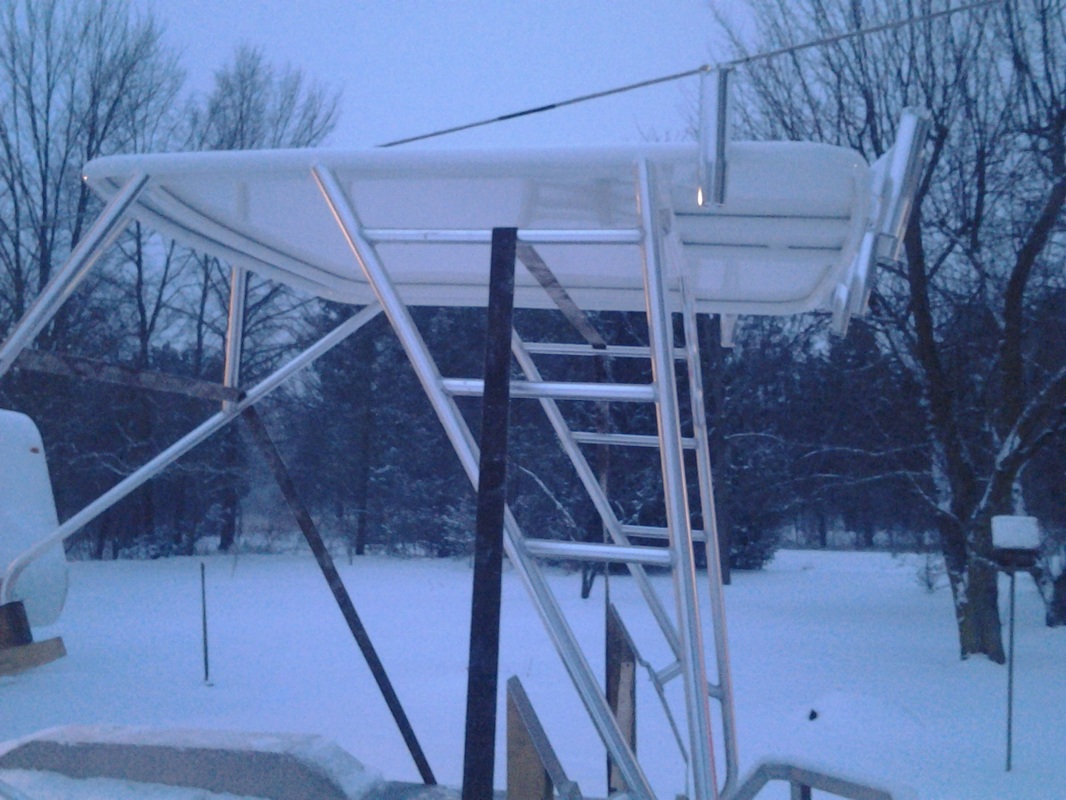
Picked up the top and brought it back to the shop. Now we install electronics and attach it to the boat. 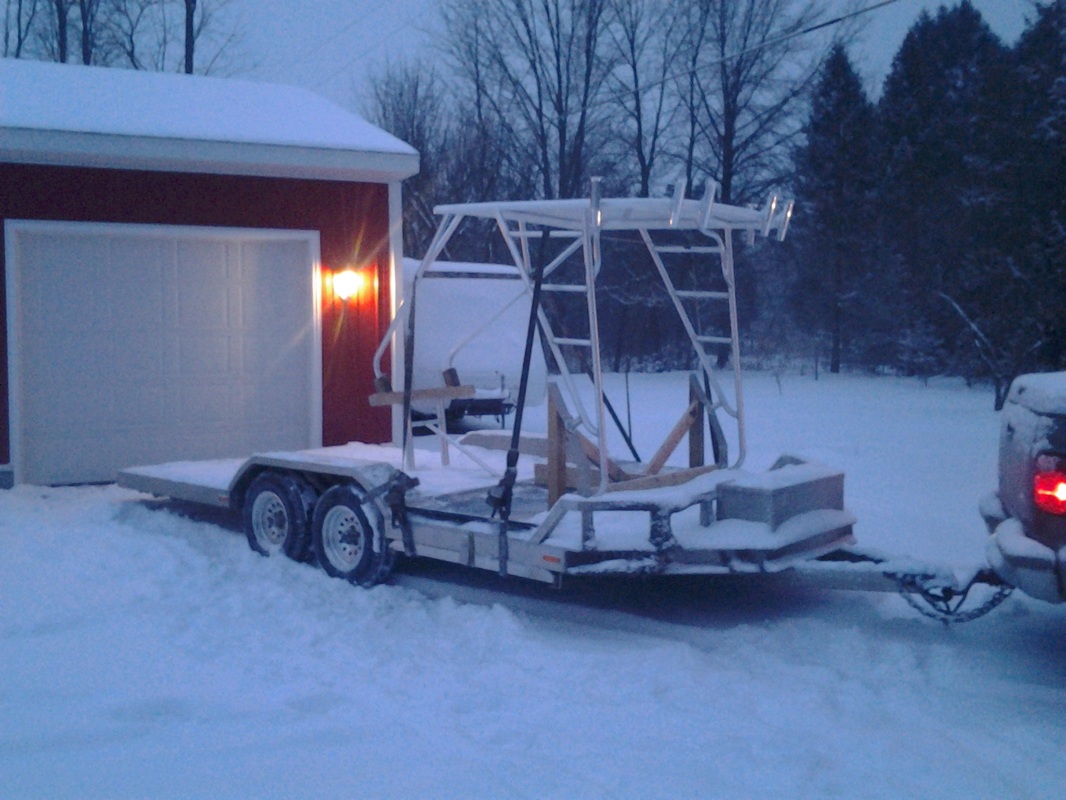
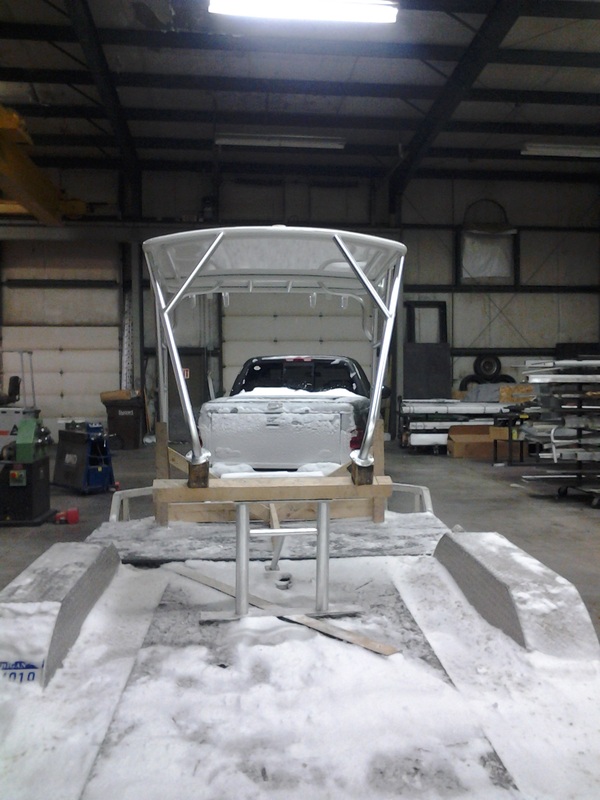
Visited to paint shop today and it is almost ready. Will pick it up Wed. and continue installation. 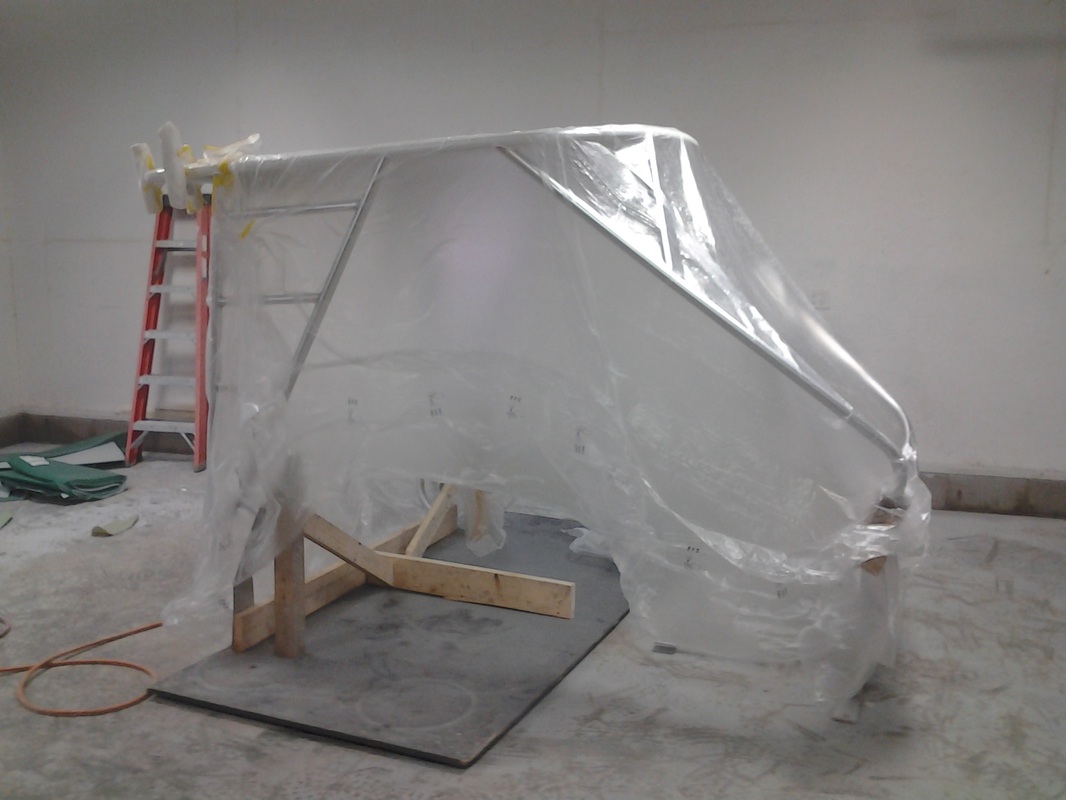
Loaded up and hauled it to the painter today. Will be a week or so before we get it back. 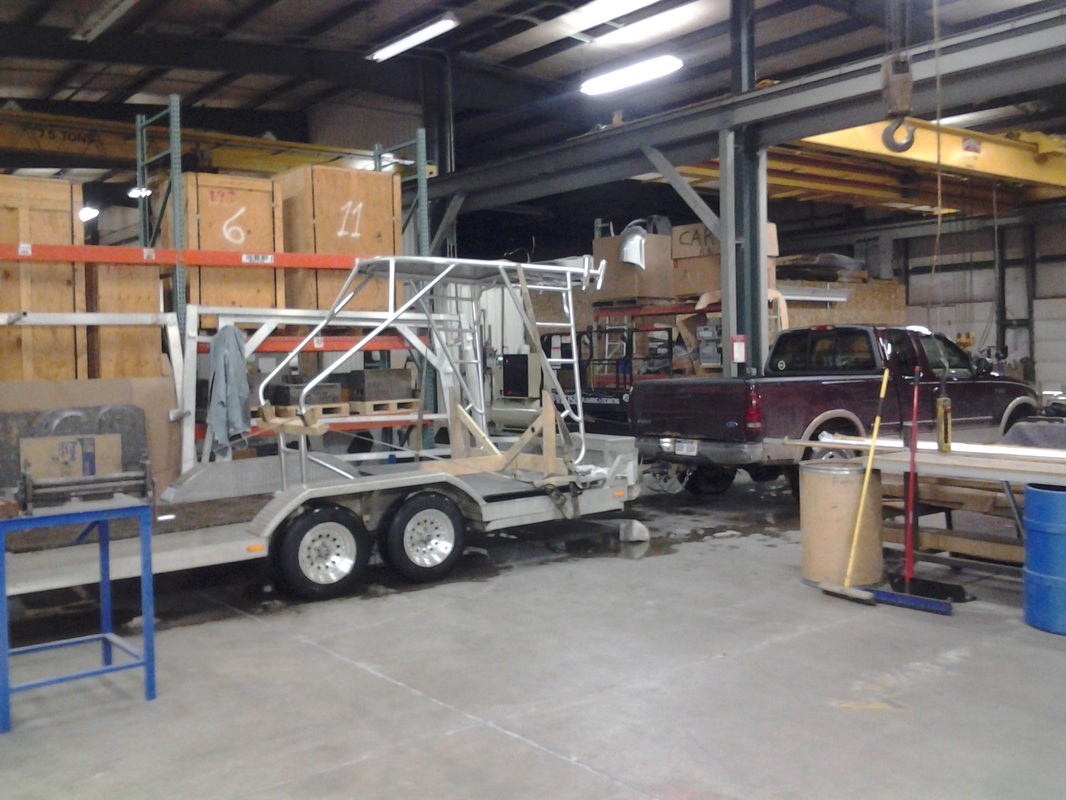
Time to get a few spear orders out! 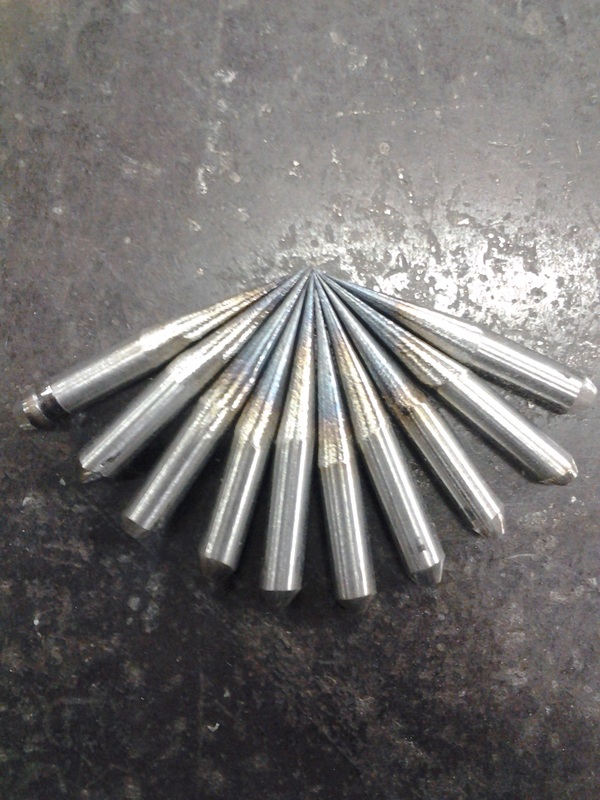
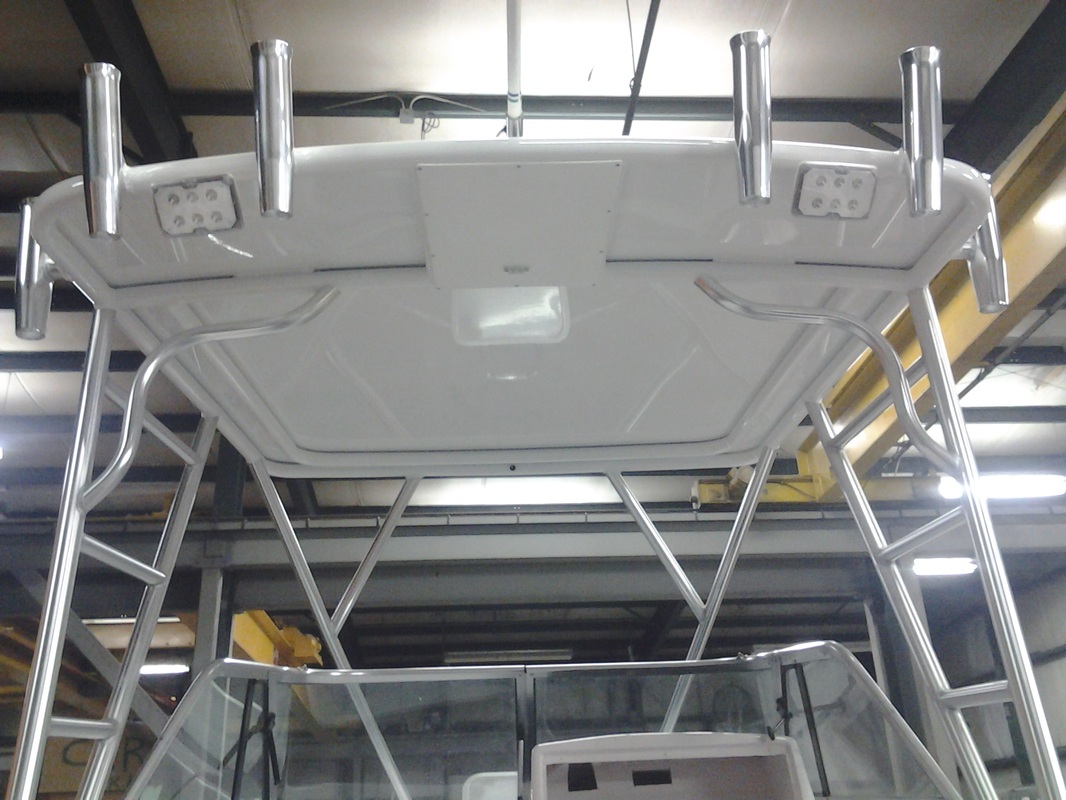
Rod holders went on today as well as the fwd stiffeners and a side leg gusset. Structure is complete and will be fully welded tomorrow. The next step will be paint. The legs and rod holders will stay shiny and the top will be white like the hull. 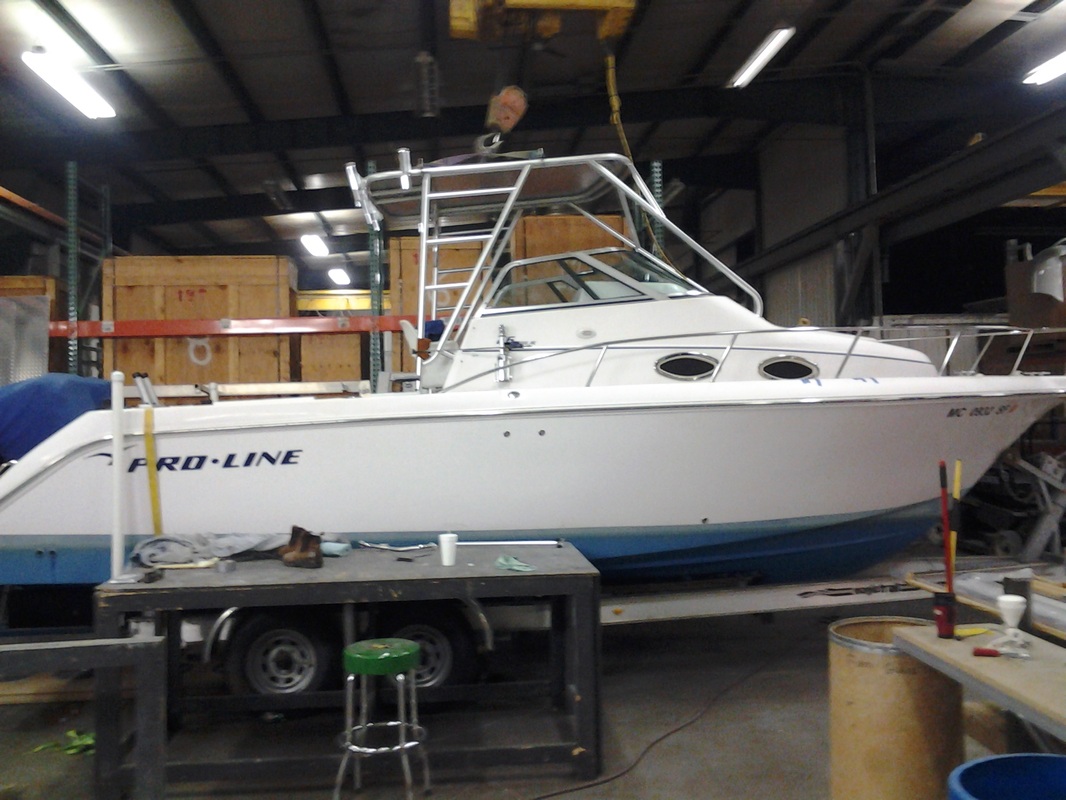 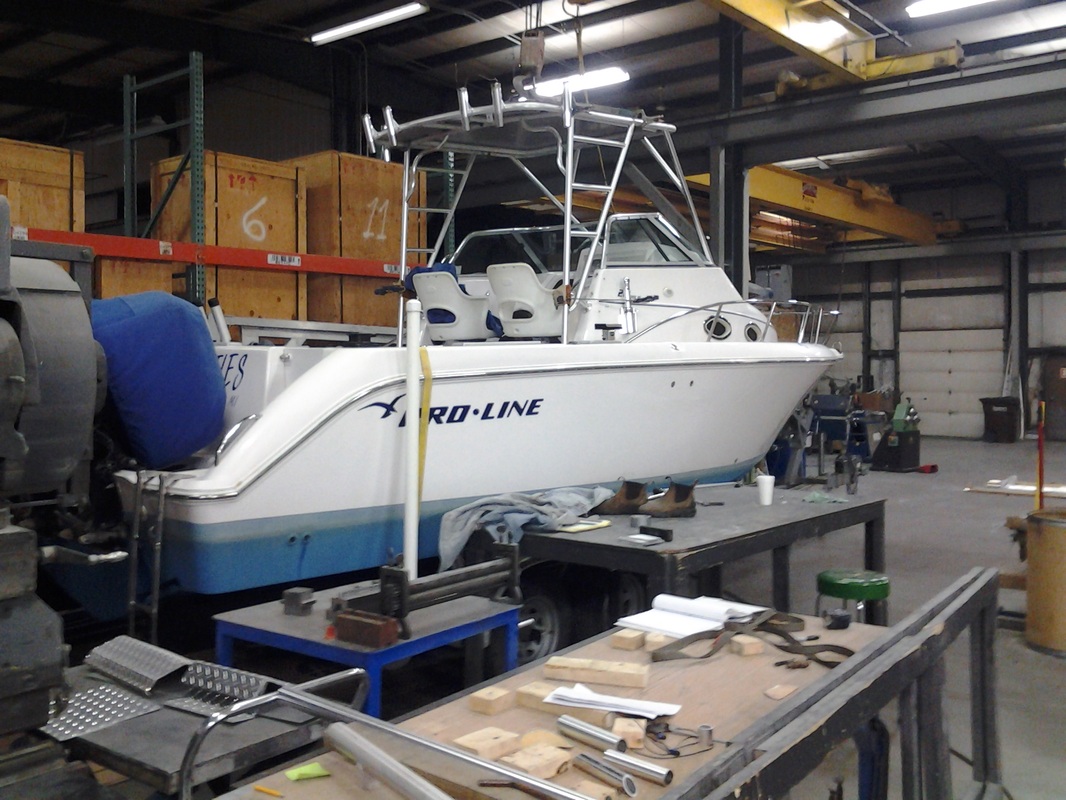 Spreader lights will be mounted in between the rod holders. 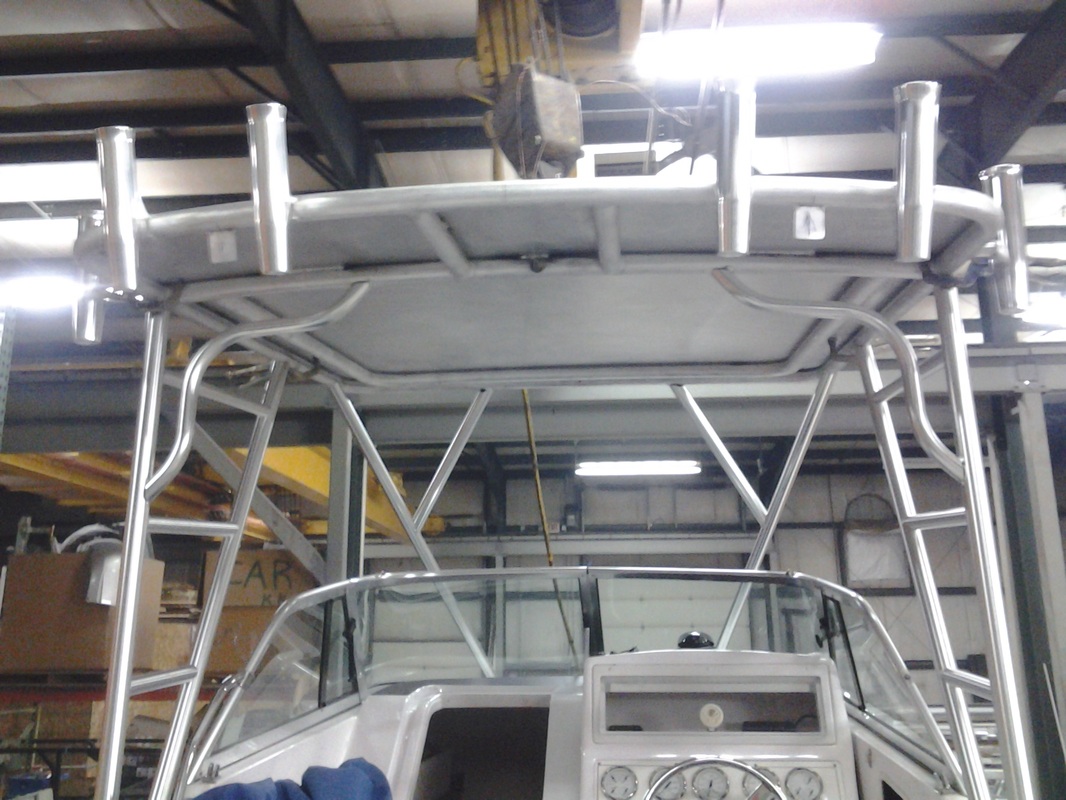 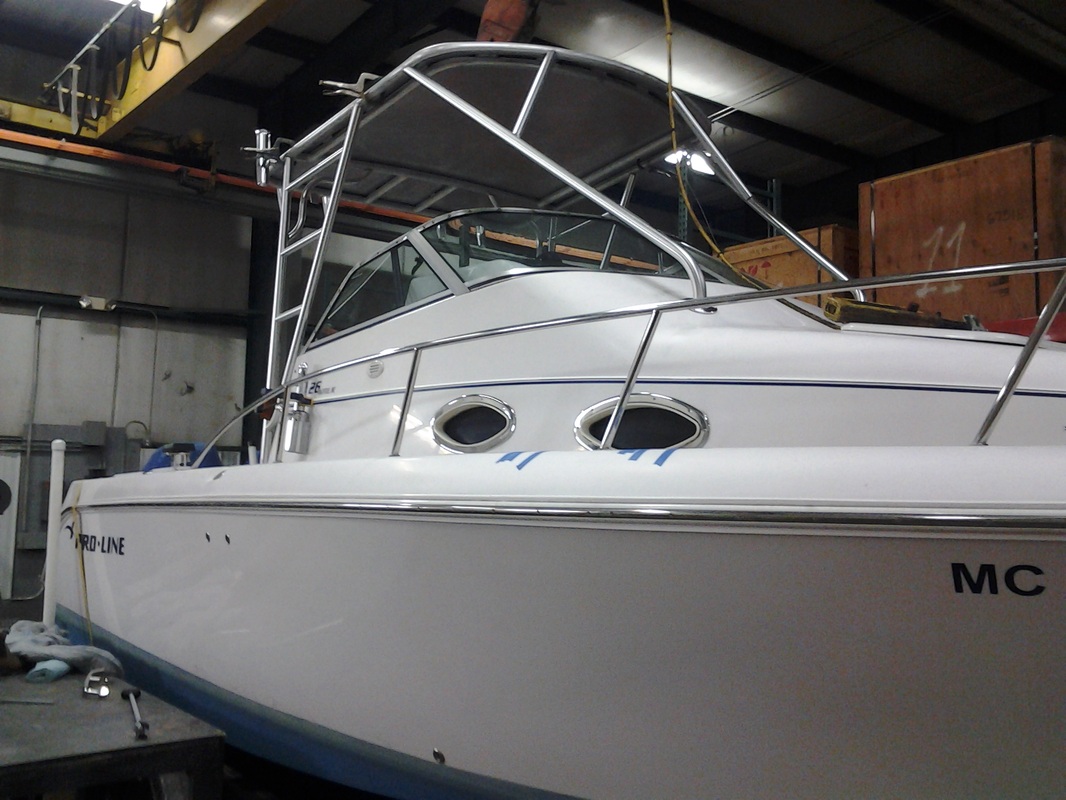 Started the day by Joining the top to the side legs. Installed pull wires for later use when we install the electronics. Then added upper support pads to the lower leg. 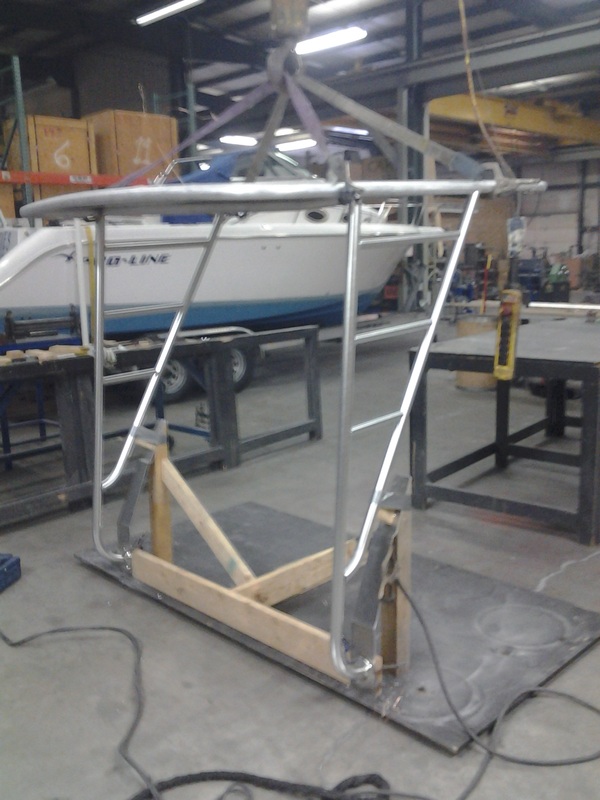
We got our first look at it and proved the attachment points. Checked Height and angle of top and sides. Very happy with it so far. 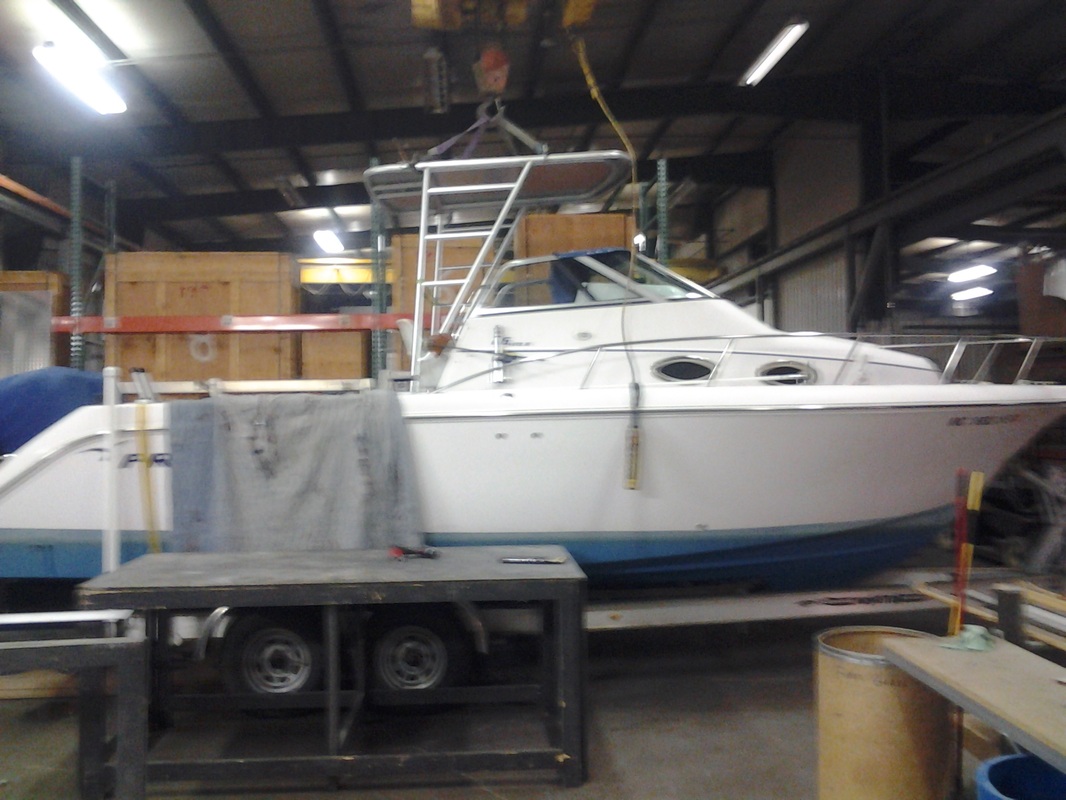
Finished out the day by making the fwd legs and duct taping them to the top for analysis. 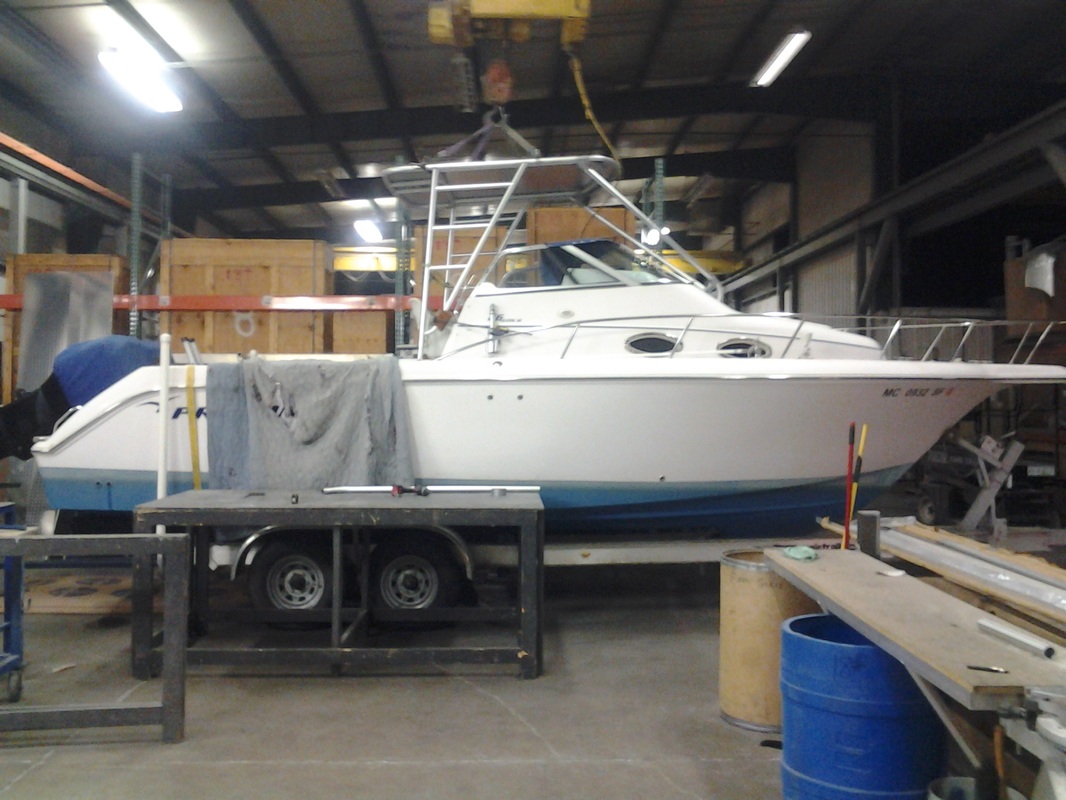
Side looks good but front view needs a little adjustment down and out. They are slightly in the line of vision and there is room to move them. Easy move with the duct tape connection. 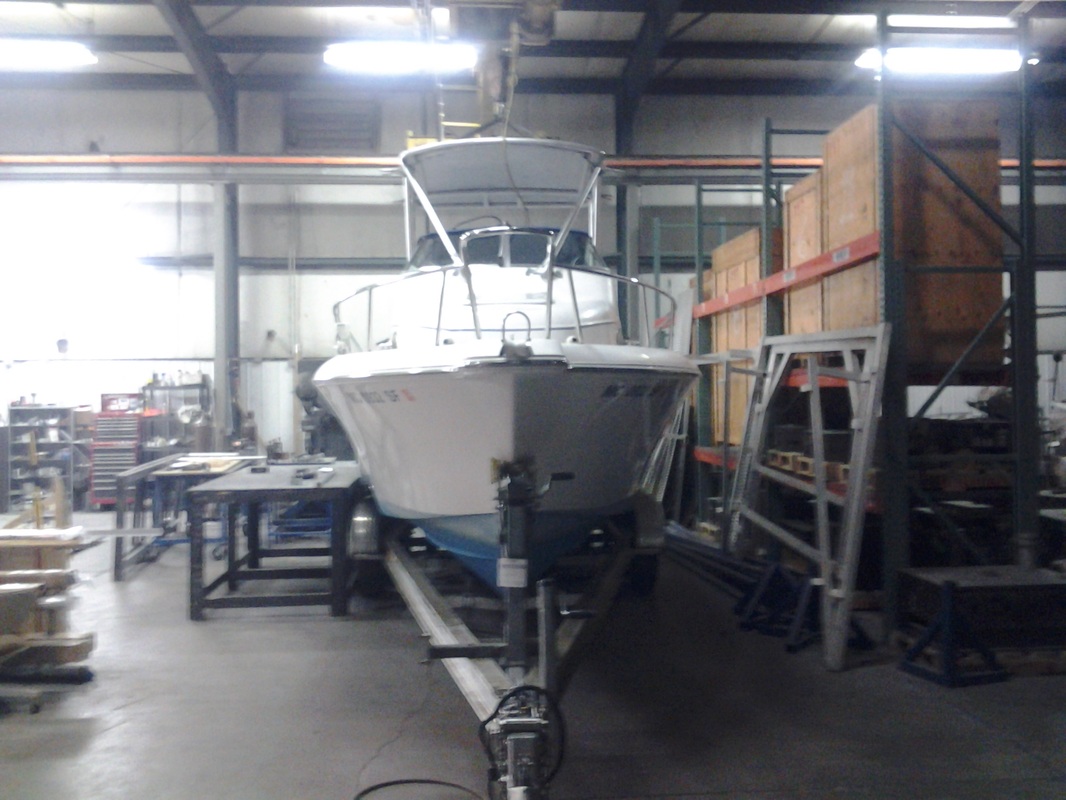
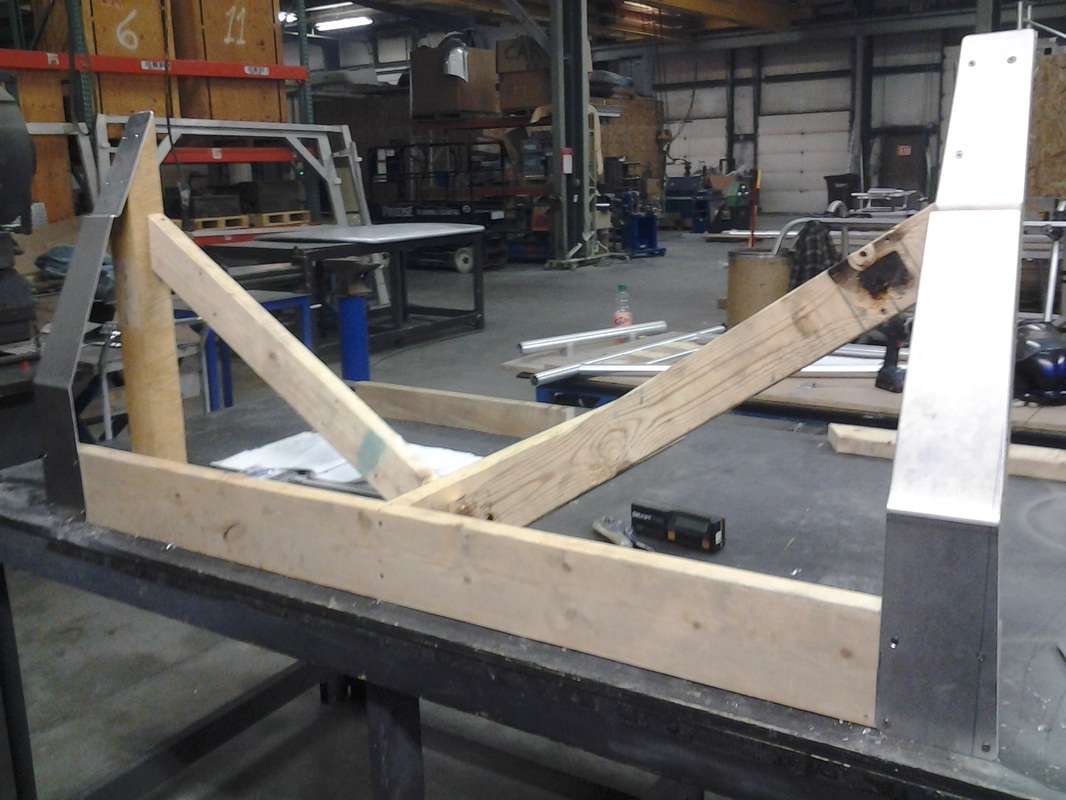
Today begins with a fixture to be able to weld the components together and eventually transport to the paint shop. Then I started on the aft side legs and even got a look at them on the boat for a test fit. 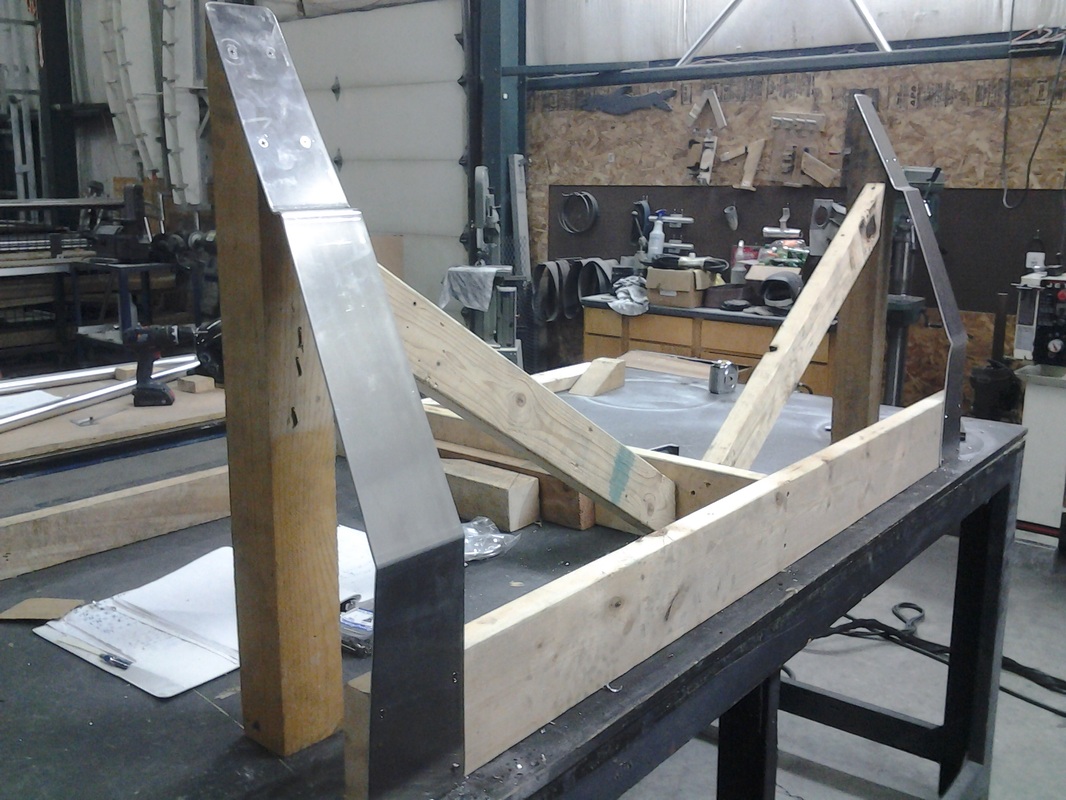
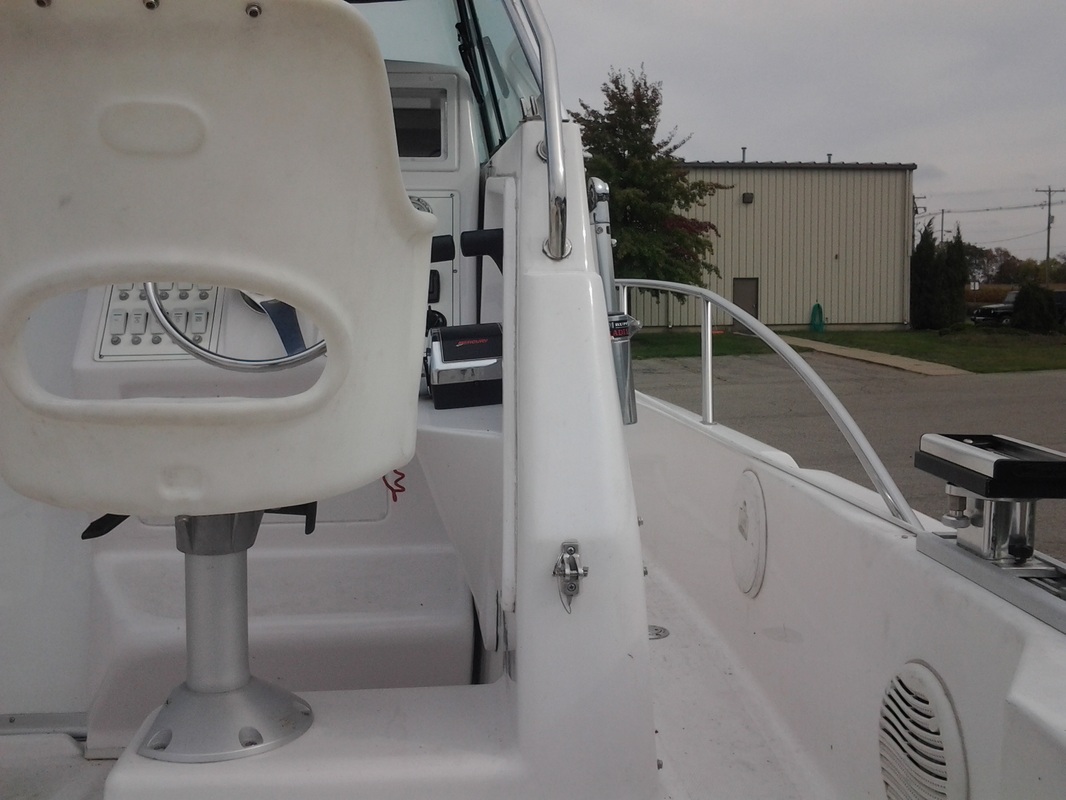
This is the actual surface the side legs will attach to. 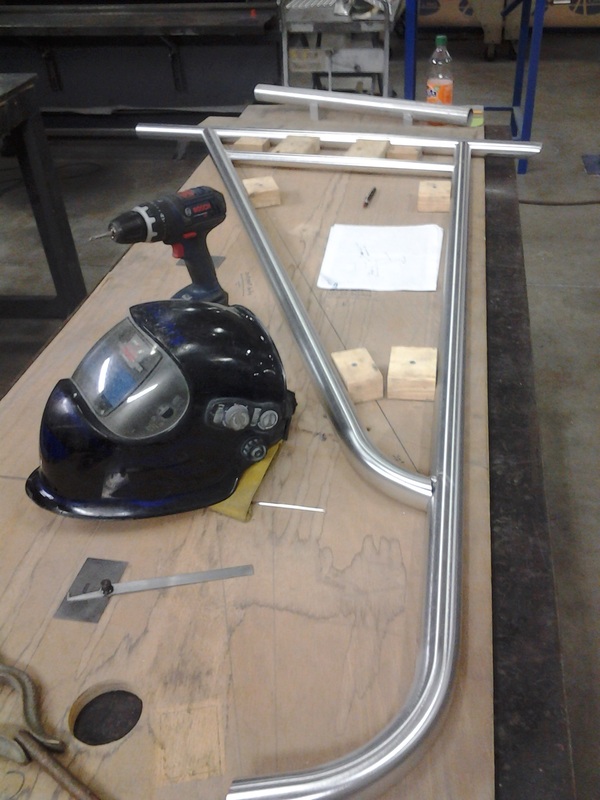
Side leg beginning to take shape 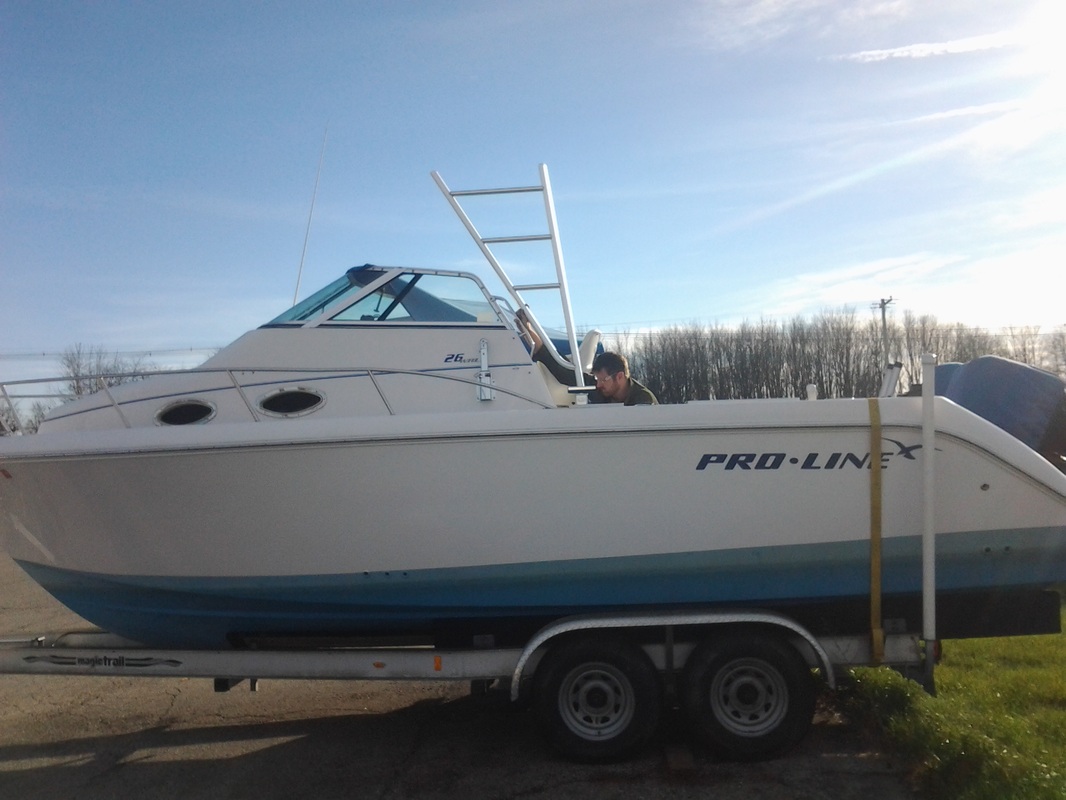
Needs a little adjustment but really close.
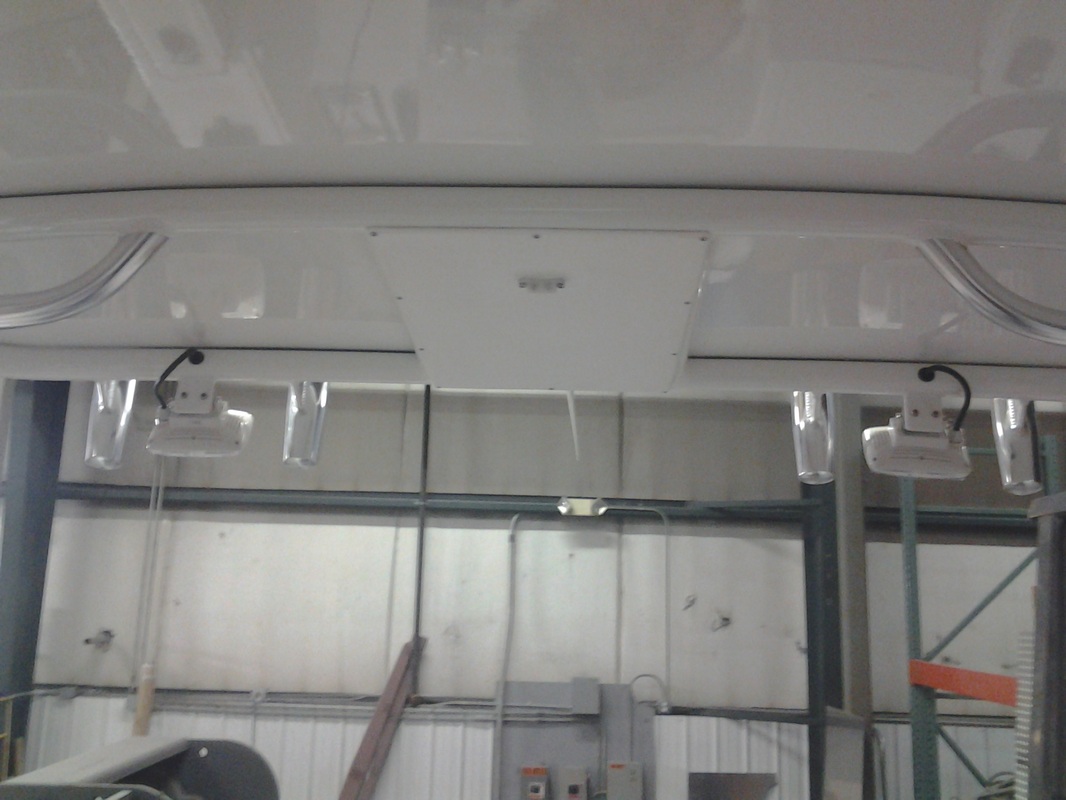
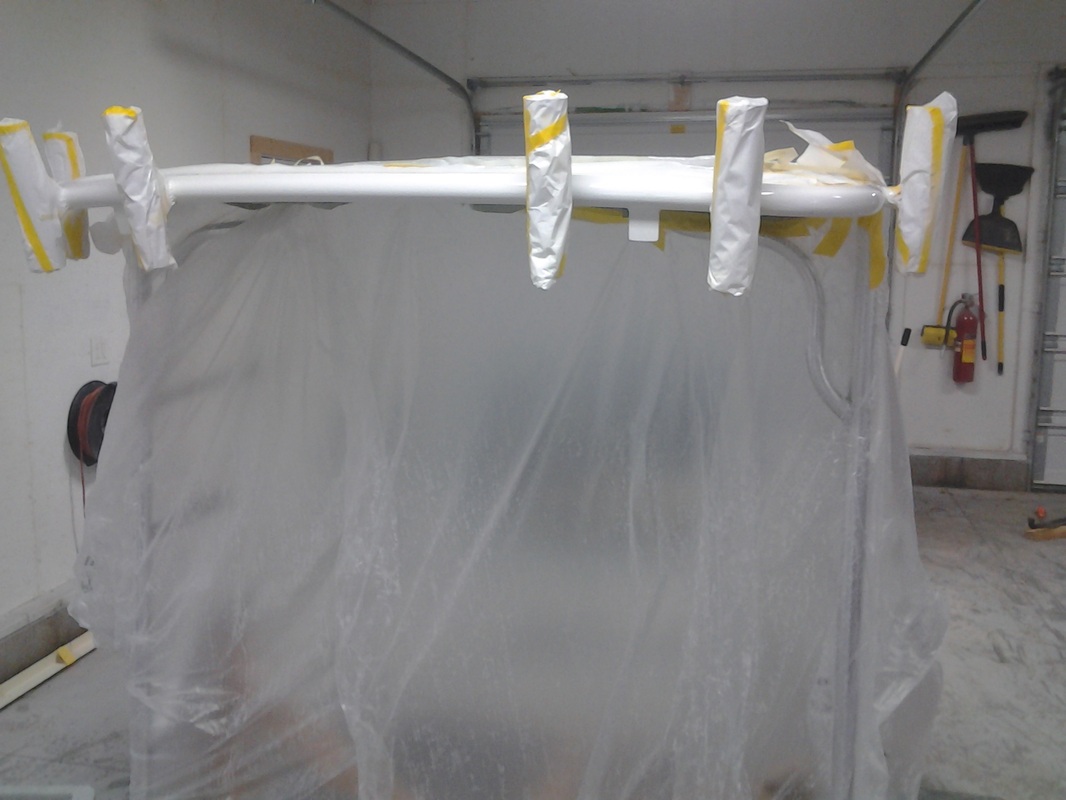
Follow along as we design and build an aluminum top and support structure for a 26' Pro line walkaround. 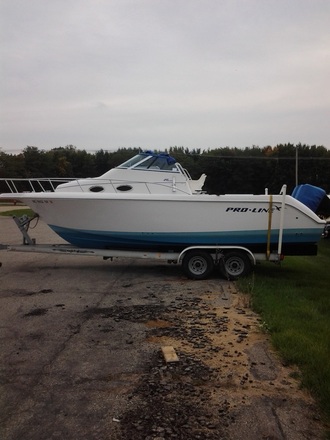 The purpose of this blog is to provide boat owners an alternative to fiberglass and canvas coverings widely used today. For this project the customer has decided to remove the 1" stainless Bimini top and canvas enclosure and upgrade to an aluminum skinned hard top. The top will provide a long term solution to keeping the cockpit dry and out of the sun. See-through curtains will attach between the windshield and the underside of the top. The purpose of this blog is to provide boat owners an alternative to fiberglass and canvas coverings. The benefits of this type of construction are light weight (compared to fiberglass) ease of construction, hidden wire chase routing and longevity. 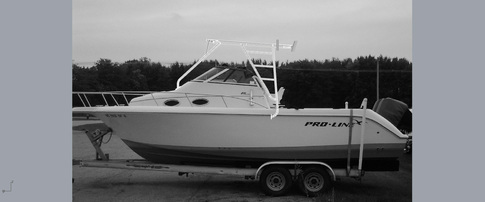 The first step is to create a rendering of what the finished structure will look like. This insures that the customer and I are exactly on the same page with what is expected. We are able to see how the top will look if we put it up too high or at the wrong pitch. Here we have settled on our design and will now be able to plan rod holder placement as well as electronic locations.  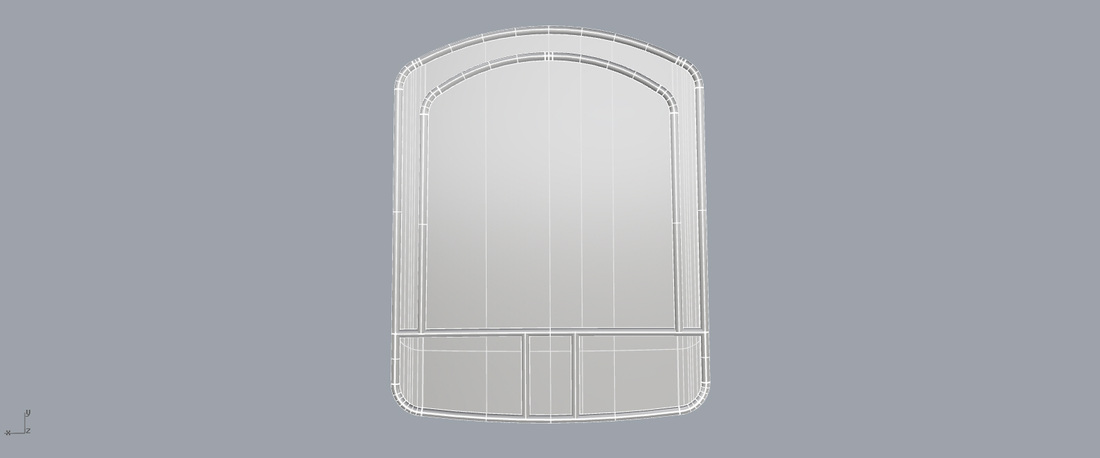 The fabrication process begins.  The upper profile of the wind screen is traced onto the cardboard for reference. The inner ring will follow this for the enclosure to be fastened to. The outer ring will be 5" overhang all the way around. 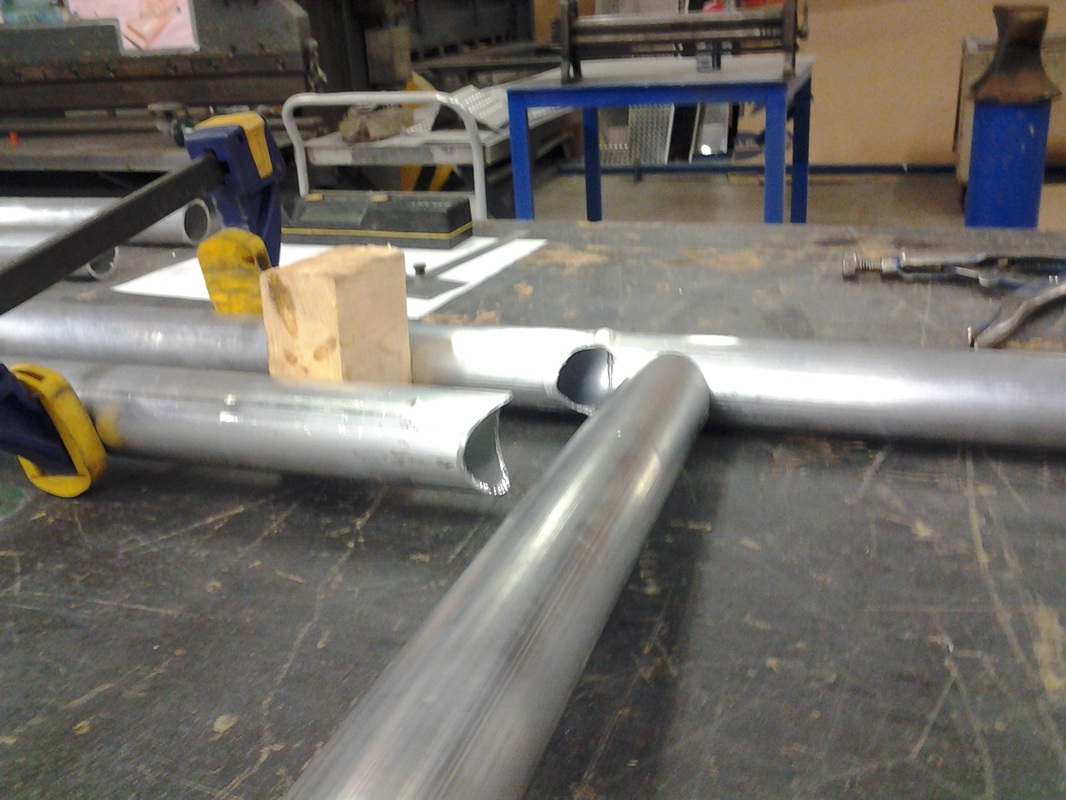 Holes for internal wire routing  Frame is complete. It has about an 1" crown in the middle for runoff. The square section at the rear will be an access panel for the mounting and wiring of electronics. 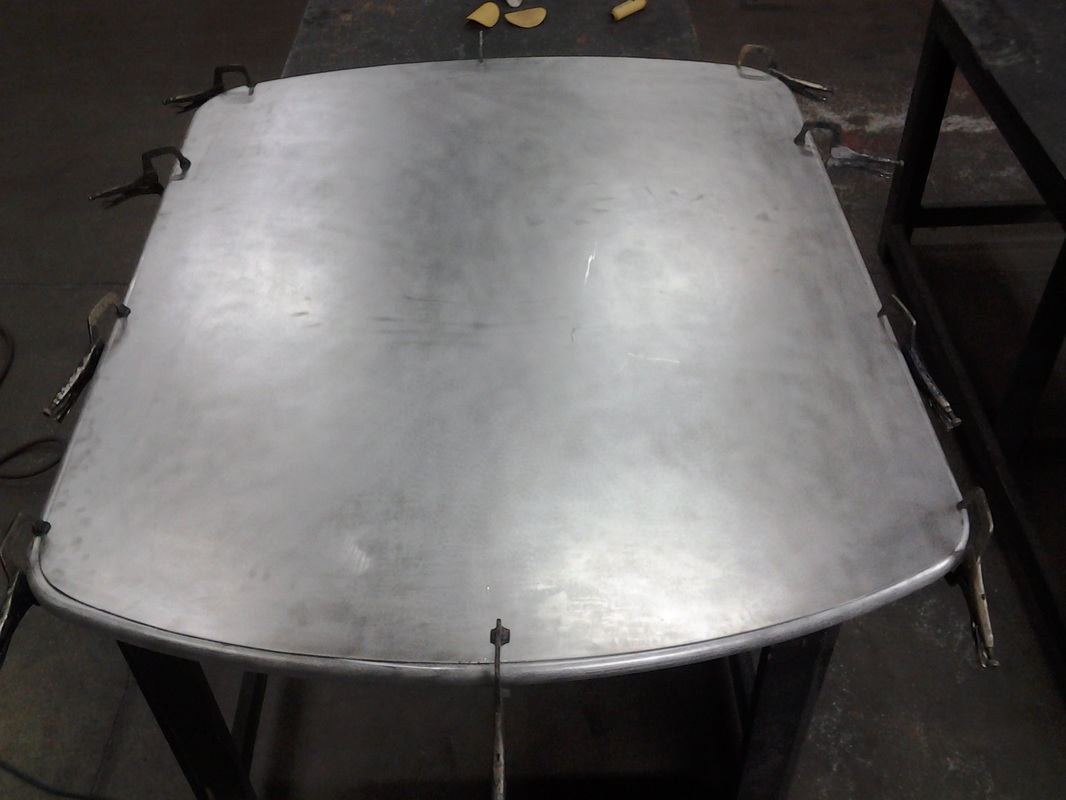 1/8" 5052 aluminum sheet metal is cut to fit the frame. 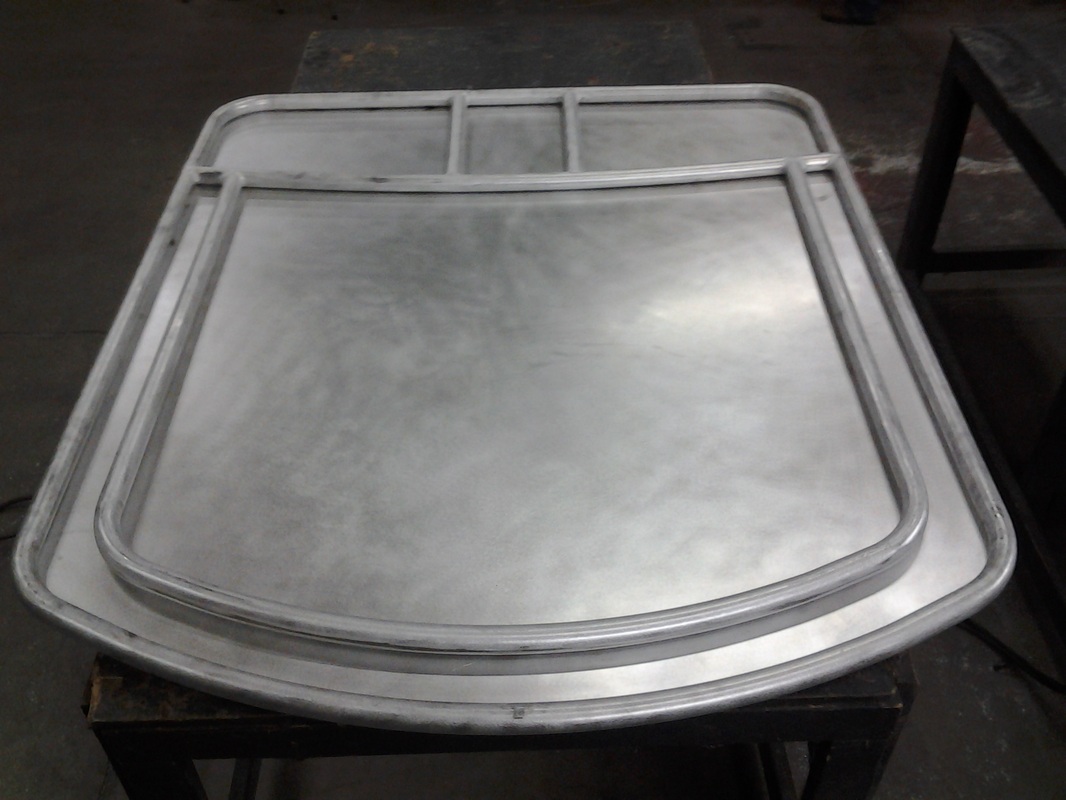 Frame will get stitched from the underside. 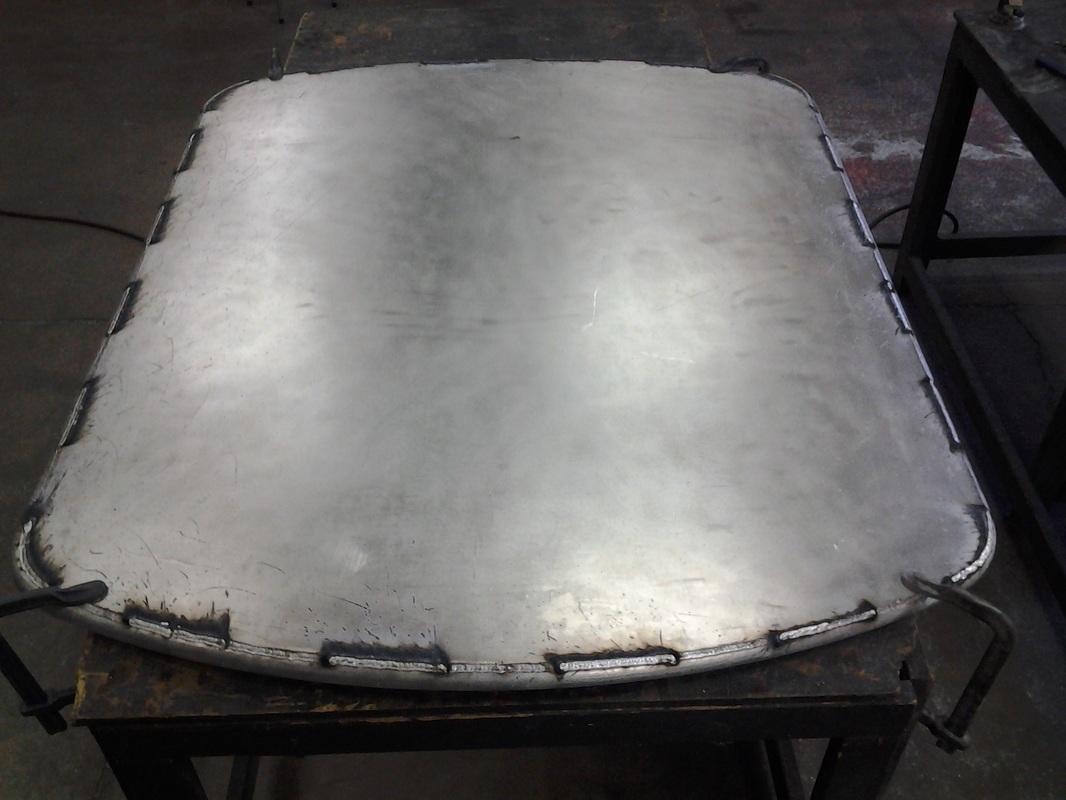 Top is then completely welded.
I have had a lot of interest in my stainless fish spear this season. I would like to thank everyone that has checked them out and possibly purchased one. What I would like to achieve in this blog is an understanding that I take a tremendous amount pride in everything I set forth to do. This product is one of my leading examples and a great way to showcase this. I run a small business that is based on my personal fabrication skills I have picked up along my journey. I welcome all criticism as positive feedback. Underneath this babble I will provide an inside scoop on what goes into an Evolution Spear. I have a price tag that I hope will seem respectable when I am finished. I do not sell them in stores or in online markets. You deal directly with me and It will be made personally for you. I like to keep track of where they go. I will always know the original owner. Where they go from there.....who knows! I can tell you one thing for sure. They will not show up in the scrap yard! 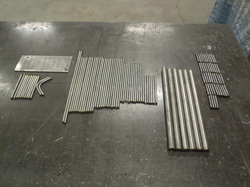 Let the games begin This is all the cut components for 6 spears. 5 of them are going to be 7 tine and 1 of them is a 9 tine.  Here are the laser cut barbs before I pop them from their nest. This is 1/8" tool steel in an annealed state. They will receive heat treat as an assembly with the tine.
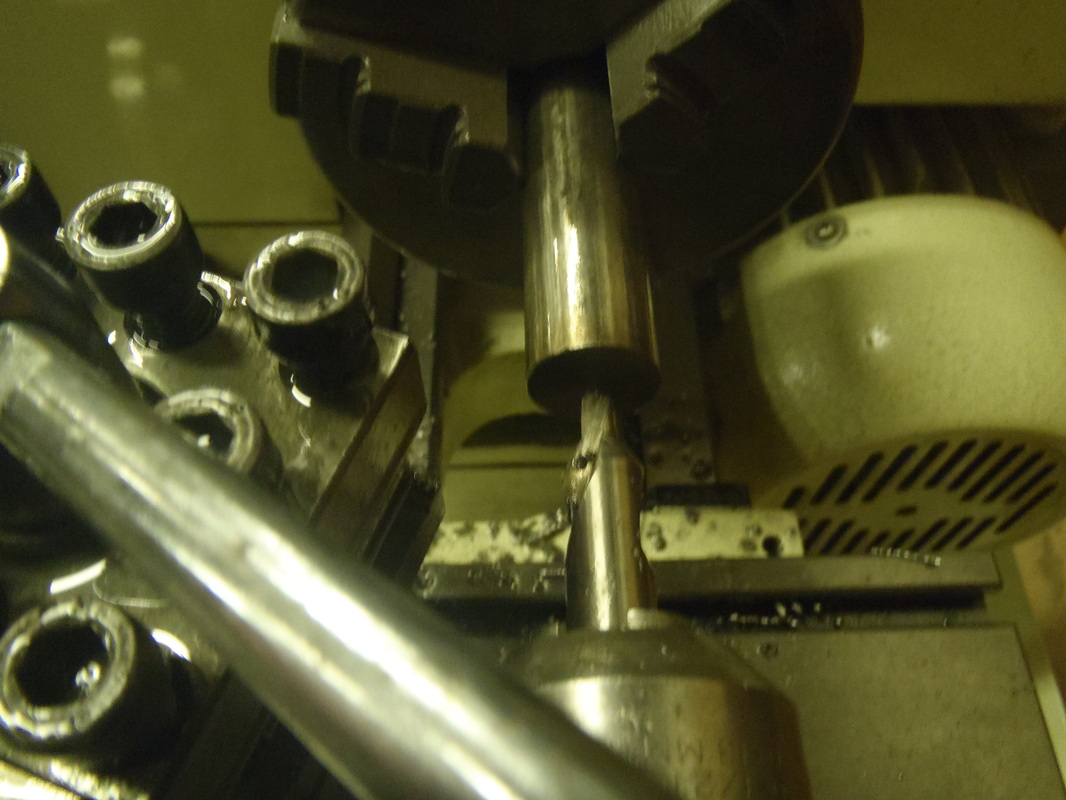
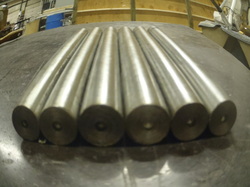 This concludes Day 1 All pieces cut and machining has begun. I kind of like the fisheye view...... Day 2 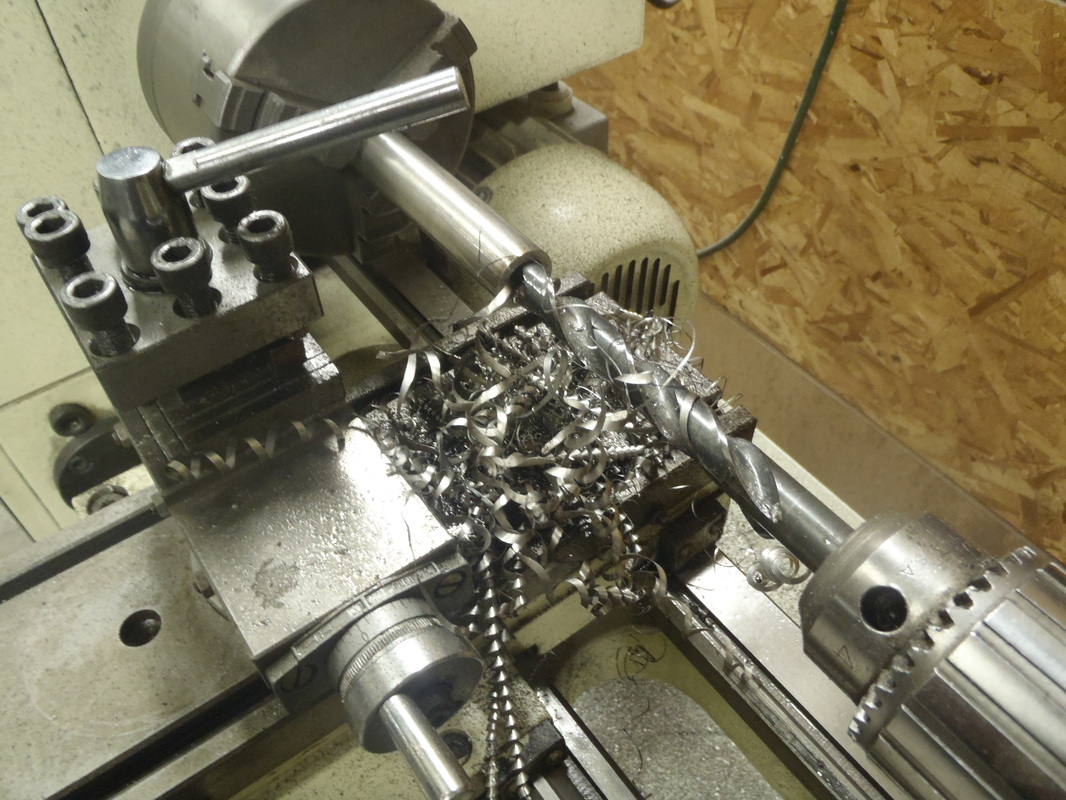 drilling the 1/4" hole for the center tine. The center tine is inserted 3/4" and then welded around the outside. 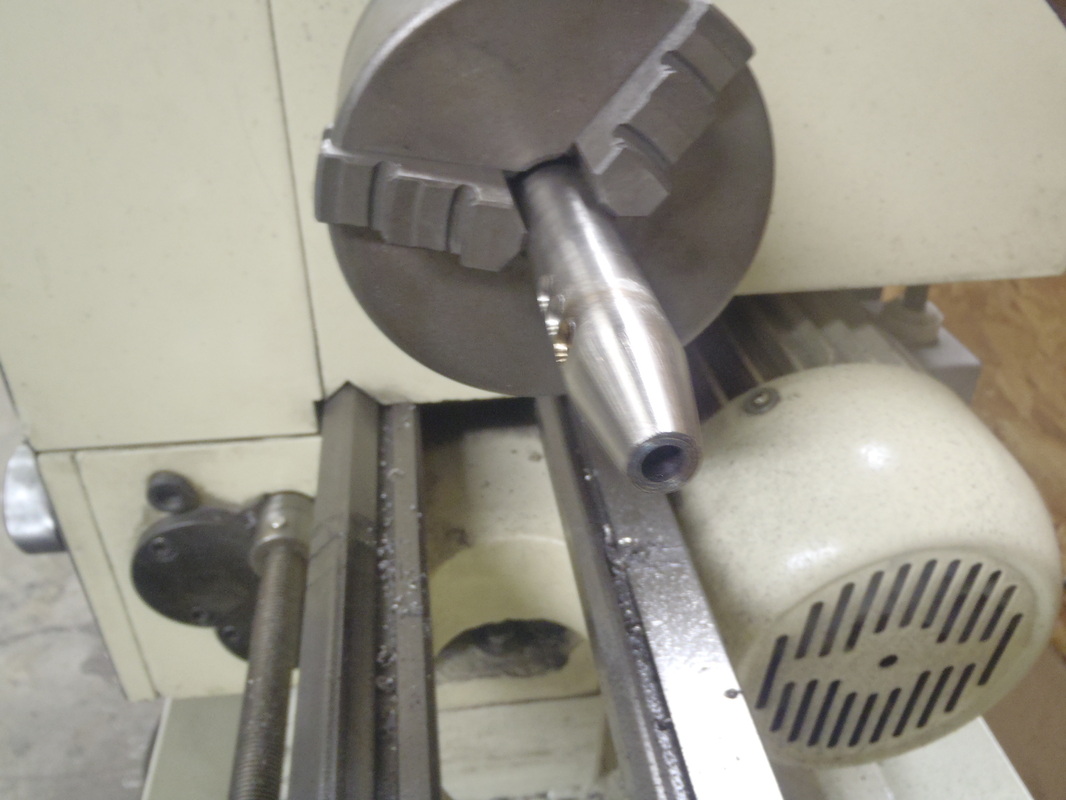 Then the taper is started. I will blend this after welding so it transitions smoothly. 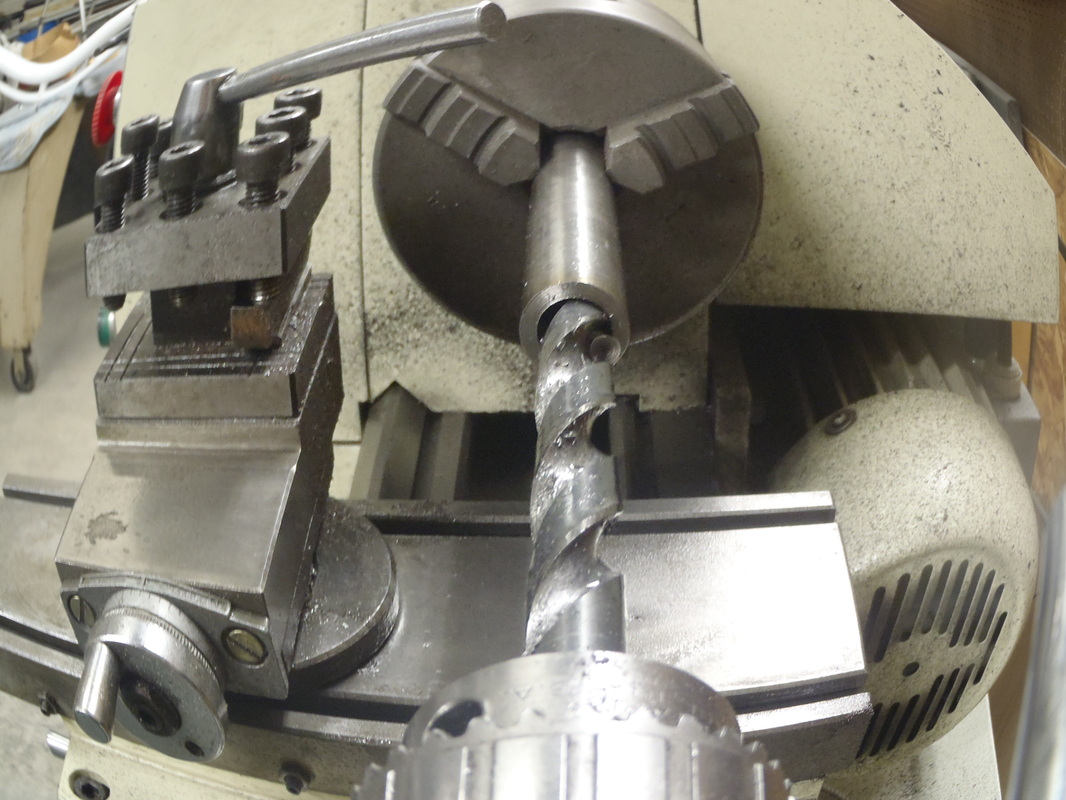 Flip it around and drill a 1/2" hole for the handle. This process insures that the entire spear is perfectly inline. 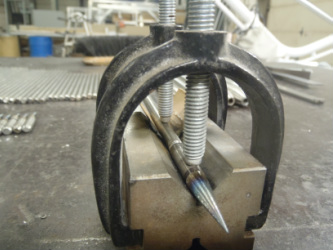 My next step is to begin welding the tool steel to the stainless. This is fixture welded to line them up perfectly. 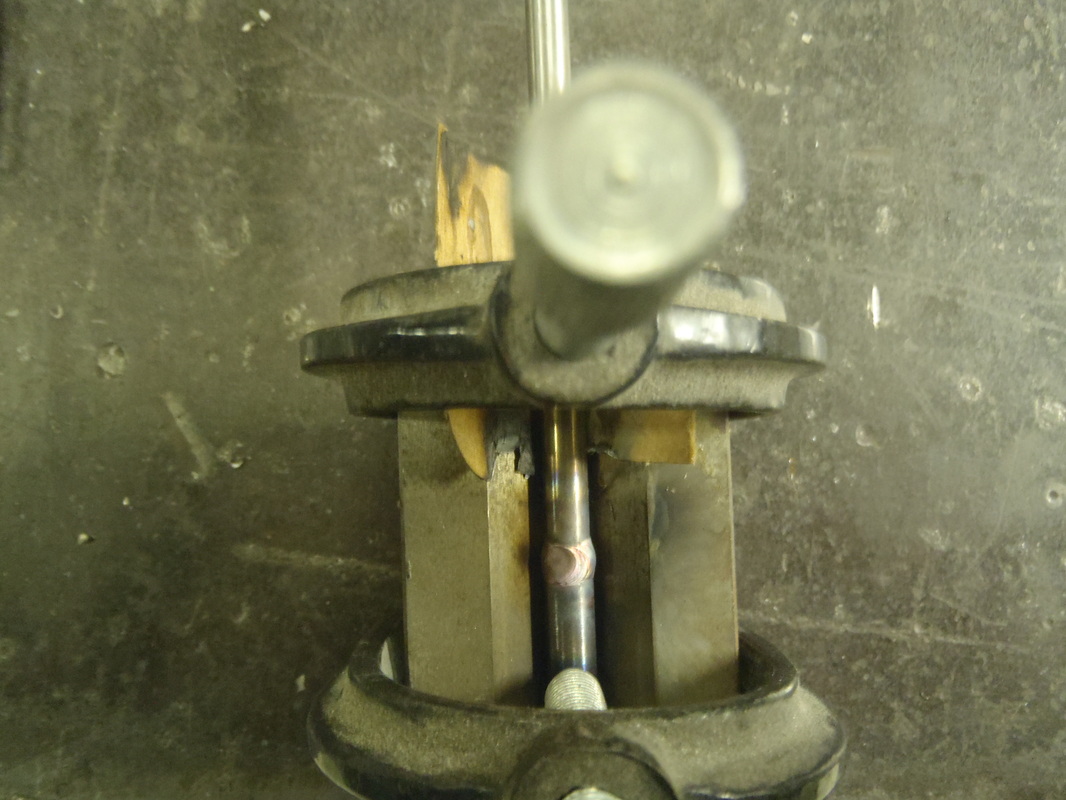 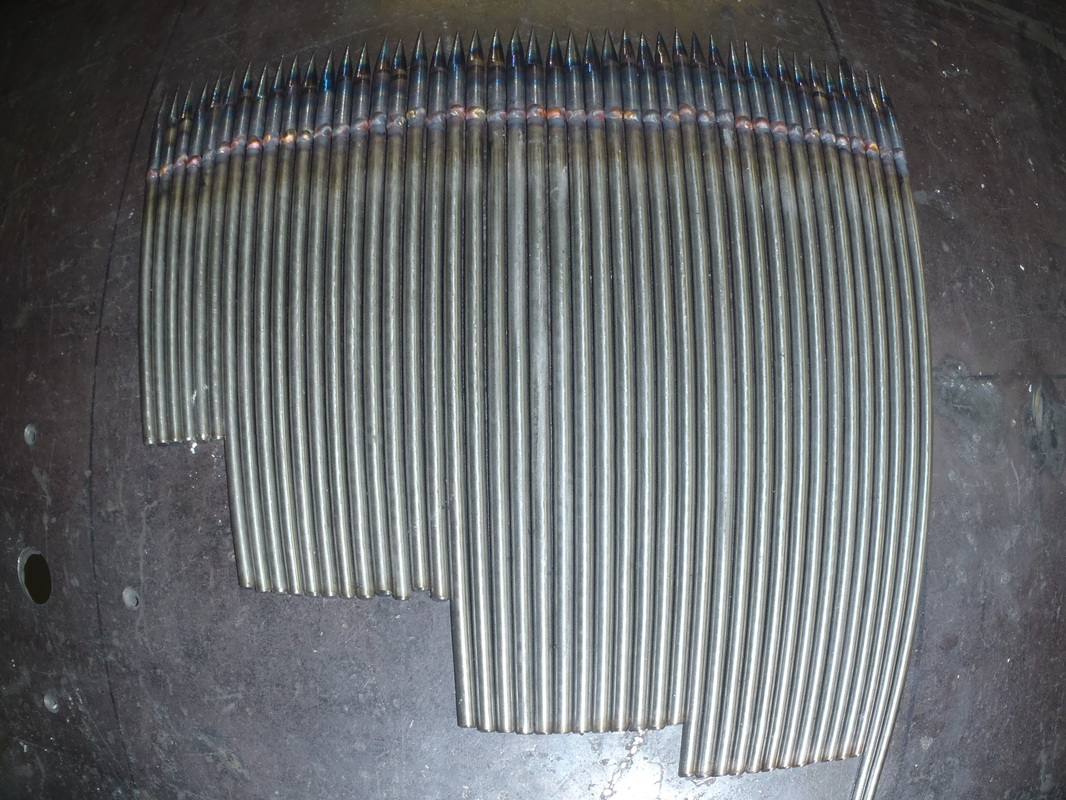  This concluded day 2 Day 3  Turning weld down to hide the seam   Barbs being welded to each tine  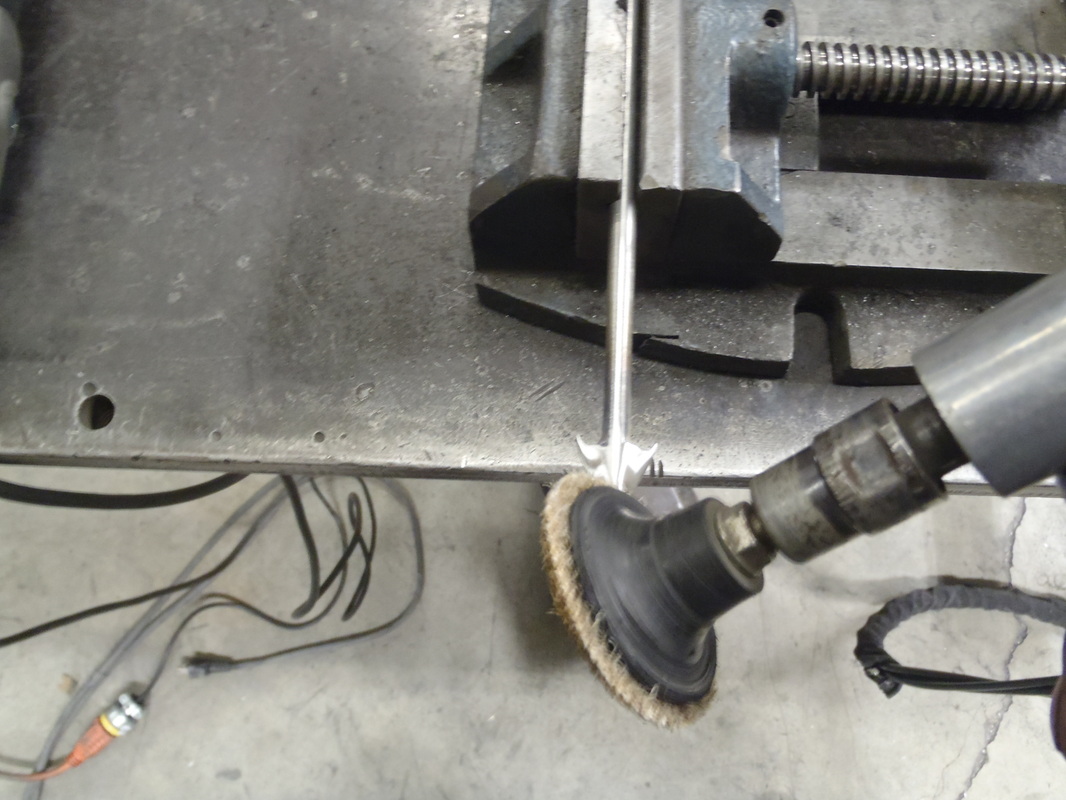 Now the hard part. making them work.....and very cool looking 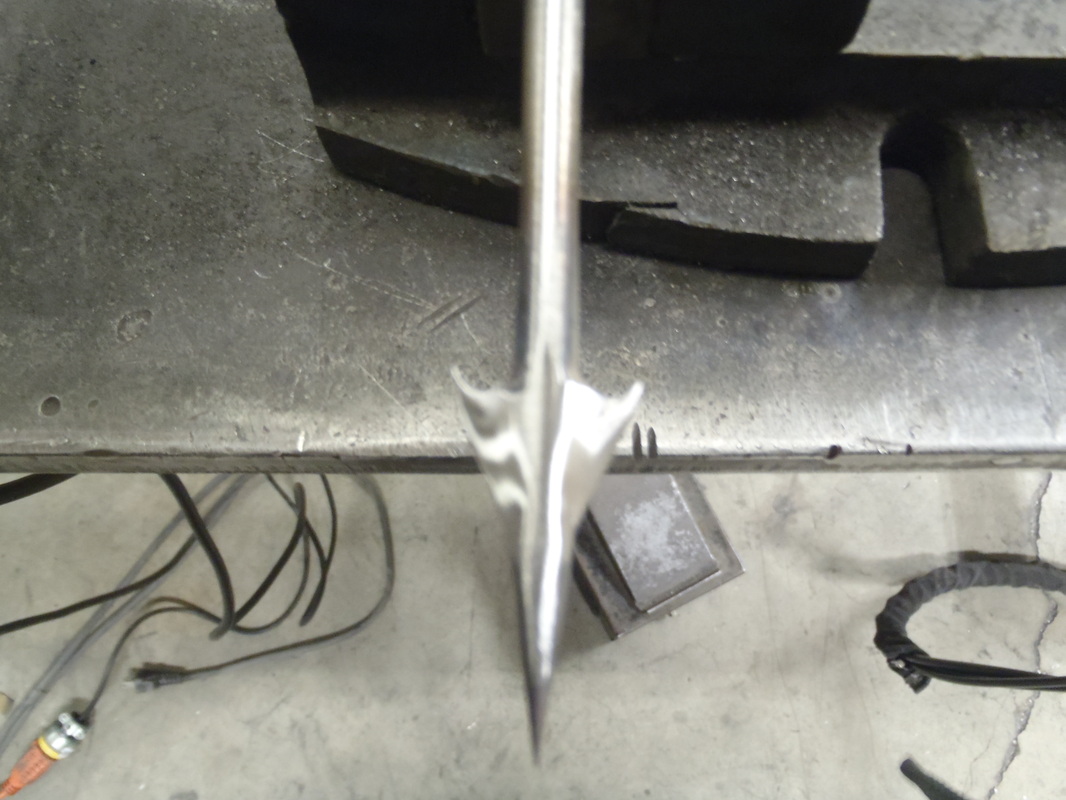 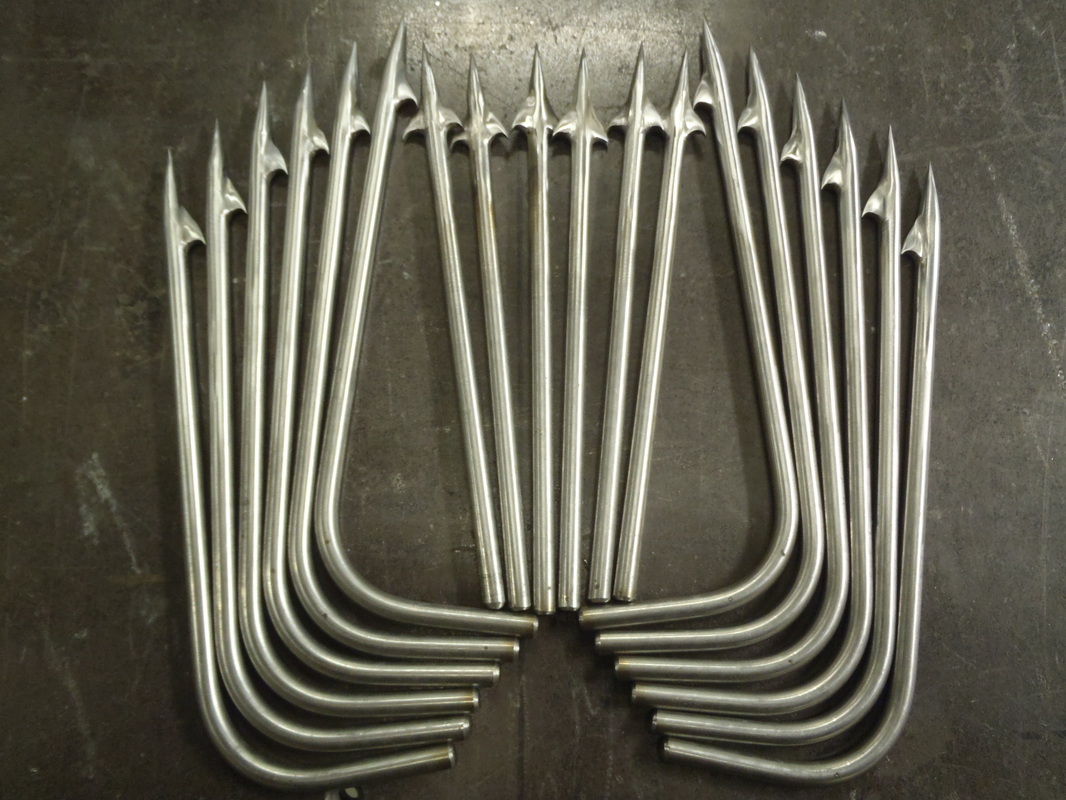 That's good enough for today. Day 4 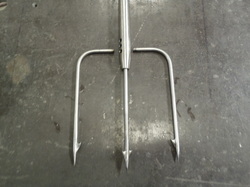 The tines are trimmed to the right length. I begin with the center 3 and then work my way out. The bend can now be calculated.  center tine is fully welded and then spun to check for run out as well as machine the seam smooth. *I have decided that the weld can be left on with my new bracing that intersects here. It will hide it and provide strength.   Remaining tines are bent, barbs welded out and metal finished.  Day 5  Today I will get all 6 spear heads tacked together. I will then focus on each one individually from now on out. This is my way of creating a personalized product.  The 9 tine is going to be a monster!  Top braces are tacked on This also can be used as a line tie so the fish can be inverted when hoisted back up. 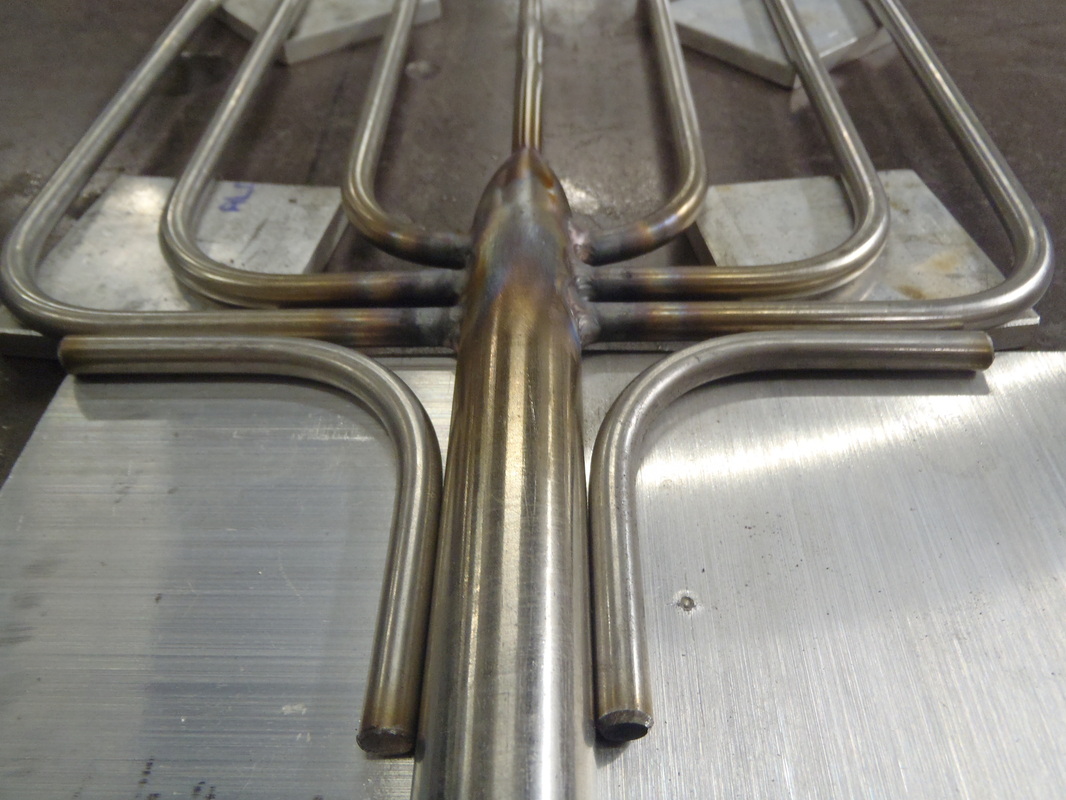  New for 2013 is a curved cross brace that connects directly to the center tine. This follows the same arc of the tine tips and makes each tine the same effective length. 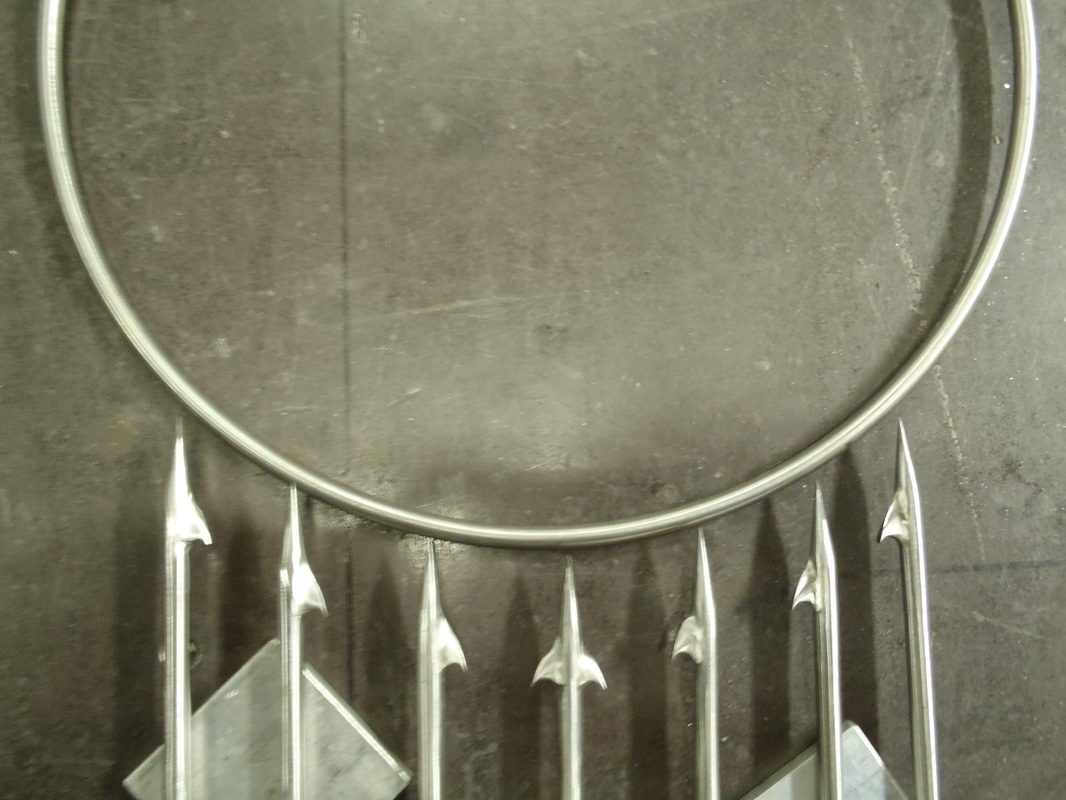  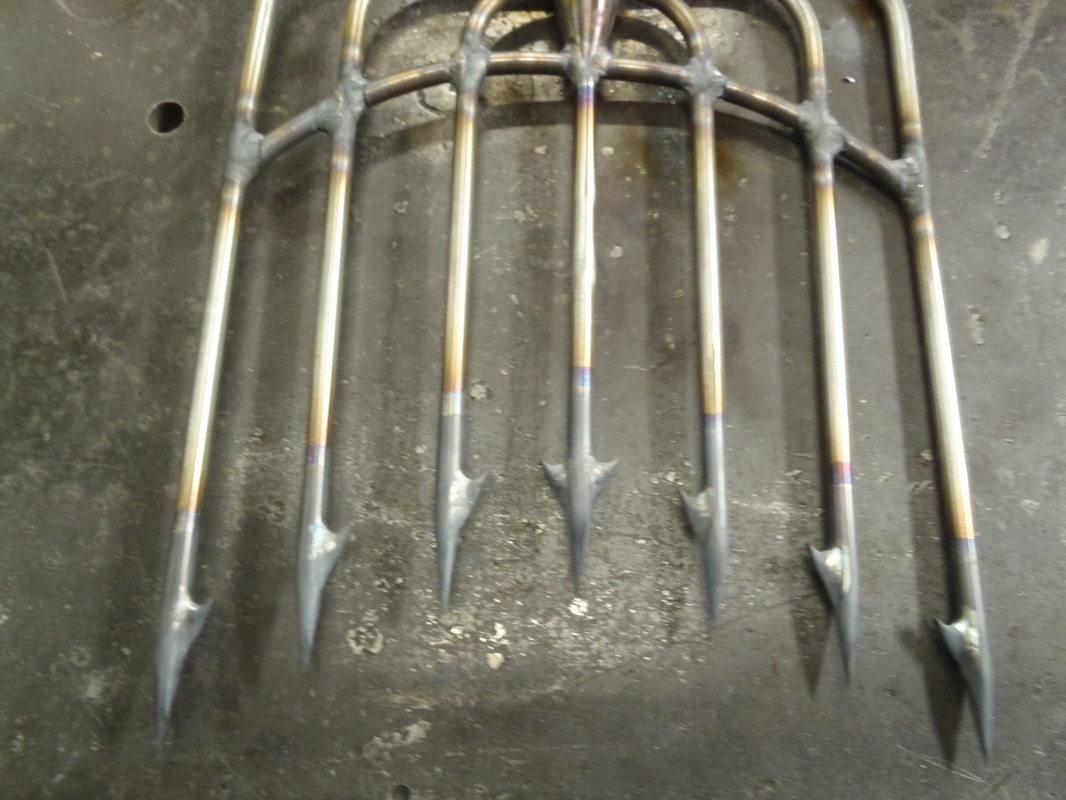 The entire head is now fully welded and immediately heat treated. I will have more on this process later. you can now see the seam between the 2 metals again. 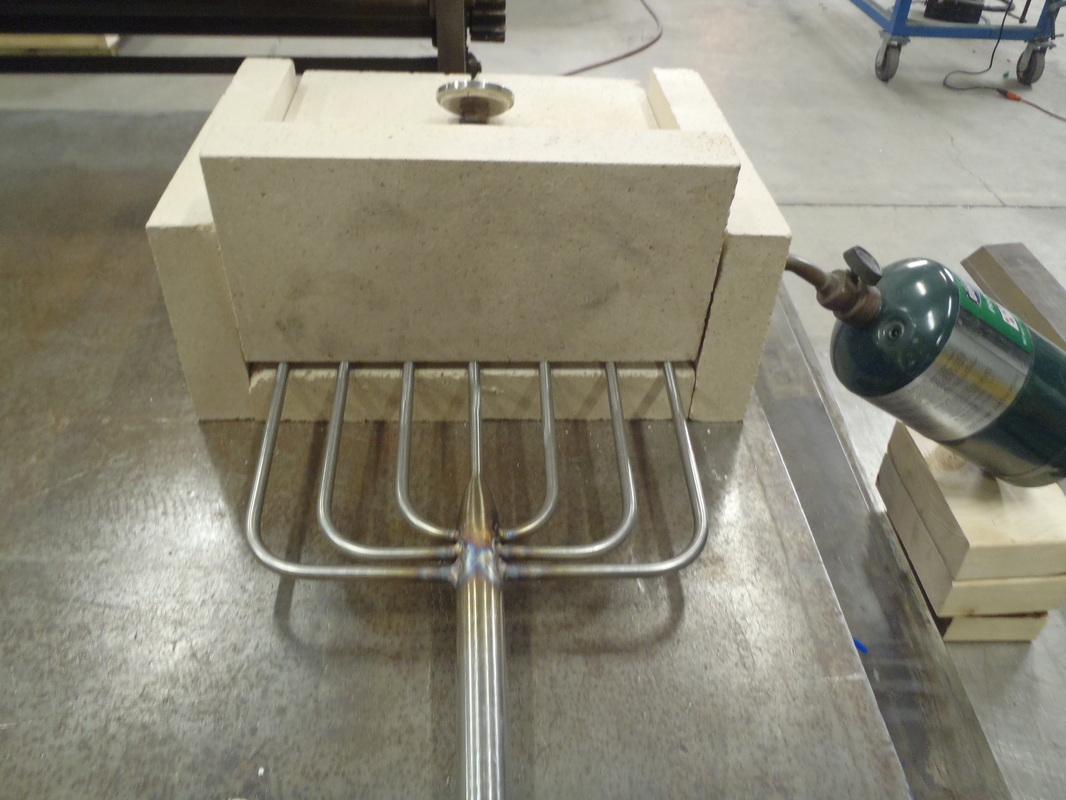 After the hardening process the are heat tempered to 400 deg. for 1/2 hr. twice. This makes them less brittle and less likely to fracture if they impact a hard surface. 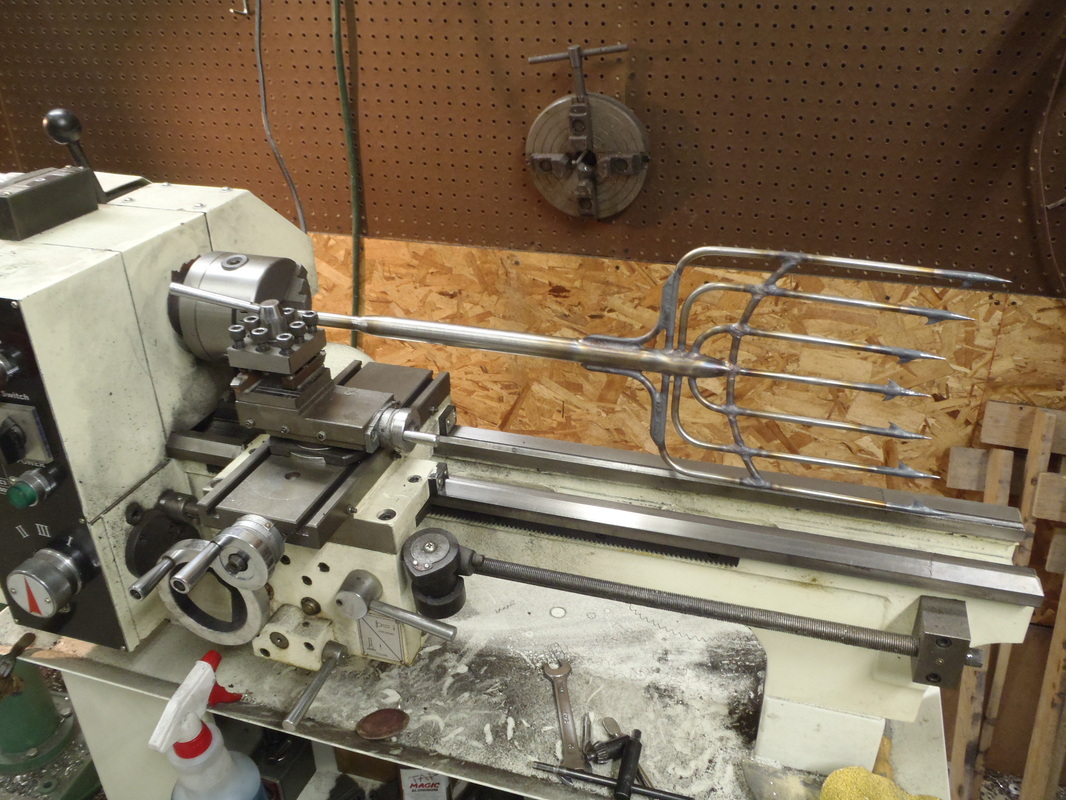 Handle is attached and the weld is blended . Not safe at all, but sure works good. This s a true test on how straight the entire spear is. And out of round shows up here and I can tune it. 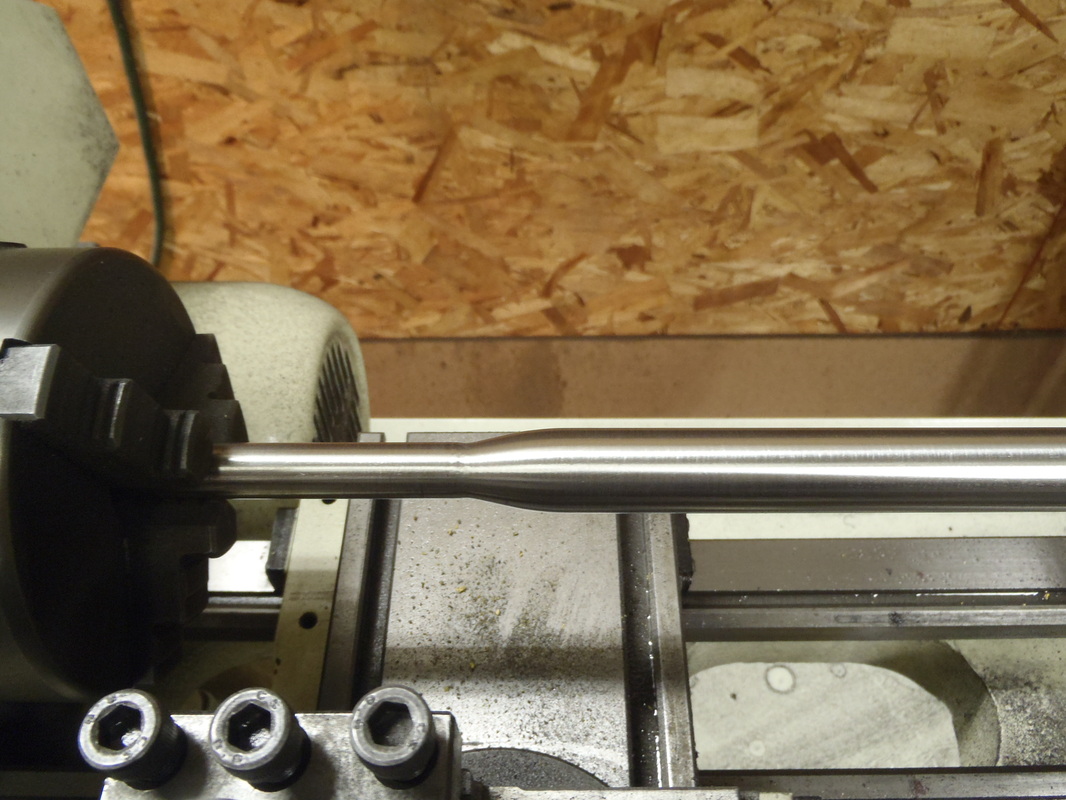 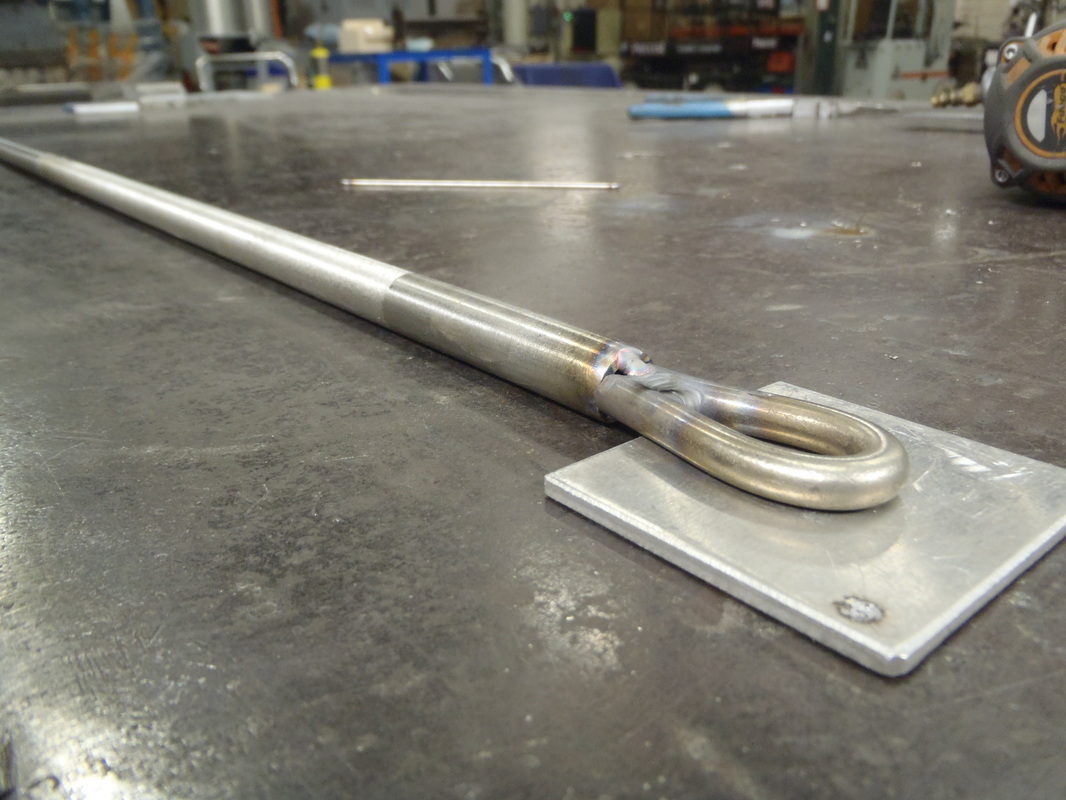 Line loop is formed and attached to the end. 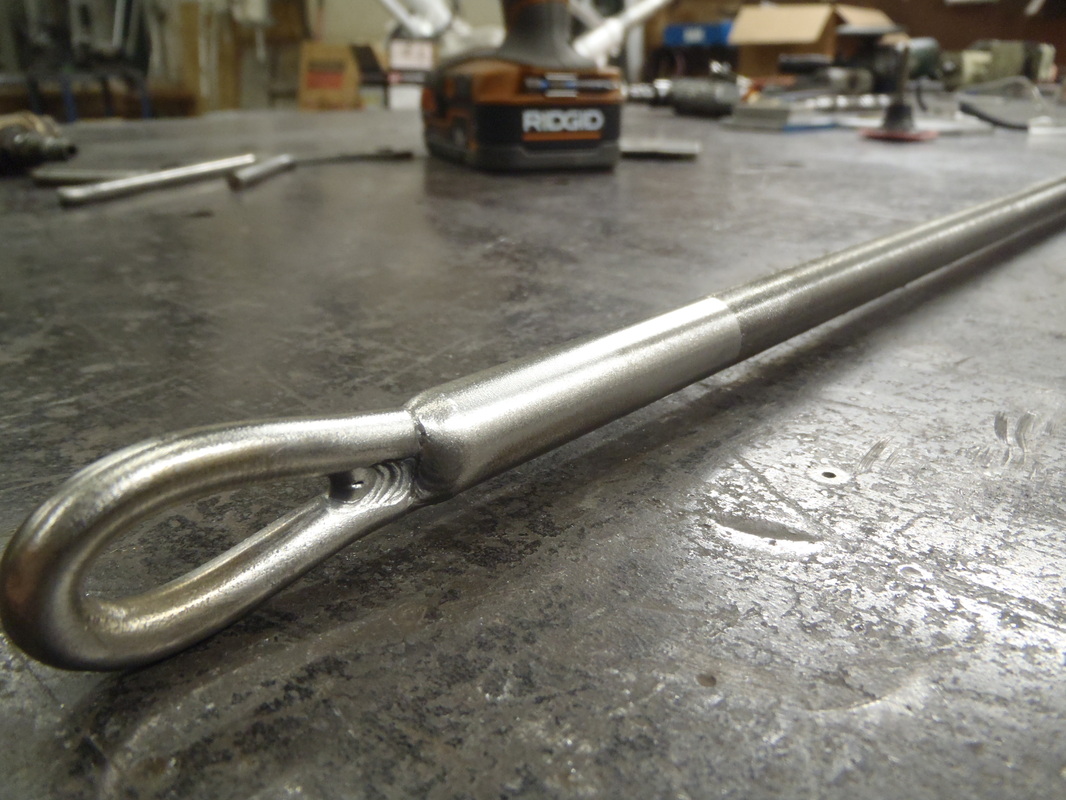 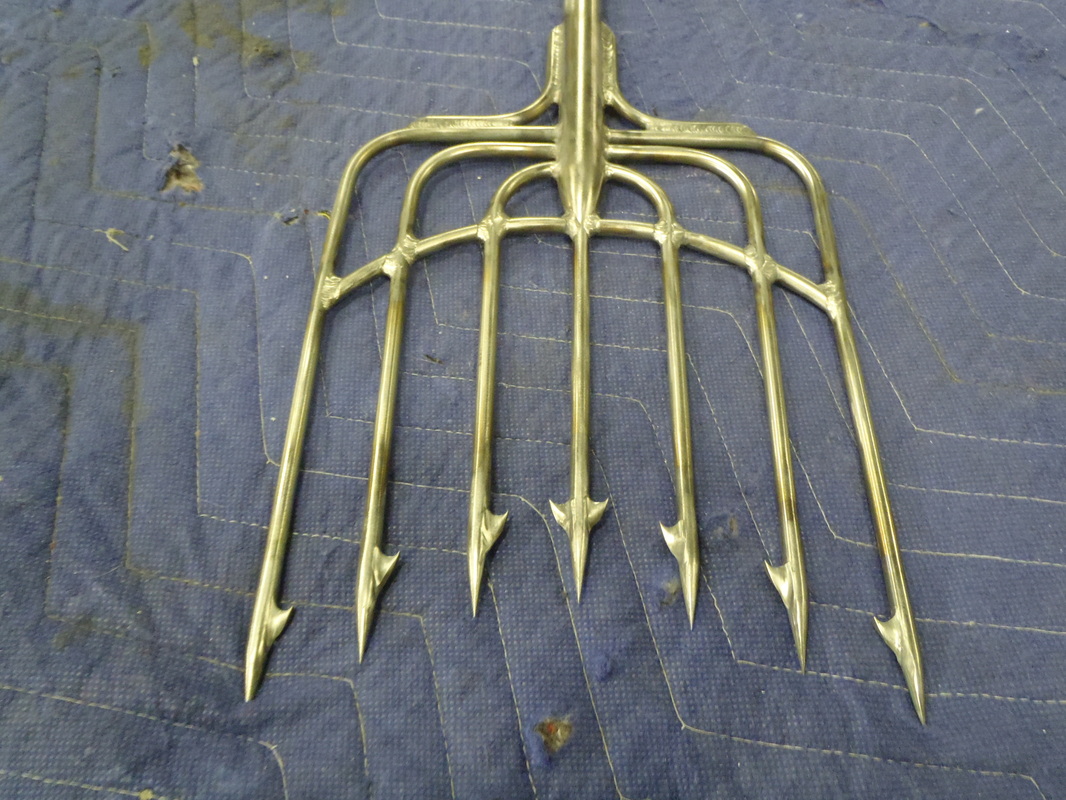 spear is complete and will get painted black  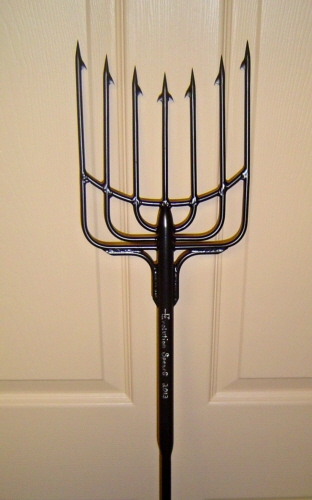 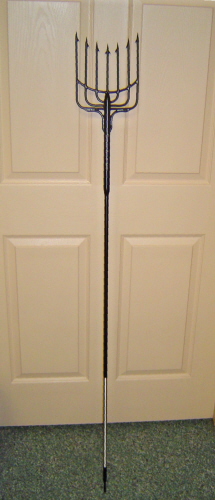  Check back soon for more pics.
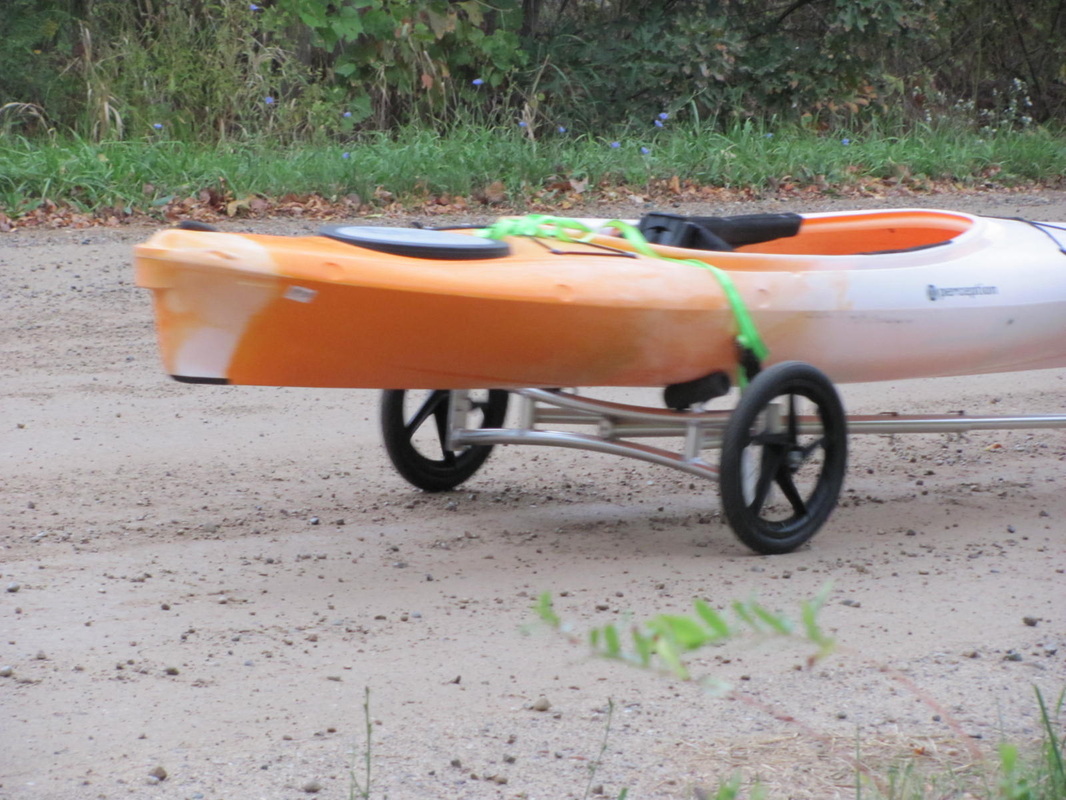
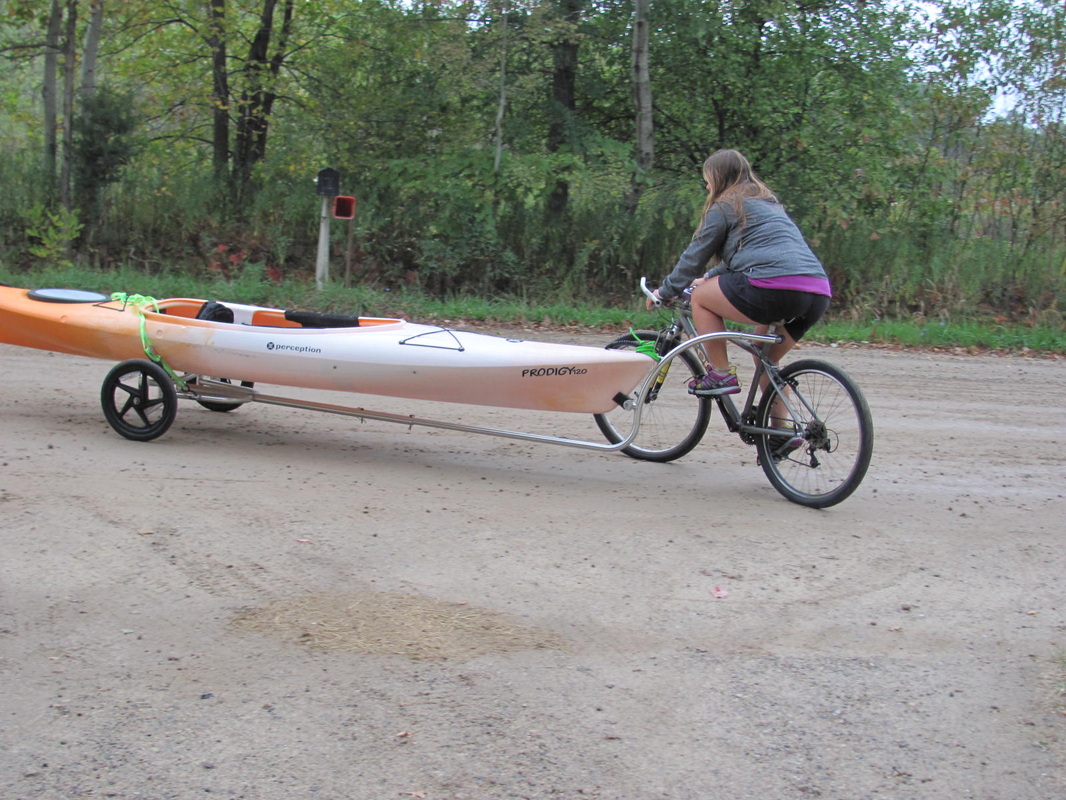
 Higgins Marine Metals will be working on a production run of their new custom bike trailer to tow your kayak to the water.
|
Archives
October 2015
Categories
All
|
 RSS Feed
